
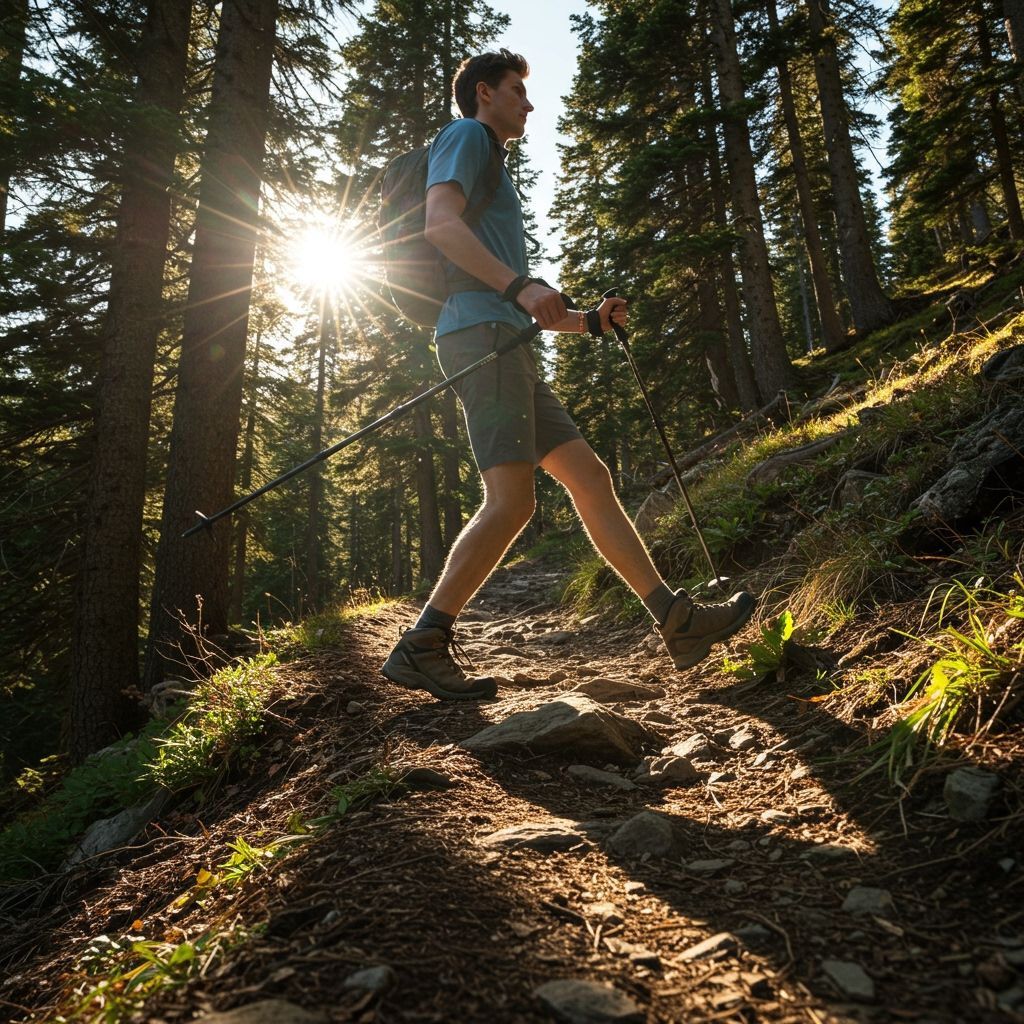
Three miles into my first real mountain hike, my legs were already screaming. My buddy Sarah, meanwhile, was practically floating up the trail ahead of me with what looked like ski poles in her hands. “You should try trekking poles,” she called back, barely breathing hard. “They’re game changers.” I rolled my eyes and muttered something about not needing walking aids. Two hours later, as I nursed sore knees and wobbly legs, I was googling how to use trekking poles before I even got home.
That humbling experience taught me that trekking poles aren’t just for serious mountaineers or older hikers—they’re tools that can make any outdoor adventure safer, more comfortable, and more enjoyable. Whether you’re curious about these hiking aids or you already own a pair but aren’t sure you’re using them correctly, this guide will transform how you approach the trail.
What Are Trekking Poles and Why Should You Care?
Trekking poles, also called hiking poles or walking staffs, are adjustable walking aids designed to provide stability, reduce fatigue, and protect your joints during hiking. Think of them as portable balance points that work with your natural walking rhythm to distribute weight more evenly across your body.
The science behind their effectiveness is compelling. Studies show that using trekking poles properly can reduce the force on your knees by up to 25% during descents, while simultaneously engaging your upper body to share the workload with your legs. For long-distance hikers, this translates to significantly less fatigue and reduced risk of injury.
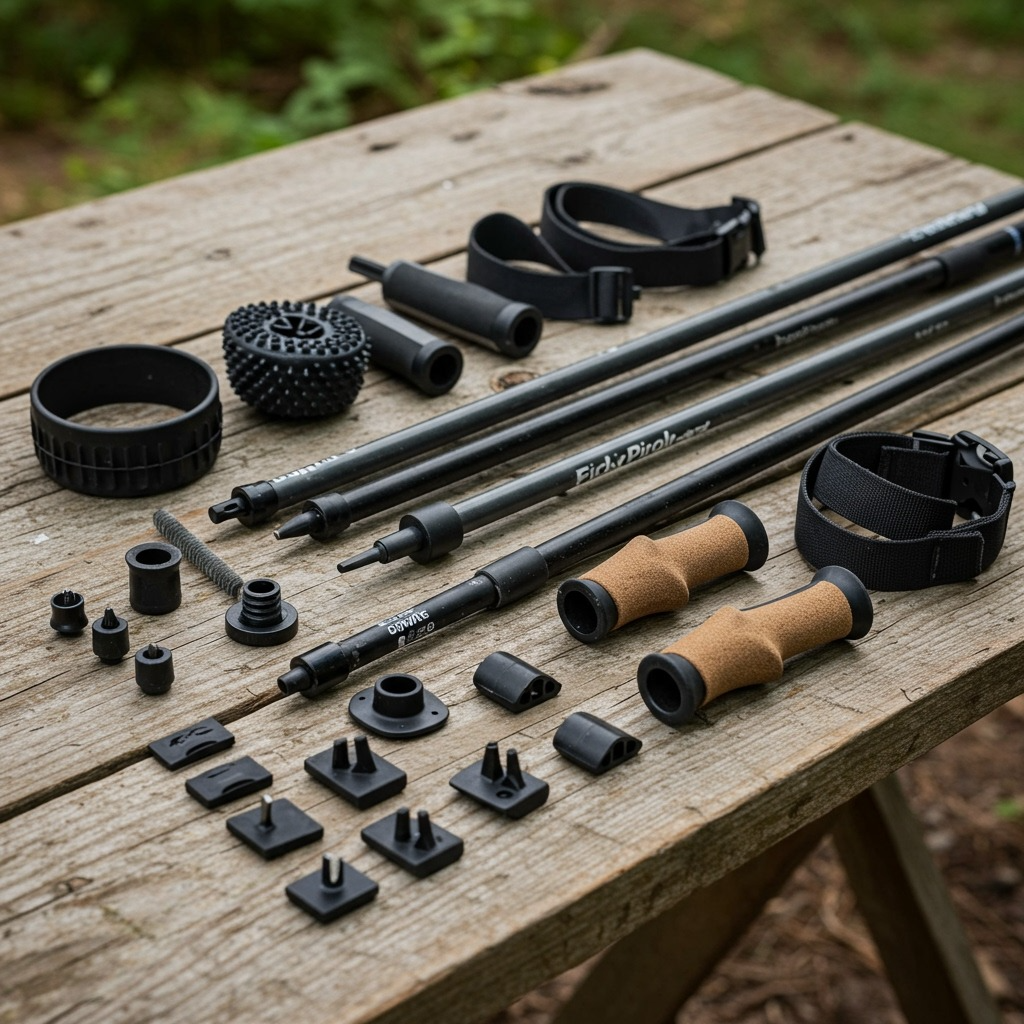
Modern trekking poles typically feature adjustable lengths, comfortable grips, wrist straps, and interchangeable tips for different terrain. Some fold into compact sections for easy packing, while others telescope down to smaller sizes.
Setting Up Your Poles: Getting the Fundamentals Right
Before you take your first step, proper pole adjustment is crucial. The most common mistake beginners make is using poles that are too long or too short, which throws off their natural walking rhythm and can actually cause more strain than benefit.
The 90-Degree Rule
Start by standing upright on level ground with your arms at your sides. Bend your elbows to create a 90-degree angle. Adjust your trekking poles so that when the tips touch the ground, your forearms are parallel to the earth. This basic setup works for most flat terrain hiking.
However, terrain determines final adjustments. For uphill climbs, shorten your poles by 5-10 centimeters to avoid overreaching. For steep descents, lengthen them by the same amount to provide better support and stability. Many experienced hikers adjust their poles multiple times during a single hike as terrain changes.
Wrist Strap Technique
The wrist strap isn’t just a safety feature—it’s integral to proper pole use. Thread your hand up through the bottom of the strap, then grip the handle with the strap between your thumb and palm. This technique allows you to maintain a relaxed grip while still controlling the pole through the strap’s support.
Adjust the strap so it’s snug but not restrictive. You should be able to open your hand completely and still maintain pole control through the strap. This prevents hand fatigue during long hikes and allows for more efficient energy transfer.

Basic Walking Technique: Finding Your Rhythm
The fundamental technique for using trekking poles mirrors natural walking patterns with one key modification: opposite-side coordination. When your right foot steps forward, your left pole plants. When your left foot moves, your right pole follows. This cross-pattern mimics four-legged locomotion and provides maximum stability.
Pole Angle and Placement
Angle your poles slightly forward in your direction of travel, roughly 70 degrees from vertical. This forward angle allows you to push off with each plant, propelling yourself forward rather than simply stabbing the ground for balance. Plant the pole tip slightly ahead of your leading foot, not directly beside it.
Avoid driving poles hard into the ground. Instead, think of them as springboards that provide a gentle push-off with each step. The contact should be firm but not jarring to your arms and shoulders.
Understanding different types of camping can enhance your trekking pole skills, as various camping styles often involve different hiking approaches and terrain challenges.
Uphill Techniques: Conquering the Climb
Ascending steep terrain is where trekking poles truly shine. Shorten your poles for uphill sections so you’re not overreaching with each plant. The poles should help pull you upward while reducing the load on your leg muscles.
Use smaller, more frequent steps when climbing. Plant both poles ahead of you, step up to them, then replant higher and repeat. This technique, called double-planting, provides maximum stability on challenging ascents and helps maintain momentum when the trail gets steep.
Focus on pushing down and slightly back on the poles to help lift your body weight. Your arms and core become active participants in the climb, sharing the load with your legs and allowing you to hike longer with less fatigue.
Downhill Mastery: Protecting Your Knees
Descents put enormous stress on knees and ankles, making proper pole technique essential for joint protection. Lengthen your poles for downhill sections and consider removing your hands from the wrist straps for safety—if you fall, you want to be able to release the poles quickly.
Place your hands on top of the pole grips rather than using the normal grip. This position allows you to put more weight directly down through the poles, taking significant pressure off your knees with each step. Plant the poles firmly and slightly ahead of your feet, using them to control your descent speed.
Take smaller steps and let the poles do much of the braking work. Resist the urge to lean back—maintain an upright posture and trust the poles to support your weight. This technique prevents the jarring impact that damages knees and creates instability on steep descents.
Advanced Techniques for Challenging Terrain
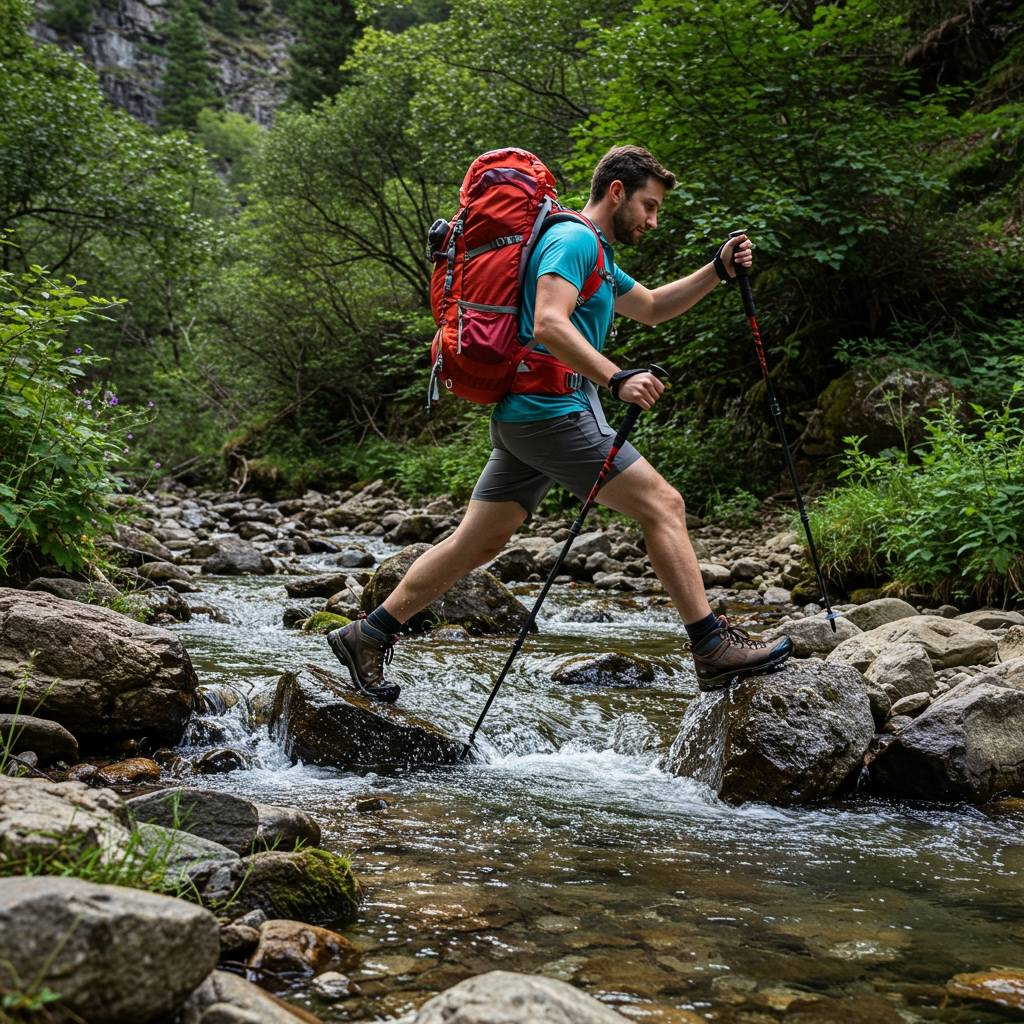
Stream Crossings
Trekking poles transform potentially dangerous water crossings into manageable challenges. Use them to probe water depth and test footing before committing your weight. Plant the upstream pole first to brace against the current, then move carefully with three points of contact at all times.
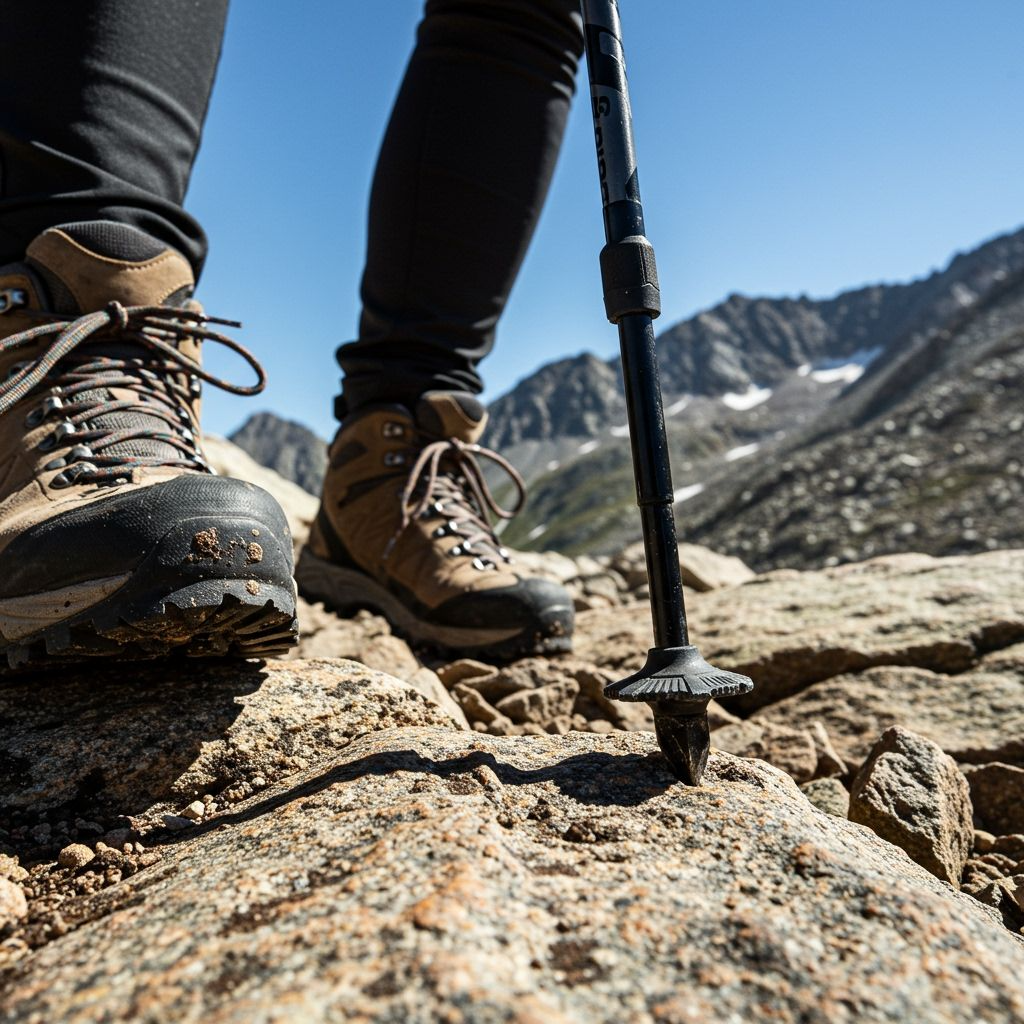
Rocky Terrain
On boulder fields and rocky trails, poles help you test stability before putting full weight on questionable rocks. They also provide crucial balance points when navigating irregular surfaces where foot placement options are limited.
Loose Surfaces
Sand, scree, and loose gravel benefit from the modified pole technique. Plant poles more vertically and use shorter, quicker placements to maintain stability as the surface shifts beneath your feet.
Learning how to use trekking poles effectively connects well with understanding hiking safety, particularly when venturing into challenging terrain where stability becomes crucial.
Pole Maintenance and Care
Proper maintenance extends pole life and ensures reliable performance when you need it most. After each use, especially in sandy or muddy conditions, disassemble the telescoping sections and clean them thoroughly. Sand and grit can damage the adjustment mechanisms and cause sections to stick or slip.
Check the tip condition regularly. Carbide tips should be sharp and securely attached. Replace worn tips immediately—they’re inexpensive but crucial for proper grip. Carry spare tips in your pack for longer trips where replacement might be necessary.
Store poles with sections loosened to prevent permanent compression of adjustment mechanisms. If sections become stuck, use gentle heat (warm water) and penetrating oil rather than forcing them apart.
Common Mistakes and How to Avoid Them
Overgripping
Many beginners death-grip their poles, causing unnecessary hand and forearm fatigue. Maintain a relaxed grip and let the wrist straps do most of the work. Your hands should guide the poles, not wrestle with them.
Wrong Timing
Fighting the natural opposite-side rhythm makes hiking awkward and inefficient. If you lose the pattern, lift both poles and walk normally for a few steps, then restart the coordination when it feels natural.
Inconsistent Use
Some hikers use poles only on difficult terrain, missing their benefits during easier sections. Consistent use builds muscle memory and maximizes the cardiovascular and stability benefits throughout your hike.
Poor Height Adjustment
Stubborn adherence to one pole length regardless of terrain wastes the adjustability feature. Learn to make quick length changes as trail conditions change—it becomes second nature with practice.
Choosing the Right Poles for Your Needs
Material Considerations
Aluminum poles offer durability and affordability, but weigh more than carbon fiber options. Carbon fiber provides excellent vibration dampening and weighs significantly less, but costs more and can shatter under extreme stress. For most hikers, aluminum provides the best balance of performance and value.
Features to Consider
Adjustable poles offer versatility but add complexity and potential failure points. Fixed-length poles are lighter and more reliable, but require knowing your ideal length. Folding poles pack smaller but sacrifice some rigidity compared to telescoping designs.
For beginners interested in expanding their outdoor skills, learning about solo hiking can complement trekking pole proficiency as confidence and capability grow.
Seasonal Adaptations
Summer Hiking
Focus on lightweight poles with good vibration dampening for long days on hard surfaces. Carbide tips work well for most dry trail conditions. Consider cork grips for better moisture management during hot weather.
Winter Adventures
Snow baskets become essential to prevent poles from punching through the snow. Longer poles help with deeper snow conditions. Foam or synthetic grips perform better than cork in cold temperatures.
Muddy Conditions
Mud baskets prevent poles from sinking too deeply in soft surfaces and reduce the amount of mud that slings up onto your legs and gear.
FAQ: Trekking Pole Questions Answered
Do I really need two poles, or is one enough?
While one pole provides some benefits, two poles offer maximum stability, better weight distribution, and improved upper body engagement. Most hikers find the benefits of two poles far outweigh the minimal weight penalty.
How do I know if my poles are the right height?
Stand upright on level ground with poles planted. Your elbow should form approximately a 90-degree angle. Adjust from there based on terrain—shorter for uphill, longer for downhill.
Can trekking poles help with balance problems?
Absolutely. Many hikers with balance issues find trekking poles provide the confidence and stability needed to enjoy trails that might otherwise be challenging or unsafe.
What’s the difference between trekking poles and Nordic walking poles?
Trekking poles focus on stability and joint protection for uneven terrain. Nordic walking poles emphasize fitness and are designed primarily for flat surfaces and paved paths.
How much weight do trekking poles really save on my joints?
Studies show reductions of 20-25% in knee stress during descents and significant reductions in overall leg fatigue. The exact amount varies with technique, terrain, and individual factors.