
I’ll never forget my first mistake with a trekking pole tent—standing there in a steady drizzle at 8,000 feet, fumbling with guy lines while my hiking partner had his freestanding tent up in two minutes flat. That’s when I learned the hard way that these minimalist shelters aren’t just about cutting weight—they’re about mastering a completely different way of camping.
After three years of trial and error with various models, from the ultralight Gossamer Gear The One to the bomber Durston X-Mid, I’ve discovered why trekking pole tents have become the secret weapon of thru-hikers and ultralight enthusiasts. Let me share what I wish I’d known before making that soggy mistake.

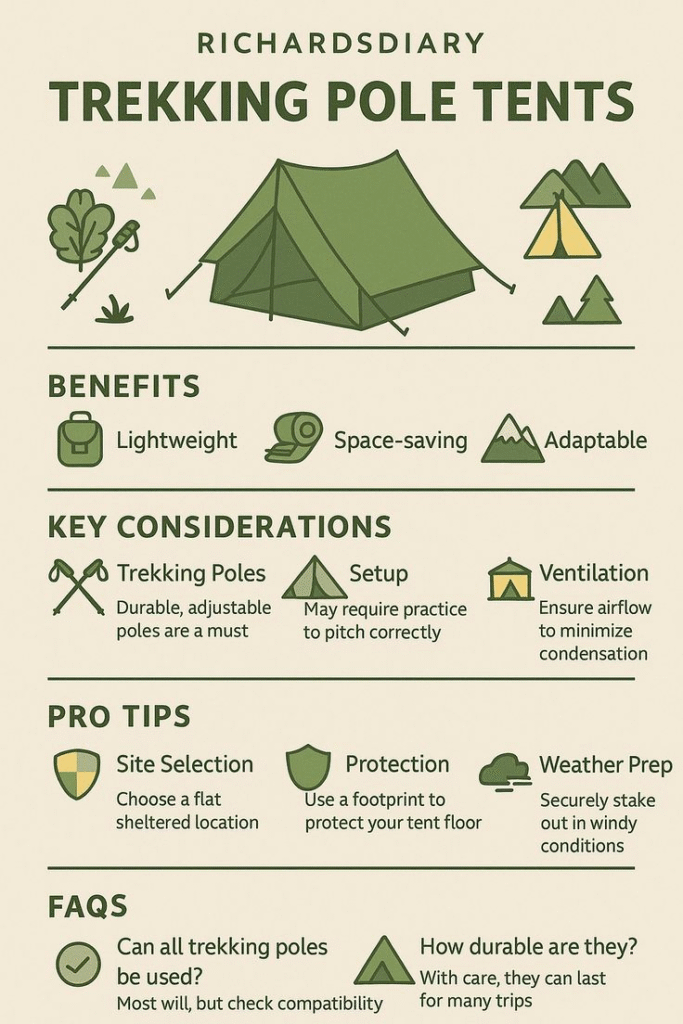
What Exactly Is a Trekking Pole Tent?
A trekking pole tent replaces traditional tent poles with your hiking poles, creating a shelter that relies on your trekking poles for structural support. Instead of carrying separate tent poles that serve only one purpose, you’re using gear that already helps you hike more efficiently.
Most trekking pole tents are non-freestanding, meaning they must be properly staked and tensioned to maintain their shape. This fundamental difference from traditional tents changes everything about how you camp—from site selection to setup technique.
The concept follows classic ultralight philosophy: replace two single-use items with one multi-purpose piece of gear. Why carry tent poles when your trekking poles can do double duty?
The Weight Game-Changer
The most obvious advantage is weight savings. By eliminating poles, you immediately shed several ounces from your pack. When you combine this with ultralight materials like Dyneema and efficient construction, some trekking pole tents weigh as little as 1 pound 4 ounces.
Compare that to traditional backpacking tents that typically weigh 2.5-3.5 pounds for solo models. For thru-hikers covering 20+ miles daily, those saved ounces translate to less strain on joints and faster hiking speeds.
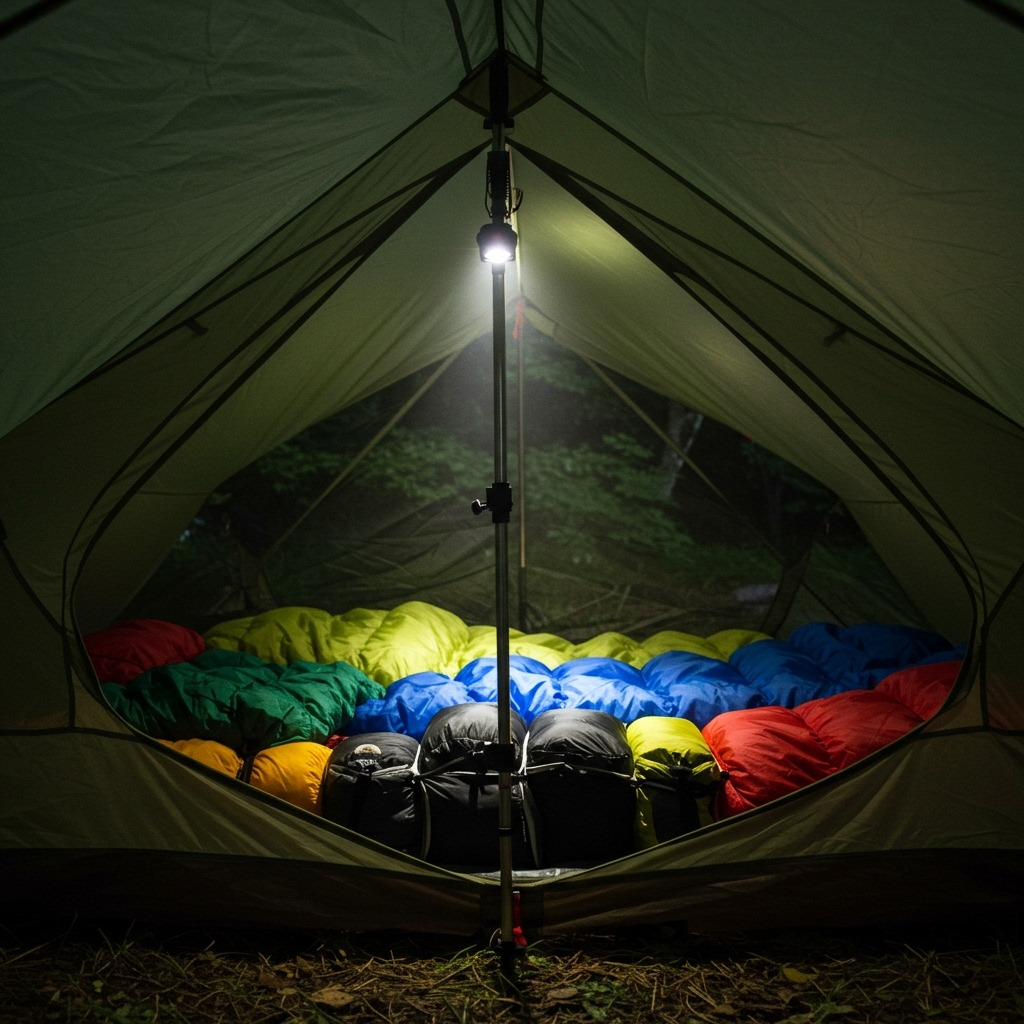
Beyond weight, these tents are more packable. Without rigid poles creating dead space in your pack, you have more freedom when organizing gear. The flexible fabric packs down like an extra puffy jacket rather than a rigid bundle.
Design Innovations That Actually Work
Modern trekking pole tents have solved many early design problems. Take the Durston X-Mid series—their patented design positions poles at the corners rather than blocking the entrance. This eliminates the awkward dance of crawling around a pole every time you enter or exit.
Double-wall designs like the X-Mid Solid offer better condensation management than single-wall options. The full rainfly extends to the ground, while the inner tent creates a barrier against moisture and snow drift.
The Real-World Trade-Offs
Let’s be honest about the downsides. Setup complexity tops the list. Unlike freestanding tents where you simply unfold and clip poles, trekking pole tents require careful attention to:
- Site selection: You need relatively flat ground with good soil for stakes
- Pole positioning: Height adjustments must be precise for proper tension
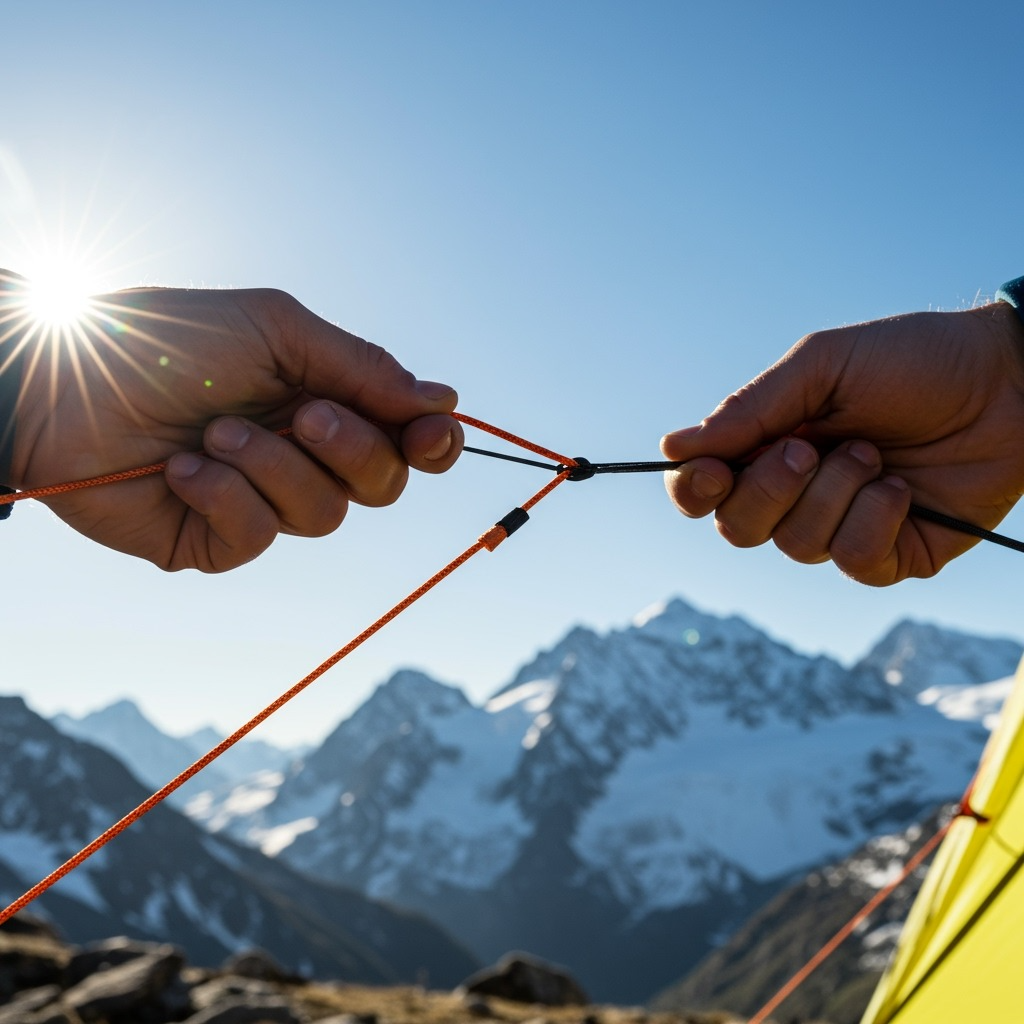
- Guy line management: Multiple anchor points need individual adjustment
Rocky terrain presents particular challenges. During testing in the Cascade Mountains, I’ve spent 30 minutes fighting with guy lines on rocky ground, even resorting to girth-hitching lines to large stones.
Condensation is another reality check. Single-wall designs especially can accumulate moisture in humid conditions. Small puddles may form in corners during persistent rain, though nothing threatening to gear.
For more tent camping strategies, check out our guide on tent camping hacks.
Choosing Your First Trekking Pole Tent
Start with your hiking style and terrain. The Gossamer Gear The One (1 lb 4 oz, $255) excels for weight-conscious hikers in moderate conditions. Its simple A-frame design sets up quickly and packs incredibly small.
For harsher weather, consider the Durston X-Mid Solid (1 lb 15 oz, $265). The double-wall construction and corner pole placement provide better storm protection and easier entry. The solid inner fabric blocks snow drift better than mesh alternatives.
Setup space varies significantly between models. The X-Mid requires more ground space due to large vestibules on both sides, which can be challenging in crowded campsites.
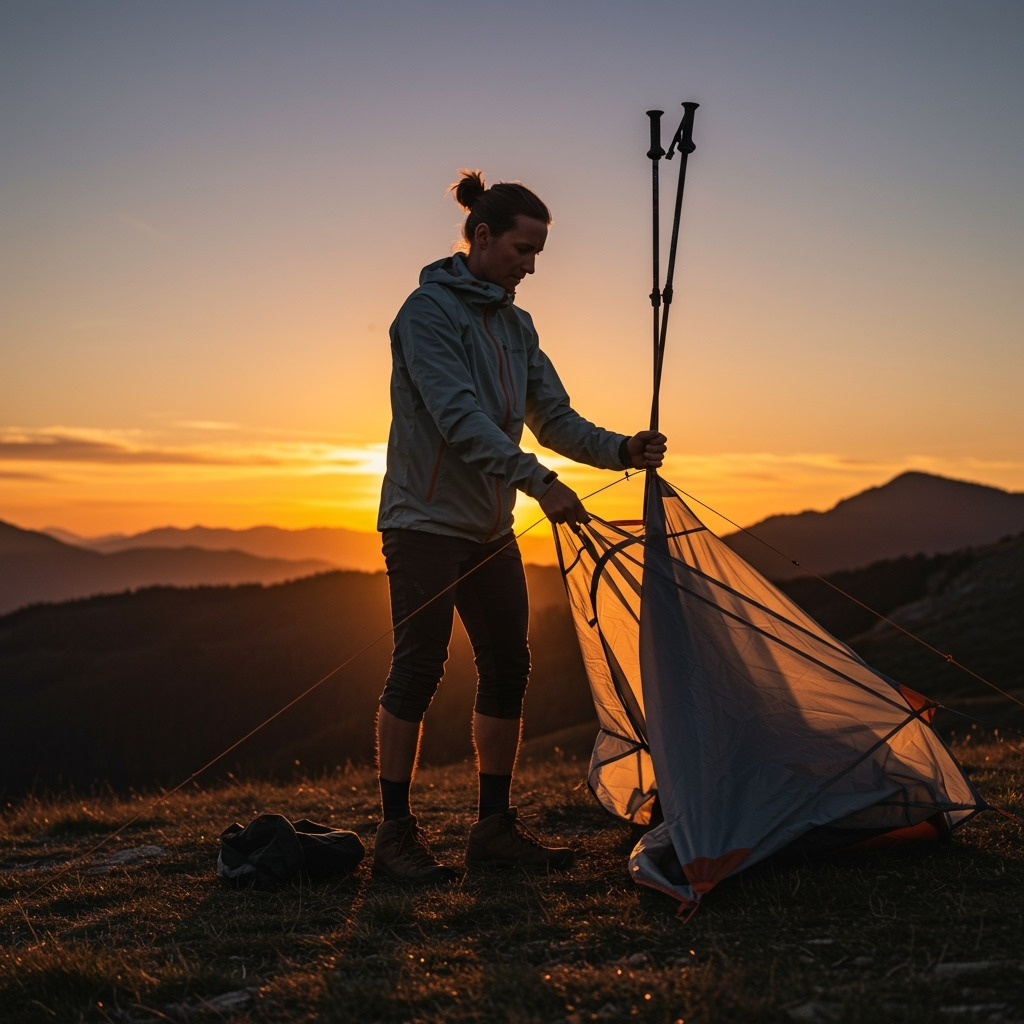
Mastering the Setup Process
Success starts with pole adjustment before staking. Set your trekking poles to the manufacturer’s recommended height (typically 120-130cm) before positioning the tent. This ensures proper geometry from the start.
Follow this proven sequence:
- Stake back corners first with guy lines loose
- Insert trekking poles and adjust height
- Tension back guy line to create straight baseline
- Stake front corners with moderate tension
- Fine-tune all guy lines for wrinkle-free pitch
For guy lines, maintain 90-degree angles from tent to anchor points, then 45-degree angles from anchor to stake. This maximizes interior space compared to pulling straight down.
Ground selection matters enormously. Look for flat terrain with soil soft enough to accept stakes but firm enough to hold under tension. In snow, pack the surface before setup.
Weather Performance Reality
Trekking pole tents handle moderate weather excellently but have limits. During wind tests, aluminum stakes may pull from the ground in 20+ mph gusts, while the tent fabric itself remains intact. The lesson: invest in quality stakes for your conditions.
Rain performance varies by design. Single-wall tents like The One can manage five days of persistent rain without major leaks, though condensation requires daily sponging. Double-wall designs offer better moisture management in humid conditions.
For extreme weather strategies, explore our camping in the rain techniques.
Making the Switch: Is It Right for You?
Choose a trekking pole tent if:
- Weight savings matter for your hiking goals
- You already use trekking poles regularly
- You’re comfortable with more complex setup procedures
- Your typical camping spots have suitable terrain
Stick with traditional tents if:
- You prioritize quick, simple setup
- You frequently camp on rocky or uneven ground
- You don’t use trekking poles while hiking
- Maximum interior space is essential
The transition requires patience and practice. Start with shorter trips to master setup techniques before committing to longer adventures. Consider bringing backup stakes rated for your terrain—those lightweight titanium wires won’t cut it in serious wind.
For in-depth reviews and comparisons of lightweight shelters, check out trusted sources like CleverHiker’s ultralight tent reviews or the Backpacker Magazine tent buying guide.
Advanced Tips for Long-Distance Success
Stake selection can make or break your experience. Carry a mix: lightweight titanium for soft soil, robust aluminum for rocky terrain, and snow stakes for winter conditions.
Practice at home before hitting the trail. Set up your tent in the backyard during different weather conditions. Learn how your specific model behaves in wind, rain, and varying ground conditions.
Pack organization becomes more flexible without rigid poles. Use this advantage to balance your load better and eliminate dead spaces around tent poles.
For comprehensive gear strategies, review our hiking checklist for essential items.
Common Mistakes That Sabotage Success
Over-tensioning ranks as the most common error among beginners. Excessive guy line tension can damage fabric and make the shelter less stable in wind. Proper tension feels firm but not guitar-string tight.
Pole height errors cascade into multiple problems. Too short, and fabric sags unacceptably. Too tall, and stress concentrates at attachment points. Most tents specify exact heights for good reason—follow manufacturer recommendations initially.
Poor site selection causes more problems than equipment failures. That slightly sloped spot that looks flat will channel water under your tent. Learning to read terrain takes time but prevents miserable experiences.
Inadequate staking undermines the entire system. Trekking pole tents depend completely on proper anchoring. Loose stakes or insufficient penetration depth can cause complete shelter failure in weather.
The Learning Curve and Long-Term Satisfaction
My relationship with trekking pole tents has evolved significantly since that soggy Colorado lesson. What initially seemed like unnecessary complexity now feels natural and efficient. The setup that once took 15 frustrated minutes now requires less than 5 minutes of focused work.
The key insight is understanding that these aren’t just lighter versions of traditional tents—they’re fundamentally different tools requiring different skills and site selection awareness. Once you develop these skills, the benefits compound.
Muscle memory develops faster than you might expect. After 10-15 setup sessions, your hands learn the guy line tensioning sequence, pole positioning becomes automatic, and site assessment happens almost subconsciously.
Veterans who’ve used trekking pole shelters for decades report high satisfaction levels and rarely return to traditional tent designs. The weight savings become addictive, and the streamlined packing and setup become second nature.
For comprehensive outdoor skills that complement ultralight techniques, explore our how to use trekking poles guide.
My Personal Verdict After Years of Use
That first Colorado trip taught me that trekking pole tents aren’t just about saving weight—they represent a different philosophy of backcountry travel. They demand more skill, awareness, and planning, but reward users with efficiency, simplicity, and the satisfaction of mastering a minimalist system.
Three years later, I rarely reach for my old freestanding tent. The weight savings have enabled longer trips with less fatigue, and the streamlined packing system has simplified my entire approach to gear selection. Most importantly, using a trekking pole tent has made me a more thoughtful, skilled outdoor enthusiast.
These shelters aren’t for everyone, and they’re certainly not magic solutions to every camping challenge. But for hikers ready to embrace the learning curve and commit to the system, they offer genuine advantages that extend far beyond simple ounce-counting.
The question isn’t whether trekking pole tents are better than traditional designs—they’re different tools for different approaches to backpacking. Understanding your priorities, hiking style, and willingness to adapt will determine whether this ultralight revolution belongs in your pack.
For those ready to make the switch, start with established models like the Durston X-Mid 2 or Zpacks Duplex, practice setup at home, and embrace the learning process. The journey toward ultralight efficiency is as rewarding as the weight savings themselves.
Frequently Asked Questions
Q: Do I need special trekking poles for trekking pole tents?
A: No, most standard adjustable trekking poles work fine. Look for poles that adjust to 120-130cm height and have secure locking mechanisms. Some tents specify using pole tips up, others use handles up.
Q: Can I set up a trekking pole tent without trekking poles?
A: Most manufacturers offer optional tent poles for basecamp use or when hiking without poles. You can also improvise with sturdy sticks, though this compromises the weight-saving benefits.
Q: Are trekking pole tents suitable for winter camping?
A: Generally no. The non-freestanding design makes setup difficult in deep snow and high winds when speed matters for safety. Most are designed for three-season use in moderate conditions.
Q: How much weight can I actually save with a trekking pole tent?
A: Expect to save 1-2 pounds compared to traditional tents. A typical freestanding tent weighs 2.5-4 pounds, while trekking pole tents range from 1-2.5 pounds depending on features and capacity.
Q: What’s the learning curve like for setup?
A: Plan on 5-10 practice sessions to become proficient. The first few attempts will take longer than traditional tents, but experienced users can achieve setup times under 5 minutes in good conditions.