
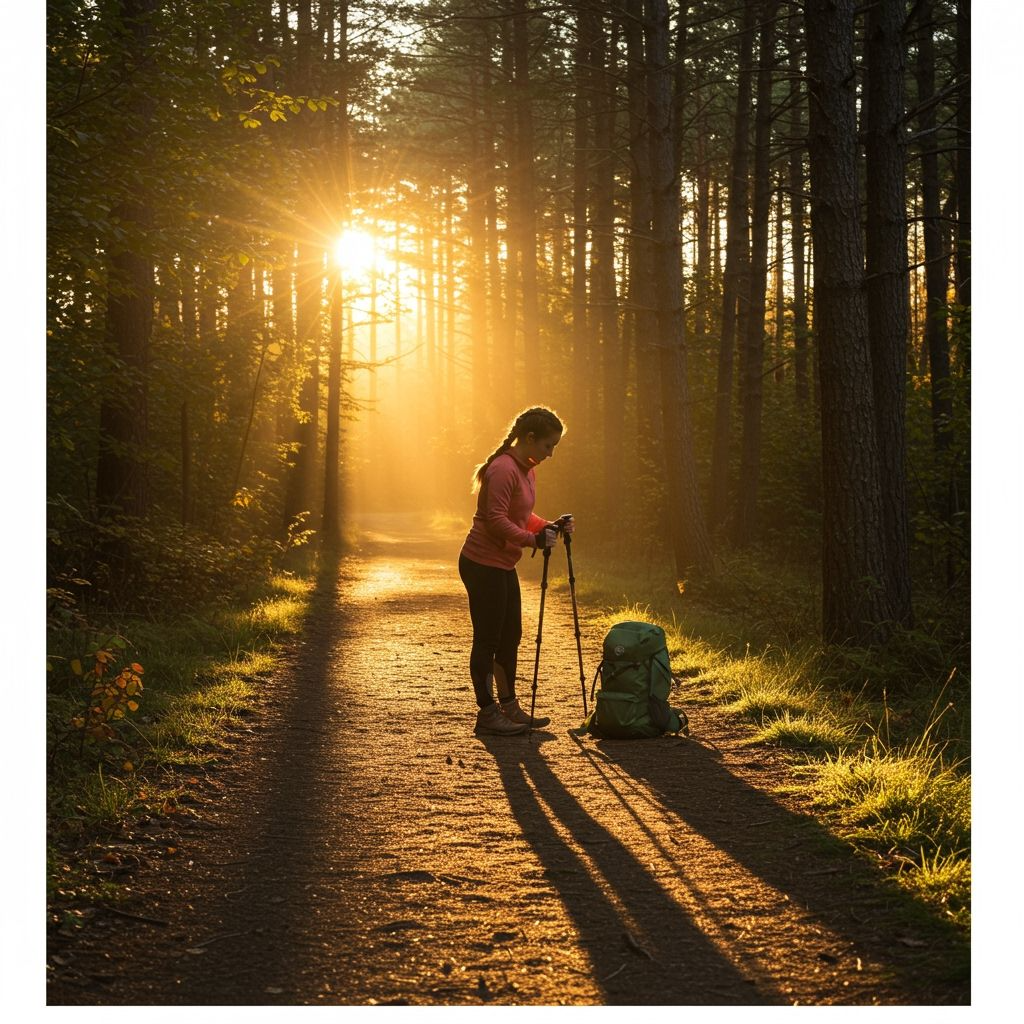
Last summer, knee-deep in a wildflower meadow near the Pacific Crest Trail, I learned the true value of trekking poles—not in a gear ad, but while picking myself up after an epic slip. Turns out, those “magic sticks” can save more than your knees: they can turn a tough hike into a joyful adventure.
Hiking poles, also called trekking poles, can be one of the best “secret weapons” in your pack—if you know how to use them. Grab your favorite mug of trail coffee and let’s break down the real-world way to get every ounce of comfort, safety, and efficiency out of your hiking poles.
Resourceful hikers know every little trick to make their outdoor experience better—including primitive camping for deeper adventure. Let’s add pole technique to your skills toolbox.
Why Use Hiking Poles? (Hint: They’re Not Just for Seniors)
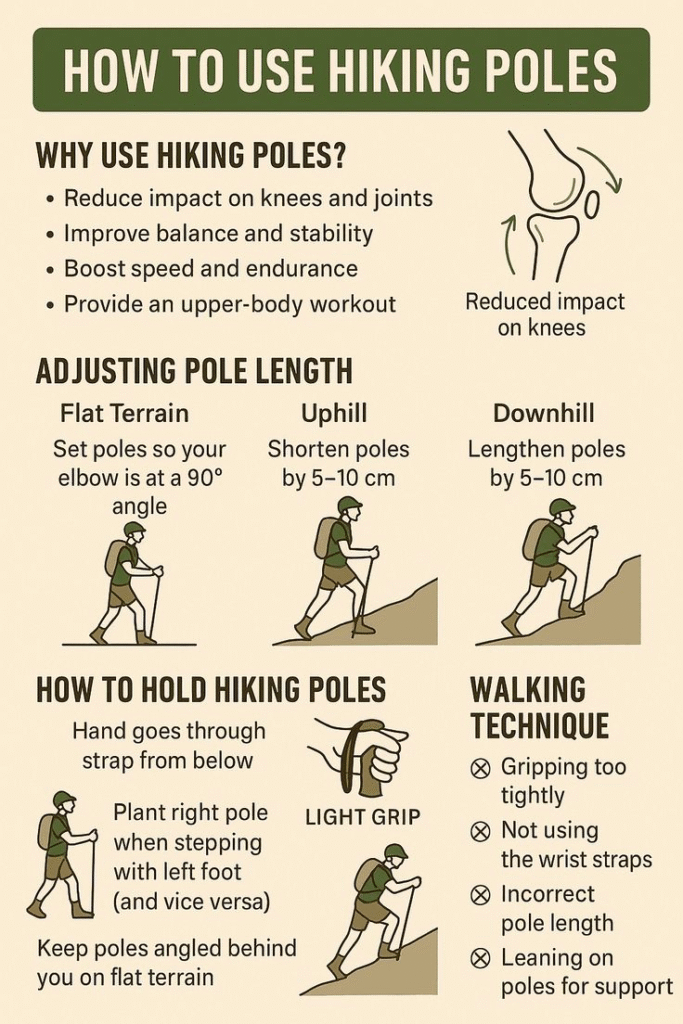
Hiking poles give you four points of contact for better stability, distribute trail impacts away from your knees, and let you power up steeper climbs without tiring as fast. Scientific research shows that properly used trekking poles can reduce knee stress by up to 25% on descents and save your arms and shoulders from handling too much pack weight. That’s not marketing—it’s physics in action.popsci+1
You don’t need to be a thru-hiker to see the benefit. Whether you’re setting out on a quick day hike, hauling a loaded pack through the Sierras, or just want more confidence on muddy trails, poles help you go farther, recover faster, and feel better at the end of the day.
Curious about how to set up a hike for all-day comfort? Check out RichardsDiary’s ultimate hiking checklist so you don’t forget the small items that make a big difference.
How to Use Hiking Poles: Avoid These 5 Trail Mistakes
Thousands of hikers walk past me every season, and most are missing out on the core benefits of hiking poles—either by setting them wrong, using poor technique, or simply not adapting to the terrain. Let’s make sure that’s not you.
1. Incorrect Height Adjustment
Mistake: You’re not adjusting your pole height for different trail conditions.
Fix: On flat ground, set your poles so your elbows make a 90-degree angle. (For steeper climbs, shorten by an inch or two; for descents, lengthen by the same.) Most modern poles have easy measurement marks. Lock the length each time you adjust.
Step-by-step height guide:
- Stand upright with boots on, arm by your side
- Place the pole’s tip by your foot and grip the handle.
- Your forearm should be parallel to the ground.
Pro tip: Adjust before hitting the climb—not halfway up, clinging to a tree.
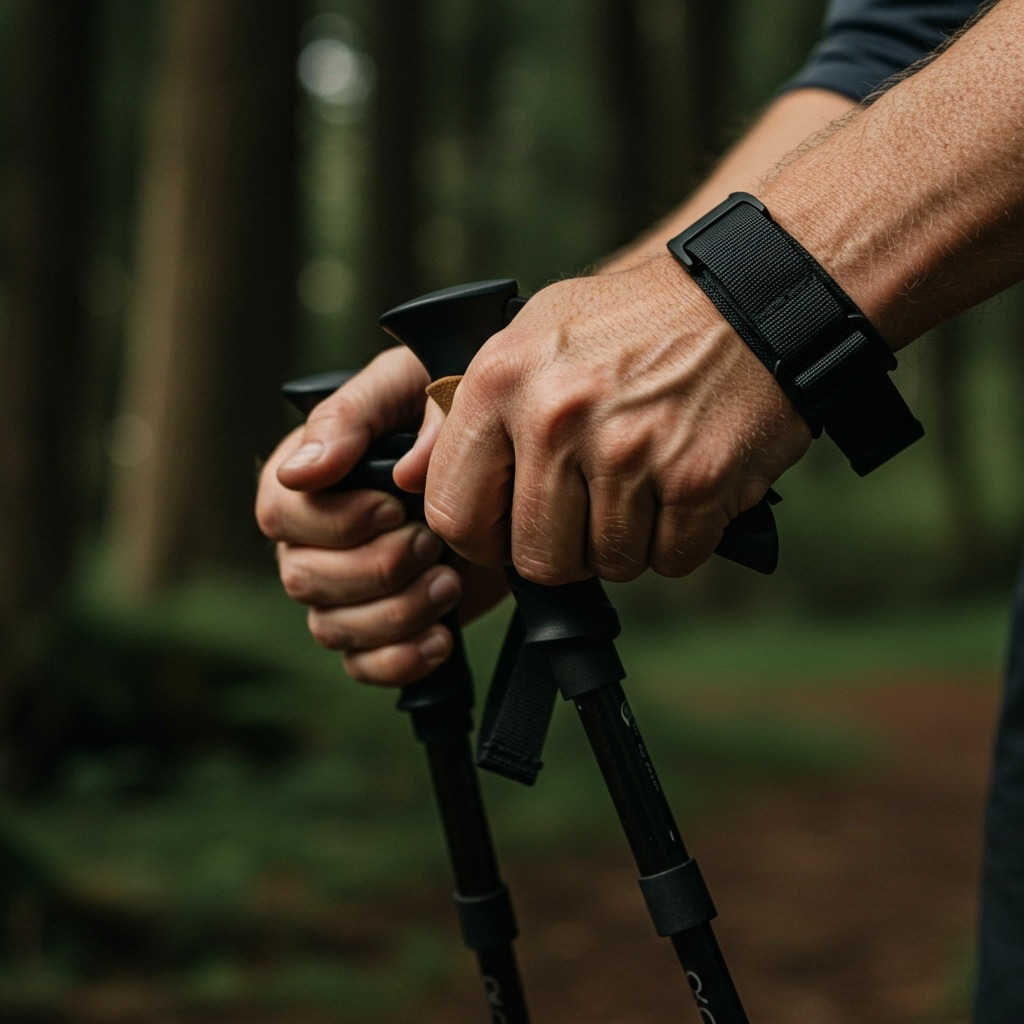
2. Wrist Strap Woes
Mistake: You ignore or misuse wrist straps, so your hands tire or slip off.
Fix: Slide your hand up through the bottom of the strap, then down on the grip; the strap now supports your wrist, so you don’t have to squeeze the handle tightly. Relax your grip to avoid numb fingers!
Bonus: In winter or tricky terrain, learn how to quickly release wrist straps so you don’t get caught if you fall.
3. The “Double Plant” Shuffle
Mistake: You use both poles simultaneously on every step, or you’re stabbing the ground in chaos.
Fix: Use a natural, alternating rhythm: when your left leg steps forward, your right pole moves with it (and vice versa). On steep or technical ground, “double plant” for stability, but otherwise, mimic your natural walking rhythm for efficient movement.
If you fall out of sync, lift the poles momentarily, reset, and continue.
4. Forgetting to Adapt for Terrain
Mistake: One size fits all—same technique everywhere.
Fixes for Terrain:
- Uphill: Shorten poles slightly; plant near your body and use your upper arms to push yourself up.
- Downhill: Lengthen poles and plant ahead for shock absorption. Rest your palm lightly on the top of the handle for descents, letting gravity and gear do the work.
- Sidehill: Adjust one pole longer than the other for sloped traverses.
- Mud/Snow: Add baskets, or you’ll sink.
- Rocks/Roots: Remove rubber tips for better grip, and always test before committing your weight.
External Read: For in-depth movement strategies, see the REI Expert Advice on Trekking Poles.
5. Not Maintaining Your Poles (Until They Fail Mid-Hike)
Mistake: You neglect cleaning, tip replacement, or locking-mechanism checks.
Fix: After muddy hikes, wipe poles down before collapsing them. Check the tips each season; swap out worn or blunt ends to keep grip effective. Loose locking mechanisms are easily fixed at home—and can keep you from a trail disaster.
Maintenance routine tip: Store poles loosely assembled and dry, not fully collapsed, for best longevity.
Want to geek out on gear and try new approaches? Dive into the trekking vs hiking comparison and find your perfect adventure style.
Step-by-Step Guide: Mastering Hiking Pole Technique
Ready to perform like the old pros (and leave knee pain behind)? Walk through this simple process every time you hit a trail.
1. Adjust and Lock in Heights
- Start flat: elbows at 90 degrees.
- Set for uphills/downs as the trail demands
2. Gripping and Using Straps
- Hands slide up through the strap and down onto the grip
- Rest wrist weight on the strap; relax the hand.
Fun fact: Seasoned hikers can let go entirely, and the strap will hold the pole in place!
3. Develop Your Natural Rhythm
- Walk normally for a few steps to “reset” your coordination.
- Introduce poles: left leg with right pole, right leg with left.
- Let your arm swing from the shoulders, not just from the elbow.
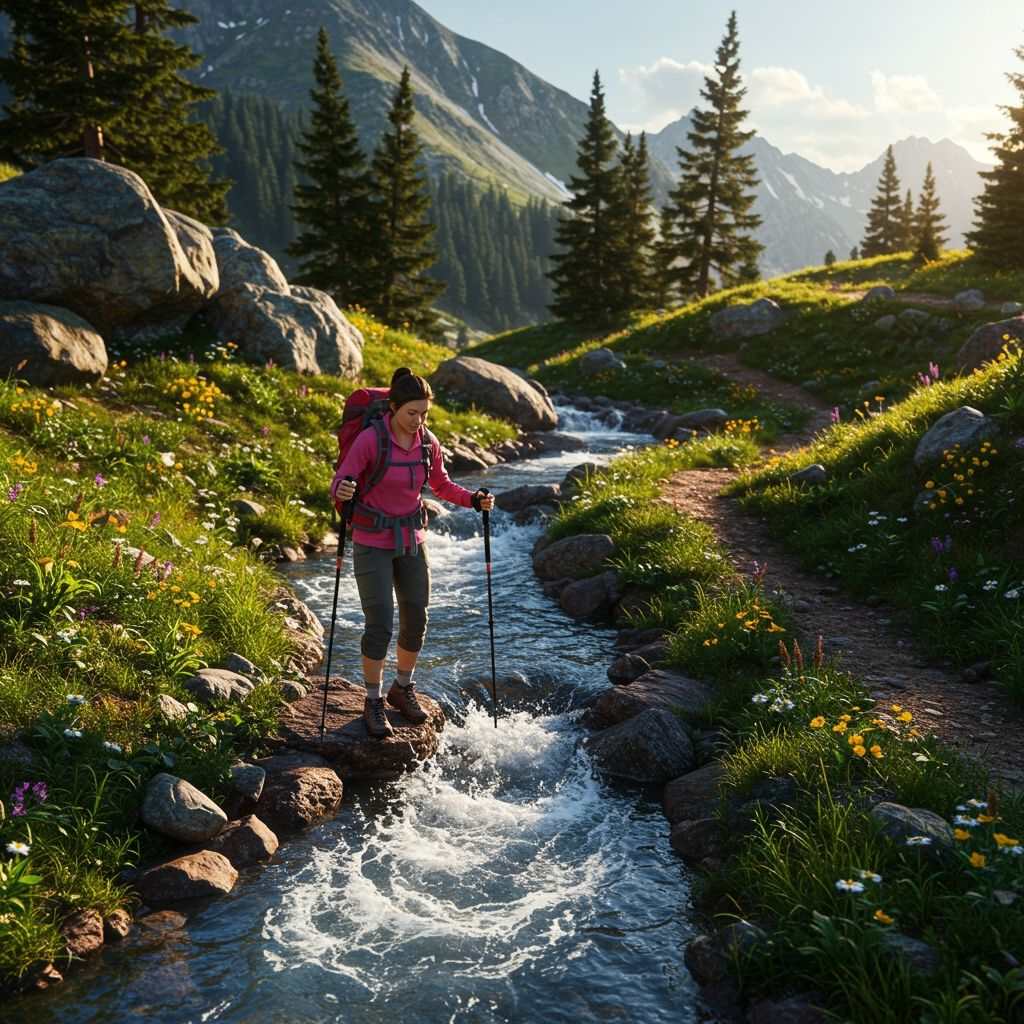
4. Challenges: Rocks, Streams, Logs
- Stream crossings: Lengthen poles slightly for extra reach; plant both for stability before stepping
- Rock fields: Remove rubber tips for better purchase; focus on slow, deliberate placements
- Log walking: Use both poles for side balance, planting just ahead of your center of gravity.
For a real-life example, on a rainy trip in Olympic National Park, my poles kept me upright over five slippery log crossings. My trail partner with only one pole? Let’s just say his socks weren’t dry until Seattle.
Pro Advice for Every Terrain
You’ll face every kind of ground if you spend enough time in nature. Here’s how seasoned hikers adapt their technique:
Mud or Soft Soil
- Add wider baskets to prevent poles from sinking
- Test each plant for stability before stepping (the “pole probe” habit pays off)
Rocky Slopes
- Remove pole baskets if possible for a tighter fit between rocks.
- Use firm, short steps and plant directly between rocks, keeping your center of mass over your feet.
Snow or Loose Sand
- Attach the largest snow or powder baskets you have
- Lengthen poles significantly for deep drifts or sand; plant at an angle for best push-off
Side Slopes
- Make your uphill-side pole slightly shorter, downhill longer, to ensure even hand height and balanced arm swing.
Need to adjust your hiking outfit for these conditions? Get expert camping clothing advice so you’re always prepared, no matter what the weather throws your way.
Essential Gear Care & Packing Tricks
Hiking poles are almost indestructible if you show them a little love. Here’s my routine before and after every trip:
- Wipe down mud and grit at day’s end—prevents lock jams and corrosion
- Air dry before collapsing all the way
- Check locks for a snug “snap” every time you adjust.
- Tighten or replace worn tips as needed (carry spares for big adventures)
- For flights, collapse and pack in checked luggage (checked bags only for longer poles)
If you want a peer-reviewed take, see Outside Online: Gear Maintenance Tips.

Hiking Poles: Hacks for Everyday Comfort
- Leverage, not brute force: Let straps do the heavy work so hands and forearms stay relaxed.
- Four points of balance: Especially helpful with a heavy pack or after a long day—think “mountain goat mode.”
- Alternate poling: Double plant (both poles) for dicey spots, sidestepping, or when breaking trail in snow.
- Camp chores: Poles make excellent tent supports, clotheslines, or even tarp handles in a pinch (hello, stormy night skills).
- Recovery tool: Use poles as balancing sticks for stretching calves, quads, and hips at rest stops.
FAQ: Real Hiker Questions Answered
1. Do I need two poles or just one?
Two poles are strongly recommended for balance, rhythm, and weight distribution. Solo poles are better than none, but you’ll get used to “four-wheel drive” quickly.
2. What height should my hiking poles be?
Use the “90-degree rule” (elbow bent at 90° on flat ground) as your baseline. For uphills, shorten a bit; for descents, lengthen. Adjust for comfort and control at every trail transition.
3. Are hiking poles helpful on easy trails?
Absolutely! Even on short, mellow trails, poles save your joints, improve balance, and keep you hiking longer—especially on loose gravel or after a recent rain.
4. Can I use hiking poles for camping chores?
Definitely, Poles make great tent or tarp supports, help pitch ultralight shelters, and even work as back scratchers or selfie sticks (true story—just be careful).
5. How do I keep my poles from getting stuck or lost?
Use mud or snow baskets in soft terrain, stow collapsed poles through pack straps (tips down), and always check you’ve packed both before leaving a rest spot.
Bonus hike happiness: Want to make camp feel like home and pass the time after a trek? Try these surprisingly fun things to do while camping.
Trail-Ready Takeaways
- Mastering hiking poles isn’t about looking like a seasoned guide on Instagram—it’s about feeling great, reducing injuries, and making every step more enjoyable.
- Adjust for every condition—your knees, ankles, and shoulders will thank you.
- Maintain your gear as if it’s life support, because sometimes, it is.
For a global perspective, find more technical advice at the British Mountaineering Council’s guide, and for local trail tips, check out Outside Online’s hiking skills hub. Your adventure is just a few pole adjustments away from being the most comfortable one yet.
Enjoy the walk, swing those poles with purpose, and may your trails be sturdy and your knees happy!