
Standing in front of a new coffee maker for the first time can feel surprisingly intimidating. Last month, my neighbor sheepishly asked me to come over and help her figure out her brand-new drip coffee maker because her first attempt resulted in weak, bitter coffee that tasted nothing like what she expected. It turns out she wasn’t alone—many people struggle with the basics of coffee maker operation, leading to disappointing results and wasted coffee.
The truth is, using a coffee maker properly involves more than just adding water and coffee grounds. Getting consistently great results requires understanding the right ratios, timing, and techniques that most instruction manuals barely cover. Once you master these fundamentals, you’ll be brewing café-quality coffee at home every single day.
Understanding Your Coffee Maker Components
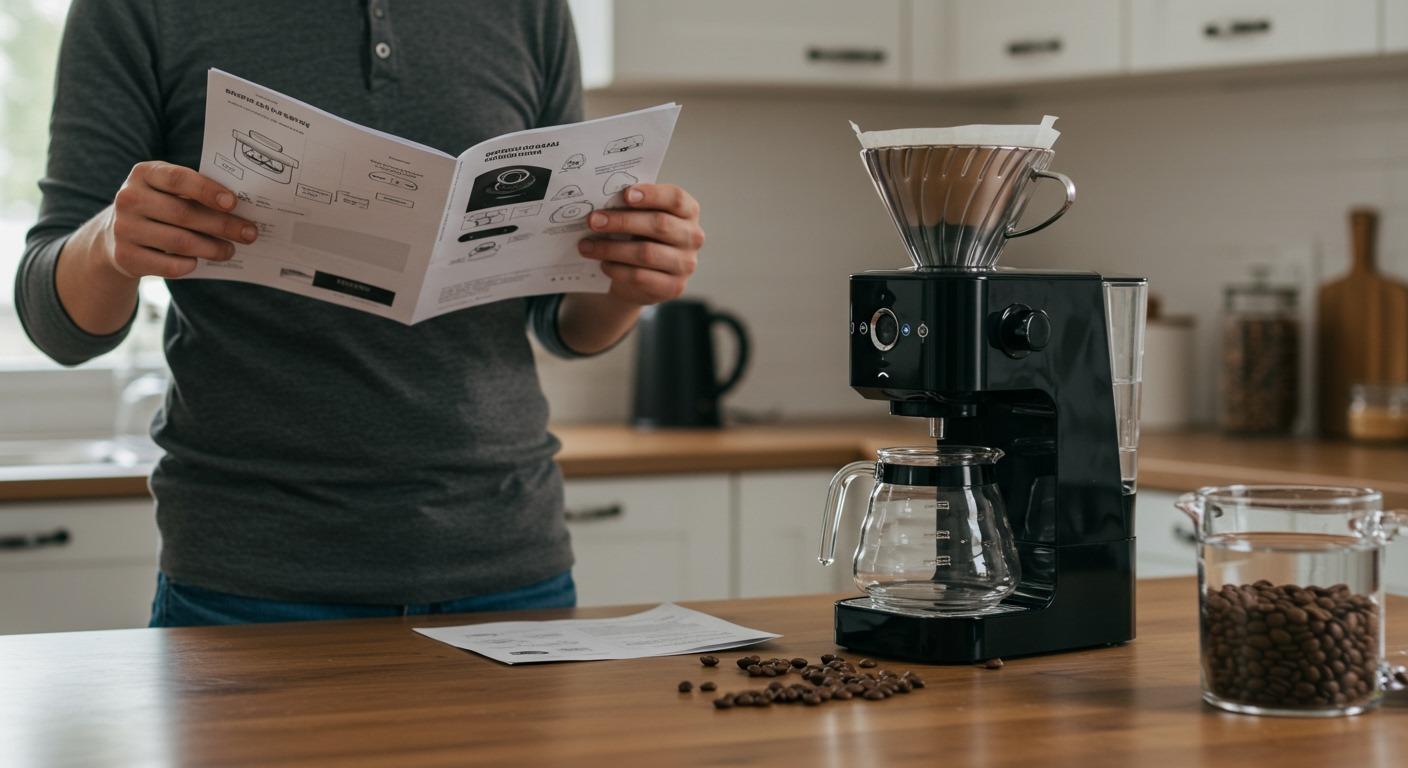
Before brewing your first pot, familiarize yourself with your coffee maker’s essential parts. Most drip coffee makers share similar components, though placement and design vary between brands and models.
The water reservoir holds cold water that gets heated during brewing. This tank typically has measurement markings corresponding to cup servings, though “cup” measurements on coffee makers usually equal 6 ounces rather than standard 8-ounce cups.
The filter basket holds your coffee filter and grounds. Some machines use permanent metal filters, while others require disposable paper filters. The basket should slide out easily for loading and cleaning after each use.
The carafe or coffee pot collects your brewed coffee. Glass carafes work with hot plates to keep coffee warm, while thermal carafes maintain temperature through insulation without continued heating.
The control panel varies significantly between models, from simple on/off switches to programmable timers, strength settings, and temperature controls. Understanding your specific controls helps optimize brewing for your preferences.
Preparing for Perfect Coffee
Start with fresh, quality coffee beans ground to a medium consistency. Pre-ground coffee works fine, but freshly ground beans produce noticeably better flavor. Store coffee in an airtight container away from light and heat to preserve freshness.
Water quality matters more than most people realize. If your tap water tastes good, it’s probably fine for coffee. However, if your water has strong chlorine, metallic, or mineral tastes, consider using filtered water for better-tasting coffee.
The coffee-to-water ratio serves as your foundation for consistent results. A standard ratio is 1 to 2 tablespoons of ground coffee per 6 ounces of water, but adjust according to your taste preferences. Stronger coffee requires more grounds, while milder coffee uses less.
Step-by-Step Brewing Process
Step 1: Fill the Water Reservoir
Remove the water reservoir if it’s detachable, or open the lid if it’s built-in. Fill with cold, fresh water using the measurement markings as guides. Remember that coffee maker “cups” are typically 6 ounces, so adjust accordingly if you prefer larger servings.
Avoid using hot water from the tap, as this can affect extraction timing and potentially damage the heating element. Cold water allows the machine to control temperature precisely throughout the brewing cycle.
Step 2: Insert and Load the Filter
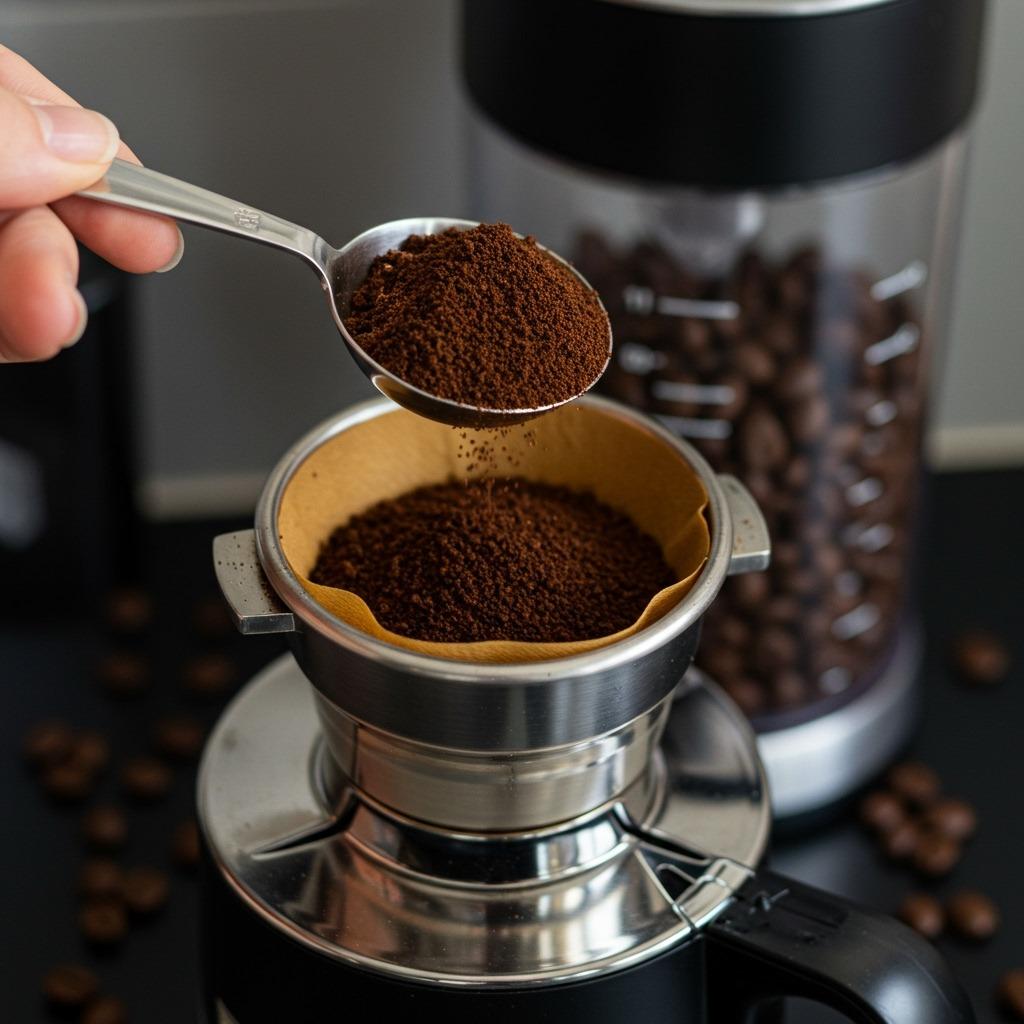
Place a paper filter in the filter basket, ensuring it sits flat without folding or bunching. If using a permanent metal filter, make sure it’s clean and properly seated in the basket.
Add your measured coffee grounds to the filter, spreading them evenly for uniform extraction. Avoid pressing or packing the grounds, as this can restrict water flow and create uneven brewing.
Step 3: Start the Brewing Cycle
Close all lids and ensure the carafe is properly positioned on the warming plate or base. Most coffee makers won’t start brewing if the carafe isn’t correctly placed, thanks to safety mechanisms that prevent spills.
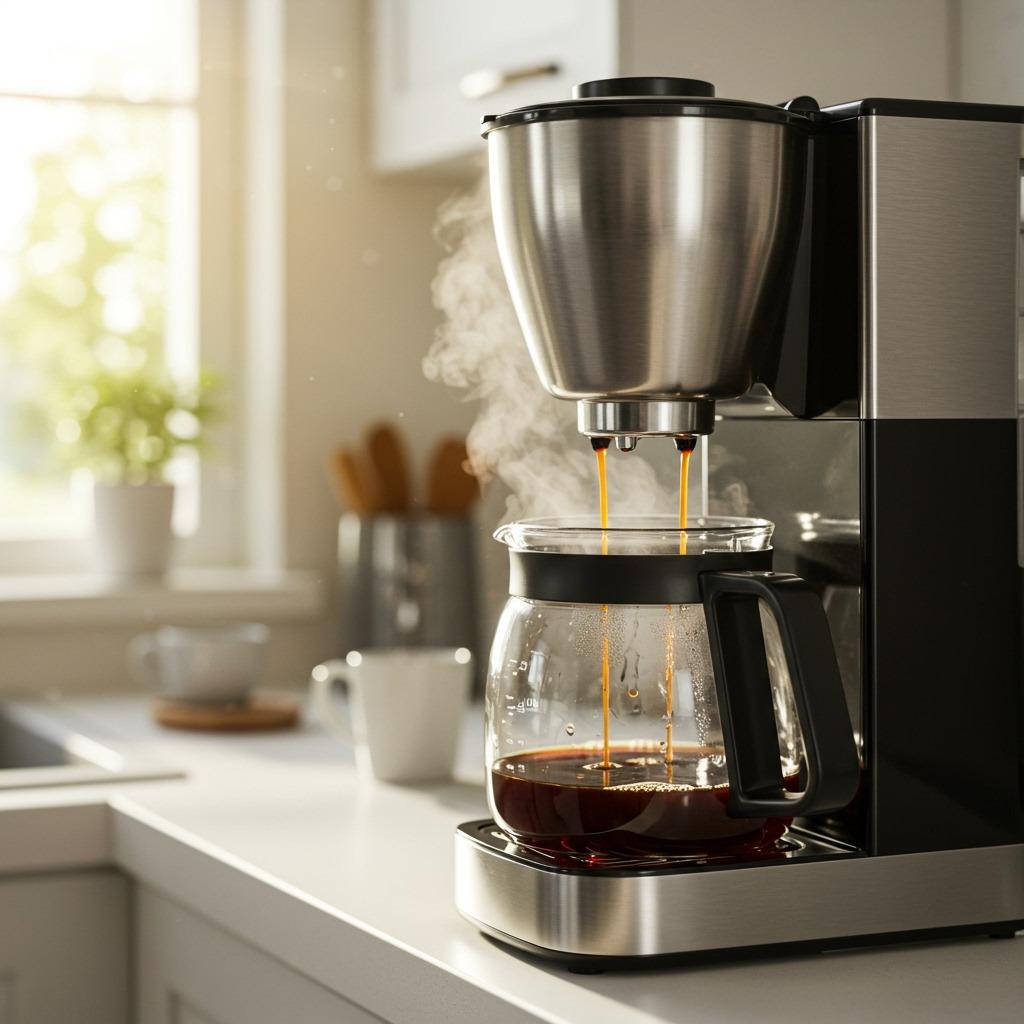
Press the brew button or turn on your coffee maker. The brewing process typically takes 4-6 minutes for a full pot, depending on the machine size and water volume.
Step 4: Monitor and Serve
Most coffee makers will signal when brewing is complete, either with an audible beep or indicator light. Some models automatically switch to a “keep warm” mode to maintain temperature.
Serve immediately for the best flavor, as coffee quality deteriorates when held on heating plates for extended periods. If you won’t drink the entire pot within 30 minutes, consider transferring coffee to a thermal carafe to maintain quality.
Optimizing Coffee Strength and Flavor
Adjusting coffee strength involves changing your coffee-to-water ratio rather than brewing time, which the machine controls automatically. For stronger coffee, use more grounds or less water. For milder coffee, reduce the grounds or add more water.
Water temperature should reach 195-205°F for optimal extraction, which most modern coffee makers handle automatically. If your coffee tastes weak despite proper ratios, your machine might not be heating water sufficiently.
Grind size affects extraction rate and flavor. Medium grinds work best for drip coffee makers, as fine grinds can clog filters and create bitter coffee, while coarse grinds may produce weak, under-extracted coffee.
Brewing time should fall between 4 and 6 minutes for proper extraction. Significantly faster or slower brewing indicates potential issues with grind size, machine performance, or mineral buildup requiring cleaning.

Common Coffee Maker Mistakes to Avoid
Using the wrong filter size leads to grounds in your coffee or poor water flow. Check your manual for the correct filter size, typically #2, #4, or #6, which corresponds to the coffee maker’s capacity.
Overfilling the water reservoir can cause overflow and mess, while underfilling relative to coffee grounds creates overly strong, potentially bitter coffee. Maintain proper ratios for consistent results.
Leaving coffee on the heating plate for hours degrades flavor significantly. Coffee is best within 30 minutes of brewing, after which it becomes increasingly bitter and loses aromatic compounds.
Neglecting regular cleaning affects both taste and machine performance. Clean your coffee maker monthly with vinegar and water to remove mineral buildup and ensure optimal operation.
Troubleshooting Common Issues
Weak coffee usually results from insufficient coffee grounds, water that’s not hot enough, or beans that have lost freshness. Increase your coffee-to-water ratio or check if your machine needs descaling.
Bitter coffee often comes from over-extraction caused by too fine a grind, too much coffee, or leaving coffee on the heating plate too long. Adjust your grind size and remove coffee from the heat promptly.
Slow brewing typically indicates mineral buildup in internal components. Learning how to clean a coffee maker properly resolves most performance issues and extends equipment life.
Coffee grounds in the cup suggest filter problems—wrong size, poor quality, or tears in paper filters. Ensure filters fit properly and consider switching brands if problems persist.

Advanced Features and Settings
Programmable timers allow you to wake up to fresh coffee by setting brewing to start automatically. Fill the reservoir and add grounds the night before, then set your desired brew time.
Strength settings adjust brewing parameters like water temperature or flow rate to create stronger or milder coffee without changing your coffee-to-water ratios manually.
Pause-and-serve features let you pour coffee mid-brew without spills. The brewing process pauses when you remove the carafe and resumes when you replace it.
Auto shut-off functions provide safety and energy savings by turning off heating elements after preset periods, typically 1-4 hours depending on the model.
Maintenance for Long-Term Performance
Daily cleaning involves rinsing the carafe, washing the filter basket, and wiping exterior surfaces. This prevents oil buildup and maintains coffee quality.
Weekly deep cleaning includes washing all removable parts with warm, soapy water and checking for coffee residue in hard-to-reach areas.
Monthly descaling removes mineral deposits that affect brewing temperature and flow rate. Use equal parts white vinegar and water, run a complete cycle, then run two water-only cycles to remove vinegar taste.
Storage considerations matter if you won’t use your coffee maker regularly. Empty all water, clean thoroughly, and store in a dry location to prevent mold or mineral deposits.
Choosing the Right Coffee and Ratios
Bean selection significantly impacts your final cup quality. Medium roast beans offer balanced flavor that works well in drip coffee makers, while light roasts highlight origin characteristics and dark roasts provide bold, robust flavors.
Grind timing affects freshness dramatically. Whole beans stay fresh longer than pre-ground coffee, so consider grinding beans just before brewing for maximum flavor extraction.
Ratio experimentation helps you find your perfect coffee strength. Start with the standard 1-2 tablespoons per 6 ounces of water, then adjust based on taste preferences.
Water quality improvements can dramatically enhance coffee taste. If your tap water has noticeable chlorine or mineral flavors, filtered water often produces cleaner, more balanced coffee.
For those interested in alternative brewing methods, exploring how to make French press coffee provides options when your drip coffee maker isn’t available.
Energy Efficiency and Safety
Auto shut-off features not only save energy but also prevent potential safety hazards from leaving heating elements on indefinitely. Set appropriate shut-off times based on your consumption patterns.
Proper placement ensures safe operation and optimal performance. Place your coffee maker on level, heat-resistant surfaces away from other appliances and ensure adequate ventilation around heating components.
Cord management prevents accidents and extends cord life. Avoid wrapping cords tightly around the machine when not in use, and check periodically for wear or damage.
Regular inspection of electrical components, water reservoir, and heating elements helps identify potential issues before they become safety hazards or cause machine failure.
Understanding Different Coffee Maker Types
Standard drip coffee makers work best with medium-grind coffee and produce familiar, well-balanced coffee that most people enjoy. They’re ideal for households that consume multiple cups daily.
Single-serve machines use pods or capsules for convenience but limit coffee variety and increase per-cup costs. They work well for individuals or households with varying taste preferences.
Programmable machines offer convenience features like timers and strength settings, but require more complex operation and maintenance procedures.
Thermal carafe models maintain coffee temperature without continued heating, preserving flavor longer than glass carafes on heating plates.
Creating Your Perfect Morning Routine
Prepping the night before streamlines your morning coffee routine. Set up everything except turning on the machine, or use programmable features to have coffee ready when you wake up.
Timing considerations help optimize freshness. Brew coffee as close to consumption time as possible, and avoid making more than you’ll drink within 30 minutes for the best flavor.
Storage solutions for coffee beans, filters, and cleaning supplies keep everything organized and accessible for efficient daily use.
Backup plans ensure you’re never without coffee. Keep instant coffee or learn how to make cowboy coffee for situations when your machine isn’t available.
Understanding proper coffee maker operation transforms your daily coffee experience from hit-or-miss to consistently excellent. The key lies in mastering basic ratios, maintaining your equipment, and adjusting variables until you discover your perfect cup. With these fundamentals in place, your morning coffee routine becomes a reliable source of satisfaction rather than frustration.
FAQ: Coffee Maker Usage
How much coffee should I use per cup of water?
Use 1-2 tablespoons of ground coffee per 6 ounces of water (coffee maker “cup” size). Start with 1.5 tablespoons and adjust based on taste preferences. Remember that coffee maker cup measurements are typically 6 ounces, not 8 ounces.
Can I use any type of coffee filter in my coffee maker?
No, coffee makers require specific filter sizes, typically #2, #4, or #6. Check your owner’s manual for the correct size. Using the wrong size can cause grounds in your coffee or poor water flow during brewing.
How long should I keep coffee on the heating plate?
Coffee is best consumed within 30 minutes of brewing. After this time, continued heating makes coffee bitter and destroys aromatic compounds. Consider using a thermal carafe for longer storage without quality loss.
What should I do if my coffee tastes weak or bitter?
For weak coffee, increase the coffee-to-water ratio or check if your machine needs descaling. For bitter coffee, try a coarser grind, reduce the coffee amount, or remove coffee from the heat immediately after brewing. Old or over-extracted coffee often tastes bitter.
How often should I clean my coffee maker?
Rinse the carafe and filter basket daily, clean removable parts weekly with soap and water, and descale monthly with vinegar and water to remove mineral buildup. Regular cleaning maintains coffee quality and extends machine life.