
It was 6 AM on a crisp morning at Bass Lake, and I was fumbling with my fishing line in the dim pre-dawn light. My buddy Jake was already casting while I struggled with what I thought was a simple task—tying a hook to my line. After my third failed knot unraveled when I tried to tighten it, I realized something: learning how to tie a hook on a fishing line properly isn’t just a basic skill—it’s the difference between landing that trophy bass and watching it swim away with your best hook.
That embarrassing morning taught me that mastering a few essential knots could save any fishing trip. Whether you’re a weekend warrior or just starting out, these four proven knots will keep your hooks secure and your confidence high.
Why Your Fishing Knot Choice Matters
Before diving into technique, let’s be honest—not all fishing knots are equally strong or easy to tie. The wrong knot can cost you the fish of a lifetime. The right one lets you focus on the strike and fight. The strength of your connection depends on your line type (monofilament, fluorocarbon, or braid), the hook size, and the fishing conditions you’ll face.
A knot that works perfectly for panfish on 6-pound test might fail for pike with a heavy braided line. Few skills are as fundamental on the water as confidently tying on a hook with a knot you trust.
The Improved Clinch Knot: The Classic Starter
The improved clinch knot is often the first knot new anglers learn, and for good reason—it’s simple, reliable, and works great with light to medium lines. If you fish with monofilament from 6–20 lbs, this is your go-to.
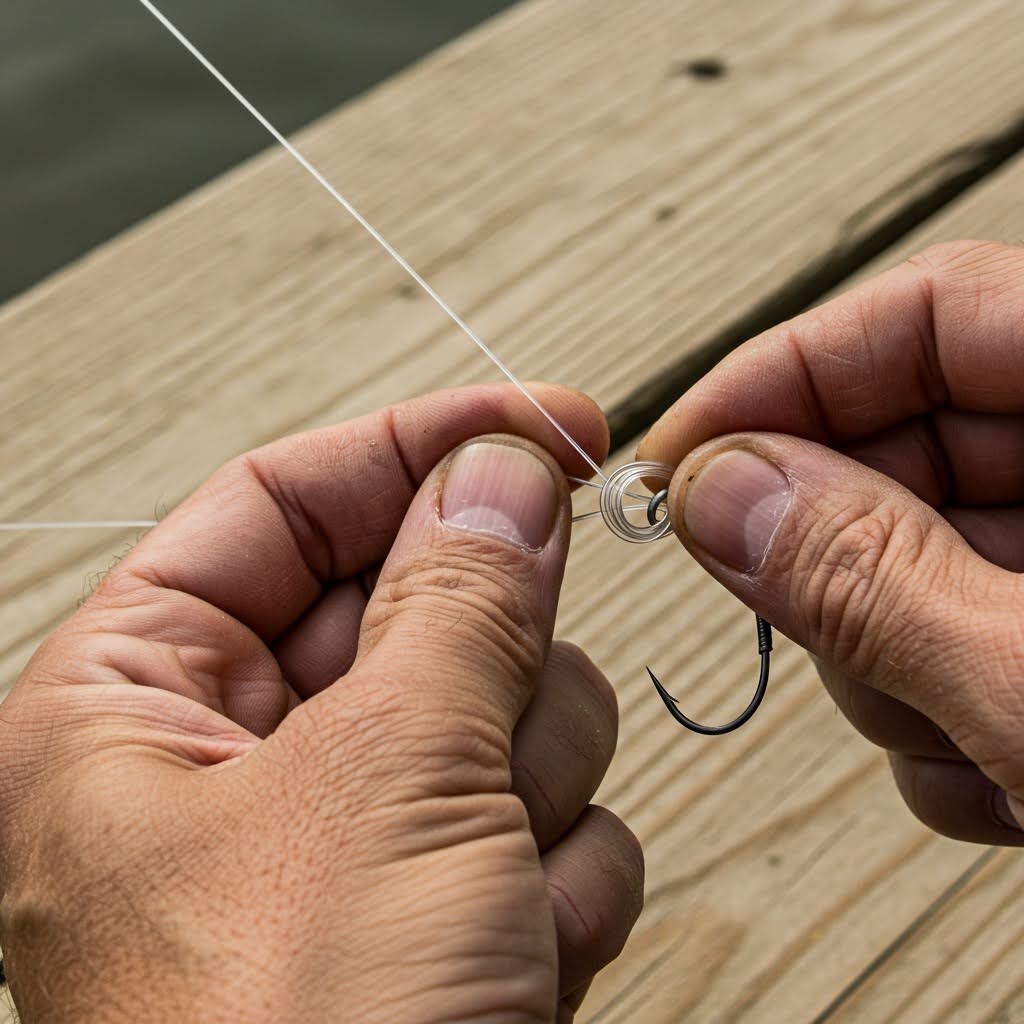
How to Tie the Improved Clinch Knot
- Thread the line through the hook eye.
- Make 5–7 wraps around the line with the free end.
- Pass the free end through the small loop near the hook eye.
- Loop it back through the larger opening you just created.
- Moisten with water or saliva.
- Pull the line and tag end to tighten, then trim excess.
Moistening the knot isn’t superstition—it actually reduces friction, which protects your line and helps the knot cinch down smoothly.
This knot has served me on everything from kid-friendly bluegill ponds to fast-action bass lakes. It’s particularly effective with standard freshwater setups and easy enough to teach to any new angler.
The Palomar Knot: The All-Around Workhorse
If you only master one fishing knot, make it the Palomar. The Palomar knot is considered one of the strongest and most reliable knots, especially with braided lines. It’s also fast to tie, even in low light or with cold fingers.
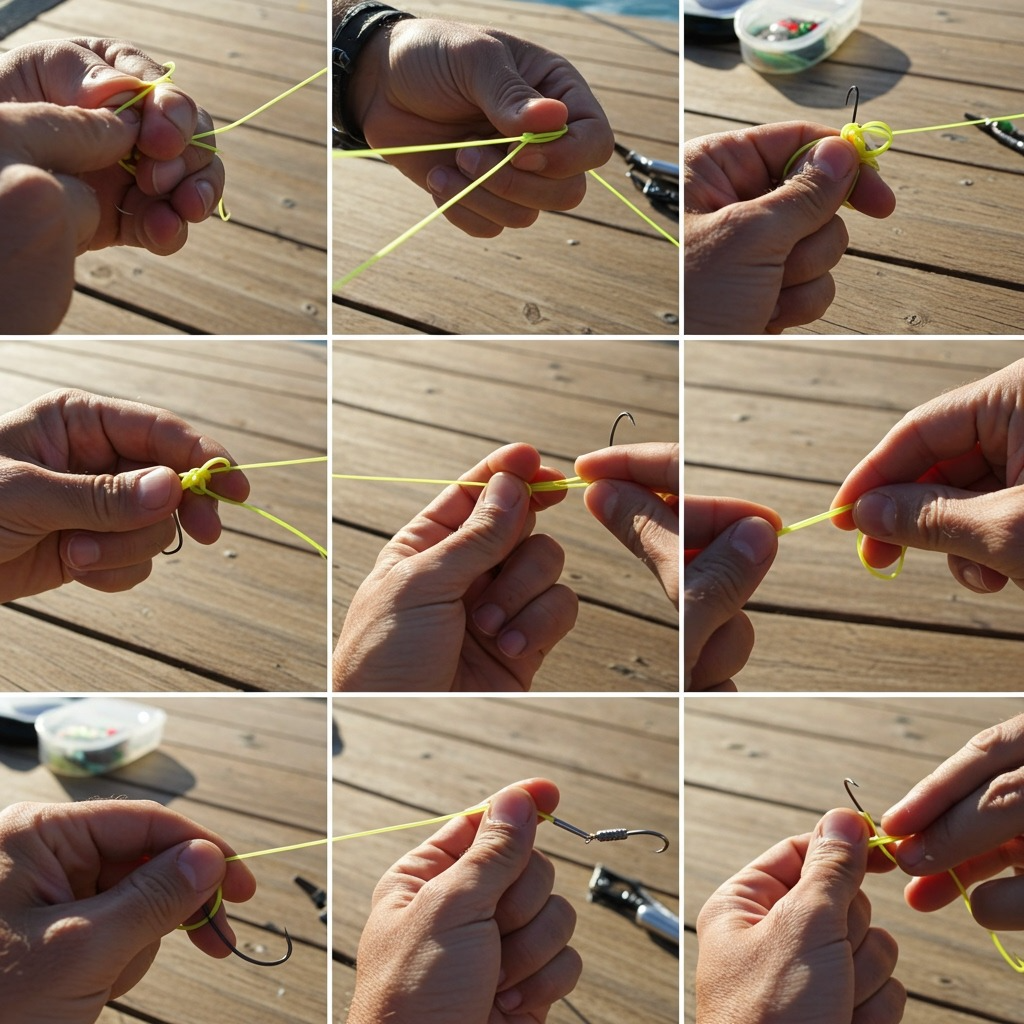
How to Tie the Palomar Knot
- Double 6 inches of line and pass the loop through the hook eye.
- Tie a loose overhand knot in the doubled line.
- Pass the hook through the loop.
- Moisten the knot.
- Pull on both ends to tighten. Trim the tag.
Because the Palomar distributes pressure evenly, it consistently performs—even in heavy cover or fighting large fish. I’ve landed both bass in weeds and catfish in current using this knot. It’s versatile, working well for monofilament, fluorocarbon, and braid. Once you get the hang of it, you’ll tie it by feel alone.
The Uni Knot: The Angler’s Swiss Army Knife
The uni knot is the real deal for multi-purpose use. It works for attaching hooks, swivels, and lures—and even for connecting two lines. It provides strength and dependability for medium to heavy lines.
How to Tie the Uni Knot
- Run the line through the hook eye and double it, forming a loop.
- Wrap the tag end 5–7 times through the loop.
- Moisten the knot.
- Pull the main line to tighten.
- Slide the knot down to the eye and pull snug. Trim excess.
I use the uni knot most when saltwater fishing or whenever I need more strength with heavy monofilament. It’s also my go-to for tying new line to the spool or connecting two different types of lines in a pinch.
The Snell Knot: For Maximum Power
The snell knot has been around for over a century, and there’s a reason for its staying power. If you fish with bait and circle hooks—especially for catfish or carp—this knot gives you a straight-pull advantage for hard hooksets.

How to Tie the Snell Knot
- Pass the line through the hook eye twice, forming a loop along the shank.
- Wrap the loop around the shank and both lines 5–10 times.
- Hold the coils and pull the standing line to snug the knot under the wraps.
- Pull tight.
The snell knot aligns the hook with the line, improving hook penetration. It’s not my all-purpose knot, but I wouldn’t chase catfish without it.
Picking the Right Knot for the Situation
Picking the right knot depends on your setup and target species:
- Light lines (6–12 lb): Improved clinch or Palomar
- Medium lines (15–20 lb): Palomar or uni
- Heavy lines (25+ lb): Palomar or snell
- Monofilament: Any of the above
- Fluorocarbon: Stick to Palomar or uni knots
- Braided: Use the Palomar
- Panfish, trout: Improved clinch
- Largemouth bass: Palomar or uni
- Catfish, pike: Snell or Palomar
No matter which you use, a poorly tied knot will always fail. Practice is crucial—tie each knot at home with some old line and a few spare hooks until your hands learn the rhythm.
For more details on line-to-line knots and fixing line breaks on the go, see the guide on how to tie fishing line together.
Common Mistakes and How to Avoid Them
- Not wetting the knot: Always moisten before cinching. Dry knots can fray and weaken the line.
- Loose or overlapping wraps: Keep them neat and snug—overlapping invites weak spots.
- Too few or too many wraps: Most knots need 5–7 for light line, fewer for heavy line—read the instructions.
- Short tag ends: Leave at least 6 inches to work with, and trim after.
- Not retesting knots: After a few fish or snags, always inspect and retie as needed.
Many anglers lose fish not because of bad luck, but because they rushed their knot. Take your time—each knot is a link between you and your next story.
Pro Tips for Better Knot Tying
- Practice in daylight, then try in low light to mimic actual fishing conditions.
- Use a headlamp or stand in the shade for realism—many early morning or dusk bites demand quick tying in limited visibility.
- With thick or cold-weather lines, warm the line with your hands before tying.
- If you tie knots with small hook eyes, flatten the line end for easier threading.
Extra Gear for Seamless Knots
- Knot-tying tools: Devices like Hook-Eze or simple forceps can save you frustration—especially for small hooks and cold mornings.
- Good clippers or scissors: A sharp, clean cut prevents fraying and ensures your knot sits properly.
- Leader wallet or box: Pre-tie hooks on leaders for fast swap-outs when fish are biting quickly.
For remote or rugged trips, learn about the types of camping that pair well with multi-waterbody angling—and keep an extra reel spool handy.
A Fishing Morning Routine for Success
Most of my favorite knot-tying sessions happen right at sunrise, coffee in hand, before anyone else stirs at camp. There’s a certain peace in quiet practice—no pressure, just building the habit. If you’re a fan of good coffee with your outdoor adventures, check out our cowboy coffee guide that pairs perfectly with a slow dawn on the water.
Troubleshooting Knot Issues
- Slipping knots: Often from too few wraps or skipping the wetting step. Slow down and do it right.
- Line breaks at the knot: Usually from not seating the knot fully or a kinked line—start over for best results.
- Trouble threading small hooks: Pinch the line flat for a “needle” effect.
- Knot won’t tighten smoothly: Check if lines are crossed or if a wrap is out of order—untie and redo.
Seasonal Advice for Knot Tying
- Spring: Fish are aggressive, and line flexibility is high; experiment with knots that let lures swim freely, like the Palomar.
- Summer: Warmer temps soften line; great time to perfect more complicated knots you might avoid in the cold.
- Fall: Prepare for bigger, harder runs—choose knots with extra holding power and retie more often.
- Winter: Cold makes lines stiff, so use simple, forgiving knots like the improved clinch.
If you plan to camp while you’re fishing, read our tips on how to stay warm while camping during early or late trips.
Quick Reference: When to Use Each Knot
| Knot Type | Works Best For | Recommended Line Type |
| Improved Clinch | Panfish, trout, basic rigs | Mono, light fluorocarbon |
| Palomar | Bass, catfish, big fish | Mono, fluoro, braid |
| Uni | Tough fights, saltwater | Heavier mono, fluoro, braid |
| Snell | Circle hooks, bait rigs | Heavy mono, catfishing, carp |
FAQ: Fishing Knot Know-How
What’s the easiest knot for a beginner to learn?
The improved clinch knot is straightforward and reliable. After a few tries, most anglers can tie it quickly and confidently.
Which knot is the absolute strongest?
Most pros agree that the Palomar knot achieves near-perfect strength retention for most lines, especially with braid.
How do I avoid my knots slipping?
Moisten the knot before pulling tight, make the correct number of wraps, and always test with a solid tug.
Is it okay to use one knot for all types of fishing?
One knot might suffice for similar rigs, but learning at least two—like the improved clinch and the Palomar—will cover you in nearly every angling scenario.
Do I need special tools, or can I tie these by hand?
Most knots can be tied entirely by hand, but tools like small pliers or knot tiers help with very light or stiff line, or for those with dexterity challenges.