
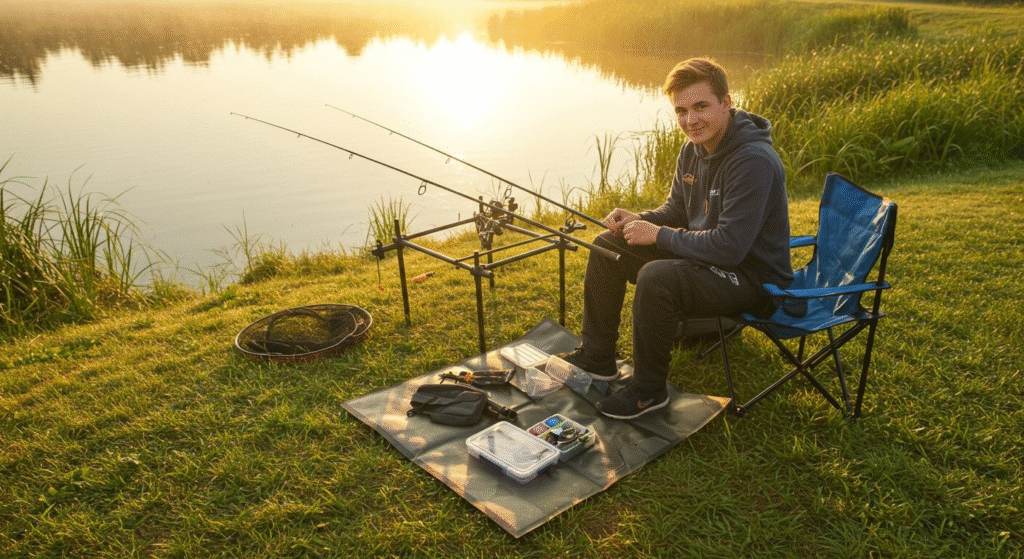
There’s nothing more frustrating than getting to the water and realizing you have no idea how to put line on your fishing rod. Years back, I showed up for my very first solo trip—coffee in hand, gear loaded—and spent an embarrassing hour fumbling with knots and tangled messes while fish splashed happily out of reach. If you want to avoid rookie mistakes and start your fishing adventure with confidence, this guide is for you.
With a few simple steps, you’ll have your fishing pole strung and ready—whether you’re planning a lakeside picnic, a family fishing trip, or solo time in your favorite hideaway. Let’s dive in!
What You’ll Need Before Starting
- Fishing rod and reel (spinning rods are most common for beginners)
- Fresh fishing line (monofilament or braided)
- Scissors or line cutters
If you need help choosing beginner-friendly gear, explore our tips in fly fishing basics.
Step 1: Assemble Your Fishing Rod and Reel
Put together your two- or three-piece rod, aligning the guides (the small rings) so they all face upward. Attach your reel into the reel seat at the base. Make sure the reel is secure and the handle faces your dominant hand.
Step 2: Open the Bail and Attach Line to the Reel
- Open the bail (the metal flipping arm on a spinning reel)
- Thread your line through the first rod guide (closest to the reel)
- Tie the line to your spool using the Arbor Knot (find detailed instructions in our guide to how to tie a hook on a fishing line)
- Close the bail to keep the line in place
Step 3: Thread the Line Through All Guides
- Take the tag end of your line and feed it through each guide, moving from the one closest to the reel to the tip of the rod
- When finished, let about 3-4 feet of extra line hang from the rod tip
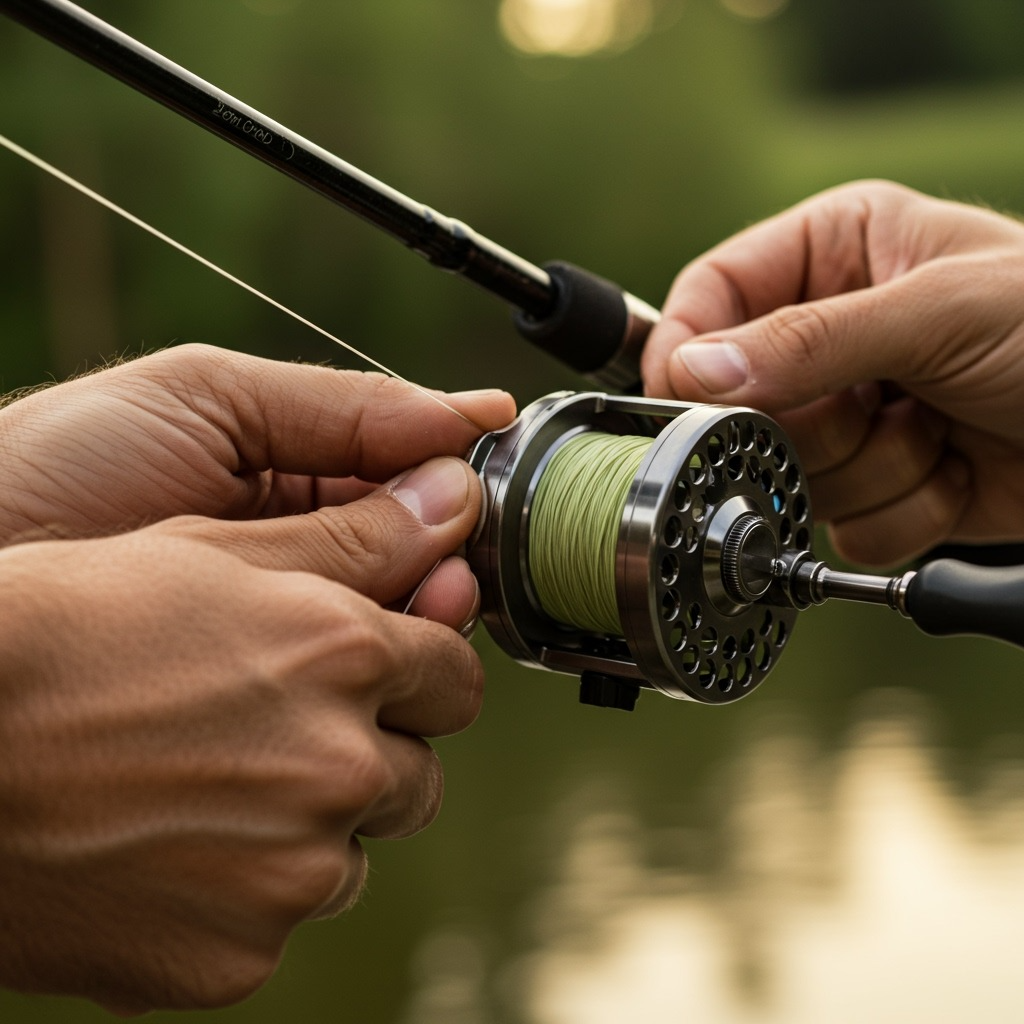
Step 4: Spool Line onto the Reel
- Position your new line spool on the floor – it should come off in a counter-clockwise direction
- Maintain tension by gently pinching the line between your fingers (just above the reel)
- Start reeling slowly – keep steady tension so the line goes on smoothly without loose coils
- Stop when the reel is about 1/8 inch from full – don’t overfill as it can cause tangles
- Cut the line free from the supply spool
For a comprehensive visual walkthrough, check out Take Me Fishing’s illustrated guide with step-by-step photos and beginner tips.
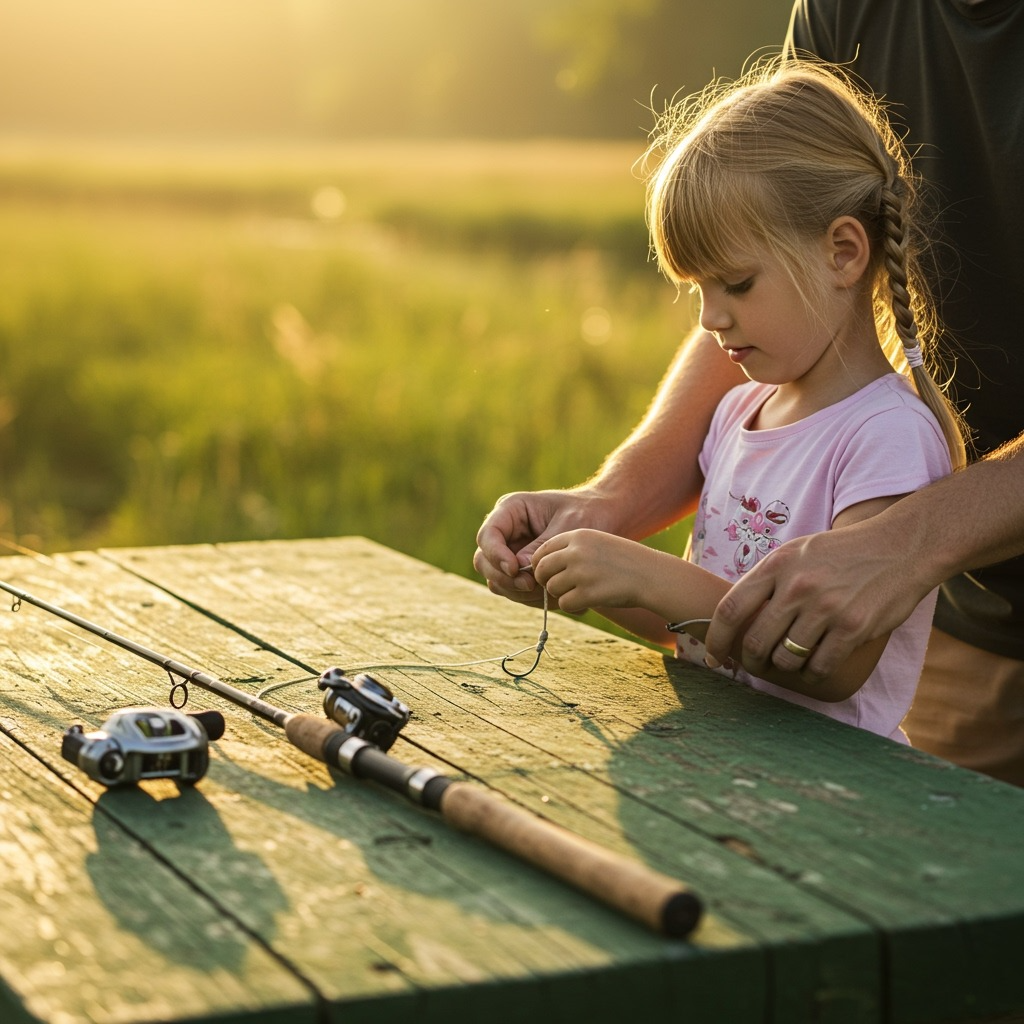
Step 5: Tie On Your Hook, Lure, or Rig
Now your fishing pole is strung and ready. Use a strong, simple knot like the Improved Clinch or Palomar Knot. For more details on picking and tying the right knots, see our strongest fishing knot guide.
Pro Tips for Fuss-Free Stringing
- Match line strength to your rod – use 6–10 lb test for bass rods (check the rating printed on your rod)
- Trim tag ends properly – leave 1/8-inch after knotting to avoid snagging in guides
- Practice knots at home first – saves time and frustration on the water
- Store your rod safely to avoid banging guides or getting line tangled in transit
For additional setup guidance and beginner techniques, explore the Massachusetts Division of Fisheries’ complete rod setup guide.
Common Mistakes to Avoid
- Overfilling the reel (causes tangles and backlashes)
- Skipping rod guides (results in poor casting performance)
- Forgetting to match line type/weight to your fishing style
- Not wetting your knot before tightening (reduces friction and prevents weak spots)

Ready to Hit the Water
Congratulations! You’ve successfully strung your fishing pole and you’re ready for action. Remember, the key is taking your time during setup—rushing leads to tangles, weak knots, and frustration that could ruin an otherwise perfect day on the water.
Whether you’re targeting bass in a quiet cove or trying your luck with early spring bass fishing techniques, having properly strung gear gives you confidence to focus on what really matters: enjoying your time outdoors and making memories that last.

Frequently Asked Questions
What’s the best fishing line for beginners?
Monofilament is the most forgiving and easiest to knot, making it the ideal choice for those just starting their fishing journey.
How tight should my line be when stringing?
Keep gentle, consistent tension so the line sits firmly on the reel without being so tight you can’t pull it freely through the guides.
How often should I re-string my fishing rod?
Inspect your line before each trip. If it’s frayed, faded, or holds memory coils, it’s time to replace it for better performance and fewer break-offs.
Do I have to use a specific knot to attach line to my reel?
The Arbor Knot is the most common and reliable choice, though other knots like the Uni Knot also work well for securing line to the spool.
What if my line keeps getting tangled while spooling?
Slow down your reeling speed and maintain consistent finger pressure on the line. Make sure your line spool is positioned correctly so line comes off smoothly.