
I’ll never forget my first solo fishing trip to Lake Texoma when I was sixteen. After an hour of untangling what looked like a bird’s nest of fishing line, I finally admitted defeat and asked a nearby angler for help. “Son,” he said with a patient smile, “looks like nobody ever taught you how to properly spool a reel.” That embarrassing moment became one of my most valuable fishing lessons – learning how to spool a fishing reel correctly is fundamental to successful fishing.
Whether you’re a complete beginner setting up your first rod or an experienced angler looking to refresh your technique, proper spooling prevents costly line twists, tangles, and lost fish. From spinning reels to baitcasters, understanding the right way to load line onto your reel will transform your fishing experience and save you countless hours of frustration on the water.
Before diving into the technical aspects, it’s worth understanding that spooling is just one part of a complete fishing setup. If you’re new to angling, you might also want to explore how to start fishing to build a solid foundation of basic skills.
Understanding Your Reel Type and Basic Components
Before diving into the spooling process, it’s crucial to identify what type of reel you’re working with, as each requires slightly different techniques and considerations.
Spinning Reels: The Most Popular Choice
Spinning reels are the most popular choice for beginners and versatile fishing situations. They feature an open-faced design with a bail arm that controls line release and retrieve. The spool remains stationary while a rotor mechanism wraps the line around it. These reels are forgiving, cast easily, and work well with lighter lines and lures.
Key components include the bail arm (the wire mechanism that controls line flow), the line roller (guides line onto the spool), the drag system (controls resistance when fighting fish), and the anti-reverse (prevents the handle from spinning backward).
Baitcasting Reels: Precision and Power
Baitcasting reels sit on top of the rod and use a revolving spool system. They offer more precision and power but require more skill to operate without backlash (the dreaded “bird’s nest” of tangled line). These reels excel at casting accuracy and handling heavier lines and lures.
The main components include the spool (holds the line and rotates during casting), braking systems (magnetic or centrifugal systems that prevent backlash), level wind (distributes line evenly), and drag star (adjusts fighting tension).
Spincast Reels: Beginner-Friendly Enclosed Design
Spincast reels feature an enclosed design with a push-button casting mechanism. They’re often considered the most beginner-friendly option, but have limitations in capacity and casting distance. The enclosed design protects the line from tangles but limits access for maintenance and adjustments.
Understanding these differences helps you choose the right approach for spooling and ensures you’re working with your equipment’s strengths rather than against them.
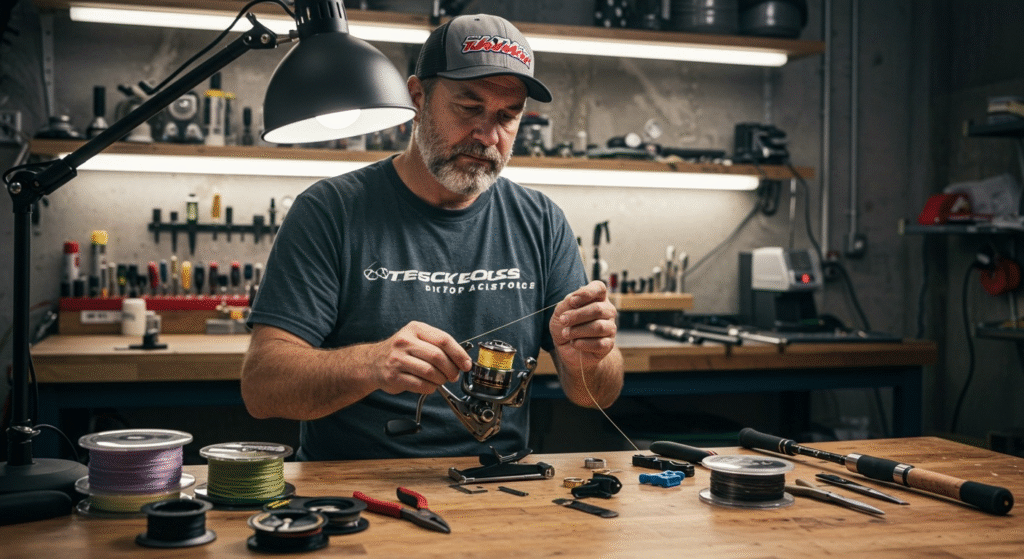
Essential Tools and Materials for Professional Results
Gathering the right equipment before starting makes the spooling process smoother, more efficient, and less likely to result in problems later on the water.
Required Items for Success
Quality fishing line is your most important investment. Choose the appropriate type (monofilament, fluorocarbon, or braid) and pound test for your target species. Line quality directly impacts casting performance, sensitivity, and fish-fighting capability.
Sharp scissors or line clippers ensure clean cuts that won’t fray or weaken your line. Dull cutting tools create ragged ends that can fail under pressure or create wind knots during casting.
A damp cloth or sponge helps create proper tension during spooling. Moisture also prevents friction burns when tightening knots and helps the line lay smoothly on the spool.
Needle-nose pliers prove useful for tightening knots, handling small components, and removing hooks from fish. Quality pliers with good grip surfaces make line management much easier.
Optional But Helpful Tools
A line spooling station makes the process easier if you frequently spool reels or work with multiple anglers. Commercial stations or homemade versions using dowels and buckets provide controlled line release.
Backing line (cheaper line used to partially fill the spool) saves money when using expensive fluorocarbon or braid, especially on deep spools where you don’t need full capacity.
A pencil or a dowel rod helps thread through the line spool during the process, creating a makeshift spooling station for solo operations.
A line conditioner can improve the performance of monofilament lines by reducing memory and increasing limpness, though it’s not essential for basic spooling operations.
Step-by-Step Guide: Mastering Spinning Reel Spooling
Let’s walk through the complete process of properly spooling a spinning reel, which forms the foundation technique that applies to most fishing situations and provides principles useful for other reel types.
Step 1: Prepare Your Equipment and Workspace
Start by assembling your rod and reel if they aren’t already connected. This allows you to work with the complete system and ensures proper line routing through the guides. Open the bail arm completely – this is crucial because you can’t spool line with the bail closed, and attempting to do so will damage your reel mechanism.
Thread the line through the largest guide closest to the reel (the stripping guide). This makes the entire process more manageable and ensures the line follows the correct path from the start. Working in good light with adequate space prevents mistakes and makes the process more enjoyable.
Check your reel’s drag system and tighten it completely during spooling. This prevents the spool from spinning freely and ensures consistent line lay. Remember to readjust the drag to appropriate fighting levels after spooling is complete.
Step 2: Master the Arbor Knot Connection
Use an arbor knot to secure the line to your reel’s spool. This knot is specifically designed for attaching line to smooth, round surfaces and won’t slip under the pressure of spooling or during use.
Here’s the detailed process:
- Wrap the line around the spool once, creating a complete circle
- Tie the first overhand knot by bringing the tag end around the main line and through the loop once
- Tie a second overhand knot in the tag end about an inch away from the first knot – this creates a stopper that prevents the first knot from slipping.
- Moisten both knots with water or saliva to reduce friction and prevent heat damage when tightening
- Pull tight gradually while ensuring both knots seat properly against each other and the spool.
- Trim the excess tag end, leaving about 1/4 inch to prevent the knot from working loose.
This knot won’t see much stress during normal fishing since it sits at the bottom of your spool under all the other line, but it must hold securely during the initial spooling process and provide a foundation for all subsequent line layers.
For those interested in expanding their knot-tying skills, you might want to learn about how to tie fishing line, which covers various connections essential for complete tackle setups.
Step 3: Position the Line Spool for Optimal Results
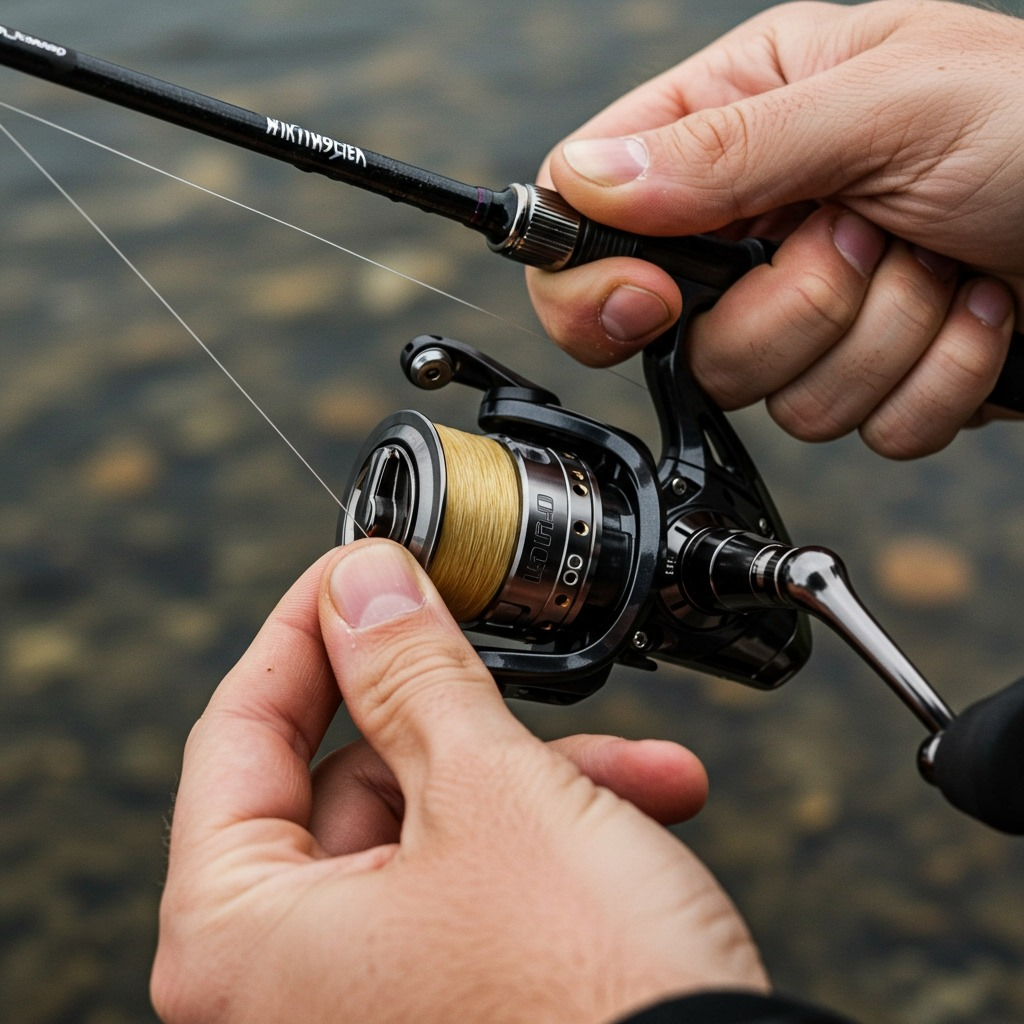
Critical point: The line must come off your line spool in the same direction it goes onto your reel spool. This prevents line twist, which is one of the most common spooling mistakes that leads to casting problems, tangles, and reduced line performance.
Place the line spool on the ground with the label facing up initially. Begin spooling slowly and watch for line twist. Every 10-15 cranks, stop and let a few feet of line hang freely from your rod tip. If the line forms coils or twists in the air, you need to flip the spool over so the label faces down.
The correct orientation allows the line to come off the supply spool in the same rotational direction that your reel’s rotor puts it on the spool. When done correctly, the line should hang straight with minimal coiling or twisting.
Step 4: Close the Bail and Begin the Spooling Process
Close the bail arm carefully, ensuring the line passes cleanly through the line roller (the small wheel on the bail). The line roller guides the line onto the spool and helps distribute it evenly during retrieve. If the line doesn’t seat properly in the roller, it can create uneven line lay and future casting problems.
Hold the line about 12-18 inches above the reel between your thumb and index finger, applying moderate but consistent pressure. This tension is crucial for proper line lay and prevents loose coils that cause problems later. The pressure should be firm enough to create slight resistance but not so tight that it strains your arm or creates heat buildup.
Important: Have someone hold the line spool or place it in a way that allows it to spin freely while maintaining proper tension. If you’re working alone, thread the line through the pages of a phone book or magazine to create consistent resistance, or use a pencil through the spool center with weighted objects holding the ends.
Step 5: Reel at a Steady, Controlled Pace
Turn the reel handle at a moderate, consistent speed – approximately one revolution per second works well for most situations. Too fast causes uneven line lay and can create heat that damages line, while too slow can create loose coils that spring off during casting.
Watch the line as it fills the spool, ensuring it lies evenly across the entire width. Quality spinning reels have mechanisms that distribute line automatically, but monitoring the process helps catch problems early. If the line begins building up on one side, stop and redistribute manually.
Pro tip: Every 20-30 cranks, stop and check for line twist by letting a few feet of line hang freely from the rod tip. If it twists up on itself immediately, you need to flip your line spool over and continue. This periodic checking prevents major problems from developing.
Step 6: Fill to Proper Capacity for Optimal Performance
Fill your spool to within 1/8 inch (approximately 3mm) of the rim – no more, no less. This measurement is critical for optimal reel performance. Overfilling causes the line to spring off during casts, creating tangles and reducing casting distance significantly. Underfilling decreases casting distance and makes line retrieval less efficient.
Most reel spools have capacity ratings printed on them (like “12lb/200yds” or “8lb/300yds”), giving you guidelines for how much line to use with different line weights. These ratings assume proper fill levels and provide starting points for line selection.
Modern spinning reels often have colored backing or depth markers to help achieve proper fill levels. Use these guides when available, but always verify with the 1/8 inch measurement as your final check.
Step 7: Secure, Test, and Final Adjustments
Cut the line from the bulk spool and secure the end under the line clip or holder on your reel. This prevents loose lines from creating problems during transport or storage. Give the setup several test casts in an open area to ensure everything feels smooth and the line comes off cleanly.
During testing, watch for:
- Smooth line release during casting without loops or tangles
- Even line lay when retrieving with consistent tension.
- Proper drag function – readjust from the tightened spooling setting to the appropriate fishing levels
- Clean line flow through all rod guides without binding or friction.
If you notice any issues during testing, it’s better to re-spool immediately rather than discover problems on the water when they can cost you fish or create dangerous situations.
Advanced Spooling Techniques for Different Reel Types
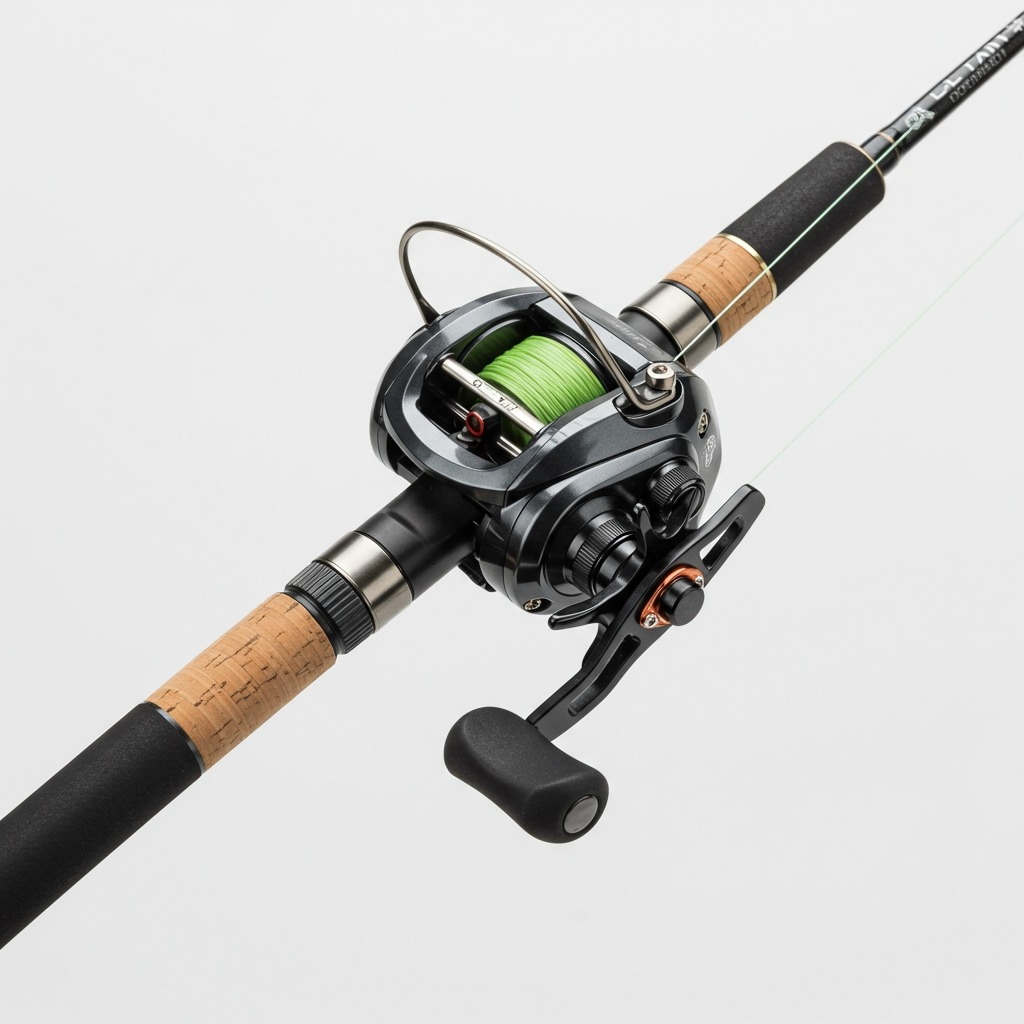
Baitcasting Reel Technique and Considerations
Spooling a baitcasting reel follows similar principles but with key differences that require adjusted techniques:
- No bail system: Simply tie the line directly to the spool using an arbor knot, ensuring the knot seats securely against the spool’s perimeter
- Level wind guide: Thread the line through the level wind mechanism if your reel has one – this device distributes line evenly during both casting and retrieving
- Thumb pressure control: Use your thumb on the spool to control tension instead of relying on a bail system, requiring more active management throughout the process
- Reduced fill capacity: Only fill to about 3/4 capacity to prevent backlash issues – baitcasters are more sensitive to overfilling than spinning reels
- Brake system adjustment: Set magnetic or centrifugal brakes to maximum during spooling, then adjust for casting after the line is loaded
Spincast Reel Method and Special Considerations
For spincast reels, the enclosed design requires a modified approach:
- Remove the cover: Unscrew the front cone completely to access the internal spool
- Thread carefully: Pass the line through the hole in the cone before tying to the spool – this prevents having to re-thread after spooling.
- Replace cover: Reassemble the cover system before beginning the spooling process to ensure proper line routing through internal guides.
- Use lighter tension: These reels are more sensitive to over-tensioning, which can damage internal mechanisms or create binding issues.
- Monitor capacity closely: Spincast reels have limited capacity, and overfilling creates more severe problems than with open-faced reels.
Understanding Line Types and Their Spooling Requirements
Different line types require adjusted techniques and considerations for optimal spooling results and fishing performance.
Monofilament Line: The Forgiving Foundation
Best for: Beginners, topwater fishing, and situations requiring stretch and forgiveness
Spooling characteristics: Easy to work with, minimal memory issues when fresh, fills smoothly with consistent tension
Key properties: Good stretch provides shock absorption, nearly invisible underwater, affordable for frequent re-spooling, degrades with UV exposure and time
Monofilament requires moderate tension during spooling and benefits from being stored away from direct sunlight. Its stretch characteristic makes it forgiving during the learning process, but it can reduce sensitivity for detecting subtle bites.
Fluorocarbon Line: The Invisible Advantage
Best for: Clear water conditions, finicky fish, and situations requiring maximum invisibility
Spooling characteristics: Stiffer than monofilament, requires careful tension control to prevent memory coils, more prone to line twist if spooled incorrectly.
Key properties: Nearly invisible underwater due to similar light refraction as water, sinks faster than monofilament, more expensive but longer-lasting in many conditions, less stretch than mono but more than braid.
Fluorocarbon’s stiffness requires attention to proper spooling direction and consistent tension. Its memory characteristics mean improperly spooled fluorocarbon creates persistent problems that are difficult to correct without re-spooling.
Braided Line: The Strength and Sensitivity Champion
Best for: Heavy cover fishing, long casting distances, and situations requiring maximum sensitivity
Spooling characteristics: Often requires backing due to slipperiness on smooth spools; no stretch means any spooling errors immediately affect performance; exceptionally thin diameter for its strength
Key properties: No stretch provides incredible sensitivity and immediate hook sets, high strength-to-diameter ratio allows light tackle with heavy line, visible in water, requiring leaders in many situations, long-lasting with proper care
Braided line’s lack of stretch makes proper spooling tension even more critical. Too loose and it creates casting problems; too tight and it can damage reel components or create pressure spots that weaken the line.
Professional bass anglers often choose the best fishing line for bass based on specific techniques and water conditions, with proper spooling being essential for each line type’s performance.
Common Spooling Mistakes and Professional Solutions
Understanding and avoiding common mistakes separates successful anglers from those constantly fighting their equipment.
Overfilling the Spool: The Most Common Error
Problem: Line springs off during casts, creating bird’s nests and severely reducing casting distance and accuracy
Solution: Remove excess line until you have exactly 1/8 inch clearance from the rim. Mark your reel with tape if necessary to remember proper fill levels for future spooling.
Prevention: Check fill level frequently during spooling rather than trying to estimate based on the remaining line on the supply spool
Line Twist Issues: The Performance Killer
Problem: Line forms loops and coils immediately upon leaving the reel, making casting difficult and creating tangles throughout your fishing session
Solution: Ensure the line comes off the supply spool in the same rotational direction it goes onto the reel spool. This may require flipping the supply spool during the process.
Prevention: Test for twist every 20-30 turns during spooling by letting the line hang freely and observing its behavior
Insufficient Tension: The Hidden Problem
Problem: Loose coils on the reel cause casting problems, reduce distance, and create uneven line lay that affects drag performance
Solution: Maintain steady, moderate pressure on the line throughout the spooling process. The line should feel snug but not create excessive heat from friction.
Prevention: Practice proper hand positioning and develop muscle memory for consistent tension application
Wrong Line Direction: The Fundamental Error
Problem: Line twist accumulates rapidly, causing immediate tangles and poor casting performance that worsens over time
Solution: Stop immediately when you notice twisting and flip the supply spool over. Continue monitoring for twists throughout the process.
Prevention: Always test line behavior early in the spooling process and be willing to start over if necessary
Using Backing Line Effectively for Economic and Performance Benefits
Backing is a cheaper line used to partially fill your spool before adding your primary fishing line. This technique offers several significant advantages beyond simple cost savings.
Strategic Applications for Backing
Expensive lines: When using premium fluorocarbon or braid that costs $20-40+ per spool, backing can save substantial money while providing identical fishing performance
Shallow water fishing: When you never need more than 50-100 yards of line, backing prevents waste and reduces the amount of premium line that degrades from UV exposure
Slippery spools: Monofilament backing helps grip smooth aluminum or anodized spools, preventing slippage that can make drag systems ineffective
Capacity management: Backing allows precise control over final line capacity, helping achieve optimal fill levels with expensive lines
Professional Backing Application Technique
- Spool 50-150 yards of inexpensive monofilament first, depending on your fishing needs and spool capacity.
- Tie your premium line to the backing using a strong, low-profile connection knot like the double uni-knot or Albright special.
- Continue spooling with your primary line until reaching proper fill levels.
- Ensure the connection knot won’t interfere with casting by positioning it deep enough on the spool that it won’t reach the guides during normal use.
The connection between backing and main line should be strong, smooth, and positioned where it won’t create problems during casting or fighting fish. Test this connection thoroughly before heading to the water.
Advanced Spooling Techniques for Specialized Applications
The Phone Book Method for Solo Spooling
For solo spooling, thread your line through the pages of a phone book or thick magazine about halfway through. Close the book and place it on the ground or hold it between your knees. This creates consistent tension without needing assistance and allows controlled line release throughout the process.
Adjust tension by opening or closing the book slightly, or by adding weight on top. This method works particularly well for lighter lines where excessive tension can create problems.
Power Drill Technique for High-Volume Spooling
Some professional guides and serious anglers use electric drills with custom attachments to speed up the spooling process. This works well for large reels or when spooling multiple reels, but requires careful speed control to prevent line damage from excessive heat or tension.
Safety considerations: Use low speed settings, maintain proper tension manually, and monitor line lay closely. High-speed spooling can damage line coating and create uneven filling that affects performance.
Line Counter Method for Precision Applications
When precise line capacity management is important, use the line counter on your reel (if equipped) or measure specific amounts for exact capacity control. This technique proves valuable when:
- Tournament fishing requires specific line capacities for regulations
- Deep-water fishing needs exact depth control capabilities.
- Backing applications require precise amounts of each line type.
- Multiple reel setups need identical configurations for consistency.
Professional anglers often record exact line amounts for different applications, creating repeatable setups that perform consistently across multiple fishing scenarios.
Maintenance, Storage, and Longevity Tips
Proper care extends line life and maintains optimal reel performance between spooling sessions.
Optimal Line Storage Conditions
Store spooled reels in cool, dry places away from direct sunlight. UV rays systematically break down fishing line polymers over time, weakening their strength and reliability significantly. Temperature extremes also affect line memory and performance characteristics.
Humidity control prevents corrosion of reel components and reduces the likelihood of line absorption moisture, which can affect casting performance and increase memory issues.
Protection from physical damage prevents nicks, abrasions, and pressure points that create weak spots in your line system.
Regular Line Inspection and Maintenance
Develop a routine inspection process before each fishing trip:
Visual inspection: Look for nicks, abrasions, color changes, or areas where the line appears damaged or worn
Tactile inspection: Run the line through your fingers, feeling for rough spots, flat areas, or changes in diameter that indicate damage
Memory assessment: Check for permanent coils or kinks that affect casting performance and line behavior
Connection points: Examine areas where the line connects to leaders, swivels, or lures for signs of wear or weakness
Strategic Re-spooling Timeline
Replace line based on multiple factors rather than arbitrary time schedules:
Usage frequency: Heavy use requires more frequent changes – tournament anglers may re-spool weekly during peak season
Line type considerations: Braid lasts significantly longer than monofilament or fluorocarbon in most conditions
Storage conditions: Poor storage accelerates line degradation regardless of usage patterns
Performance changes: Re-spool when you notice casting distance reduction, increased memory, or frequent break-offs
Seasonal factors: Many anglers re-spool at the beginning of each fishing season for optimal performance during peak fishing periods
Professional bass anglers understand that proper line management extends beyond spooling to encompass complete fishing system maintenance. Learning about bass fishing techniques helps understand how proper line management contributes to overall angling success.
Troubleshooting Common Spooling and Reel Issues
Backlash Prevention for Baitcasting Reels
Spool tension adjustment: Adjust the spool tension knob so a lure falls at a controlled rate when you press the thumb bar – too loose causes backlash, too tight reduces casting distance
Brake system optimization: Start with maximum brake settings and gradually reduce them as your casting technique improves and you gain confidence with the reel
Thumb control development: Practice controlling the spool with your thumb during the cast, learning to feather the spool as the lure approaches the target
Progressive learning: Start with heavier lures that are easier to control before advancing to lighter presentations that require more skill
Wind Knot Elimination for Spinning Reels
Proper fill level maintenance: Don’t overfill the spool – this is the primary cause of wind knots in spinning reels
Quality line selection: Cheap lines with inconsistent diameter and poor memory characteristics are more prone to wind knots
Consistent tension application: Maintain proper tension during spooling to prevent loose coils that contribute to wind knot formation
Casting technique refinement: Avoid “whipping” the rod during casting, which can create line slack that leads to wind knots
Comprehensive Line Twist Reduction
Correct spooling direction: Ensure the line comes off the supply spool and goes onto the reel spool in compatible directions
Quality swivel usage: Use ball-bearing swivels when appropriate, but understand they’re not a cure-all for poor spooling practices
Regular line maintenance: Occasionally, let the line out completely to release built-up twist, especially after extended fishing sessions
Lure selection awareness: Some lures create more line twist than others – factor this into your fishing strategy and line maintenance routine.
Building Professional-Level Spooling Skills
Developing Muscle Memory and Consistency
Set up regular practice sessions where you spool and re-spool reels to build muscle memory and refine technique. The investment in practice time pays dividends in efficiency and results when you’re preparing for important fishing trips or need to change lines on the water.
Progressive skill building: Start with basic spinning reel spooling before advancing to baitcasters or specialty techniques
Speed development: Focus on accuracy first, then gradually increase speed while maintaining quality results
Problem recognition: Learn to identify issues early in the process when they’re easier to correct
Learning from Experienced Anglers
Join local fishing clubs or online communities where experienced anglers share tips, techniques, and regional knowledge. Every angler has learned shortcuts and methods that can improve their spooling efficiency and overall fishing success.
Mentorship opportunities: Seek out experienced anglers willing to share knowledge and provide hands-on instruction
Regional adaptation: Learn techniques specific to your local fishing conditions and target species
Equipment familiarity: Gain experience with different reel types and line combinations through interaction with diverse anglers
Staying Current with Technology and Techniques
The fishing industry constantly evolves with new line technologies, reel designs, and spooling innovations. Stay updated through fishing publications, online resources, and tackle shop interactions to maintain current knowledge and techniques.
New line technologies: Modern lines offer improved performance characteristics that may require adjusted spooling techniques
Reel innovations: New reel designs sometimes incorporate features that change optimal spooling approaches
Technique refinements: Continuous learning helps you discover more efficient methods and avoid developing bad habits
For anglers interested in expanding their fishing knowledge beyond basic equipment setup, exploring how to use a fishing rod provides valuable insights into maximizing your equipment’s potential.
Making It All Come Together: The Foundation of Fishing Success
Proper reel spooling forms the invisible foundation of every successful fishing adventure. Every cast, every fight with a fish, and every day on the water depends on having the line correctly loaded onto your reel with proper tension, fill level, and orientation. Taking the time to learn and practice these techniques pays dividends in fewer tangles, better casting performance, increased sensitivity, and more fish landed successfully.
Remember that different fishing situations may require different approaches, but the fundamental principles remain consistent across all applications. Whether you’re targeting bass in local ponds, planning saltwater adventures, or pursuing trout in mountain streams, having properly spooled reels gives you confidence and allows you to focus on reading water, presenting baits naturally, and enjoying the experience rather than constantly dealing with equipment problems.
The investment in learning proper spooling technique is minimal compared to the frustration it prevents and the fishing opportunities it enables. Master these basics, practice them regularly, and you’ll be well on your way to more successful and enjoyable fishing adventures. Professional technique development takes time, but every session on the water reinforces proper habits and builds expertise.
For those planning fishing adventures that combine angling with outdoor exploration, consider researching the best hiking trails in Texas to discover remote fishing locations accessible through hiking, where properly spooled reels become even more critical due to distance from tackle shops and assistance.
Your fishing success starts with proper preparation, and proper preparation starts with correctly spooled reels that perform reliably when opportunity presents itself. The fish don’t care about your excuses – they only respond to properly presented baits delivered by well-maintained equipment operated by prepared anglers who understand their gear completely.
Frequently Asked Questions
How often should I re-spool my fishing reel?
Re-spool frequency depends on usage intensity and line type. Casual weekend anglers should re-spool at the beginning of each fishing season or after 25-30 fishing trips. Heavy users or tournament anglers may need to re-spool monthly or even weekly during peak seasons. Braided line lasts significantly longer than monofilament or fluorocarbon. Replace the line immediately if you notice nicks, persistent memory coils, color changes, or reduced casting performance, regardless of time elapsed.
Can I spool a reel completely by myself without assistance?
Absolutely! Several effective solo spooling methods exist. Place the line spool in a large bucket or bowl to let it spin freely, thread the line through a thick phone book or magazine for controlled tension, or use a pencil through the spool center with weighted objects holding both ends. Some tackle shops offer professional spooling services, and many serious anglers invest in simple spooling stations for home use.
What’s the difference between spooling monofilament versus braided line?
Monofilament is more forgiving during spooling due to its stretch characteristics and natural grip on spool surfaces. Braided line is slippery and often requires monofilament backing for proper grip on smooth spools. Braid also has virtually no memory, so it lies flatter but shows spooling errors more immediately. Both require proper tension and correct directional orientation, but braid is less forgiving of technique mistakes and may require more precise tension control throughout the process.
How do I know if I’ve put the correct amount of line on my reel?
Proper fill level is 1/8 inch (approximately 3mm) below the spool rim for spinning reels, and about 3/4 capacity for baitcasting reels. Too much line causes it to spring off during casts, creating tangles and reducing distance significantly. Too little line decreases casting distance and makes retrieval less efficient. Most reels have capacity ratings printed on them to guide line selection, but always verify with visual measurement as your final check.
Why does my line keep twisting even when I follow proper spooling directions?
Line twist can develop from multiple sources beyond spooling errors. Certain lures create twists during retrieve, old line with permanent memory issues continues twisting regardless of spooling technique, or the line may be coming off your supply spool in the wrong direction relative to your reel’s rotation. Always ensure the line comes off the supply spool in the same direction it goes onto your reel. Use quality ball-bearing swivels when appropriate, and consider replacing old line that has developed permanent memory characteristics that resist correction.