
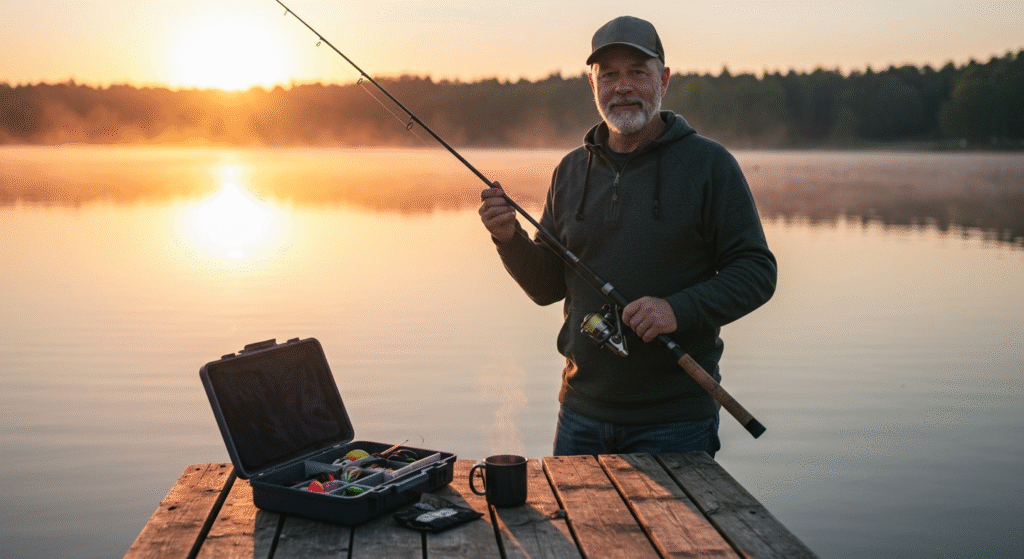
The August morning started perfectly—calm water, coffee steaming in my thermos, and my brand-new fishing rod gleaming in the sunrise. Three hours later, I watched helplessly as what looked like a trophy bass snapped my poorly rigged line and disappeared into the depths. That painful lesson taught me something every angler learns eventually: your fishing success starts long before you cast your first line.
If you’ve ever stood on a dock or riverbank feeling overwhelmed by your fishing rod setup, you’re not alone. Setting up your fishing rod properly is one of the most important skills you’ll develop as an angler—and fortunately, it’s much simpler than it looks.
What You’ll Need to Get Started
Gather your essentials before you start. Having everything nearby makes the process smoother and stress-free.
Rod and Reel Basics:
- Spinning rod (2-piece for easy transport)
- Spinning reel (match your rod size)
- Fishing line (monofilament is beginner-friendly)
- Sharp scissors or line cutters
Tackle Components:
- Hooks (sizes 6–12 cover most situations)
- Split-shot sinkers
- Bobbers or floats
- Swivels and snaps
- Needle-nose pliers
Other Useful Gear:
- Pencil or pen (for spooling)
- Small towel (for grip)
- Tackle box (to stay organized)
Pro tip: Start simple, not complicated. One combo and basic terminal tackle will be enough as you learn.
Assembling Your Rod: Step by Step
Most fishing rods nowadays are travel-ready and come in separate pieces. Putting them together well can make or break your first outing.
1. Connect Your Rod Sections
- Align the guides (the rings on your rod) slightly off-center.
- Slide the pieces together, then rotate them so they “lock” straight.
- Double-check that all the guides (from handle to tip) form a perfect line.
2. Attach Your Reel
- Locate the reel seat on the handle.
- Insert the reel foot into the seat.
- Tighten the locking rings so the reel sits solidly with no wobble.
3. Check Guide Alignment
- Look down your rod from butt to tip. The guides should form a straight line—fix any misalignments now, not when you’re knee-deep in a lake.
Transport tip: Keep your assembled rod guarded—sudden bumps in the car or a brush with a tree branch can do damage.
Spooling Your Reel: Don’t Skip This!
Properly filling your reel with fishing line prevents tangles, distance loss, and most beginner headaches.
- Choose the right line weight. Find the specs printed near your rod’s handle (e.g., “6–12 lb test”). Stay in this range for balance and performance.
- Run the line through the first guide closest to the reel.
- Open the bail on your reel (the wire arm that flips up and down).
- Tie the line to the spool: Use an arbor knot for security.
- Start reeling slowly: Keep the line tight between your fingers as you fill the spool.
- Stop at about ¾ full. Too much line leads to miserable tangles during your cast.
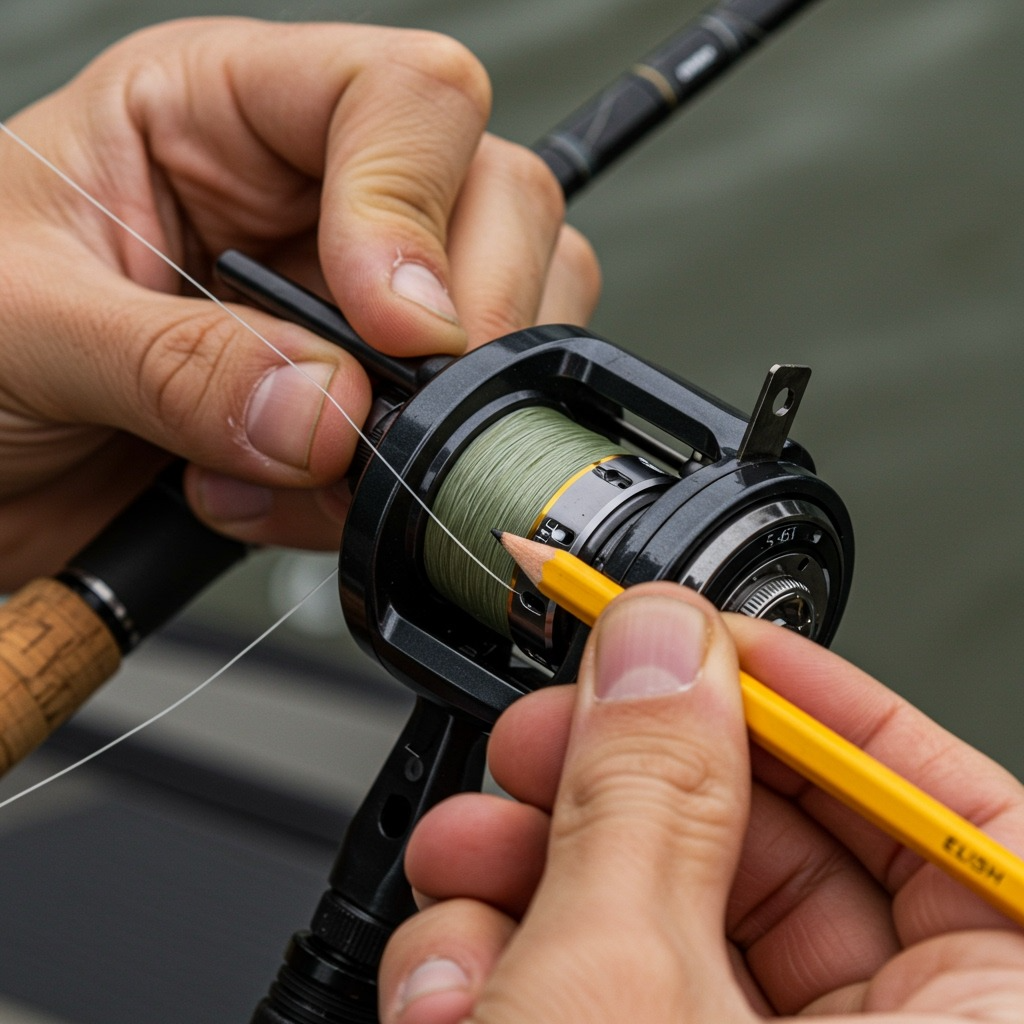
Solo tip: If you’re alone, stick the line spool under a heavy book or pot—anything to apply a little tension as you reel.
Thread the Line Through Your Guides
Thread the loose end of your line through each rod guide from bottom (nearest the reel) to top. Take your time—skipping a guide guarantees tangles.
- Pull out an extra foot of line and wiggle the rod tip. The line should slide smoothly through all guides.
Extra: This skill is vital for longer surf rods, where missed guides can ruin an epic cast.
Your First Rig: Hook, Bobber, and Sinker
The classic starter setup is simple, effective, and catches fish everywhere in America.
- Clip a bobber 18–24 inches from the line’s end
- Pinch one or two split-shot sinkers about 6 inches below the bobber.
- Tie on a hook using a clinch or improved clinch knot.
- Test your rig in shallow water. The bobber should float, with the sinker pulling the hook below.
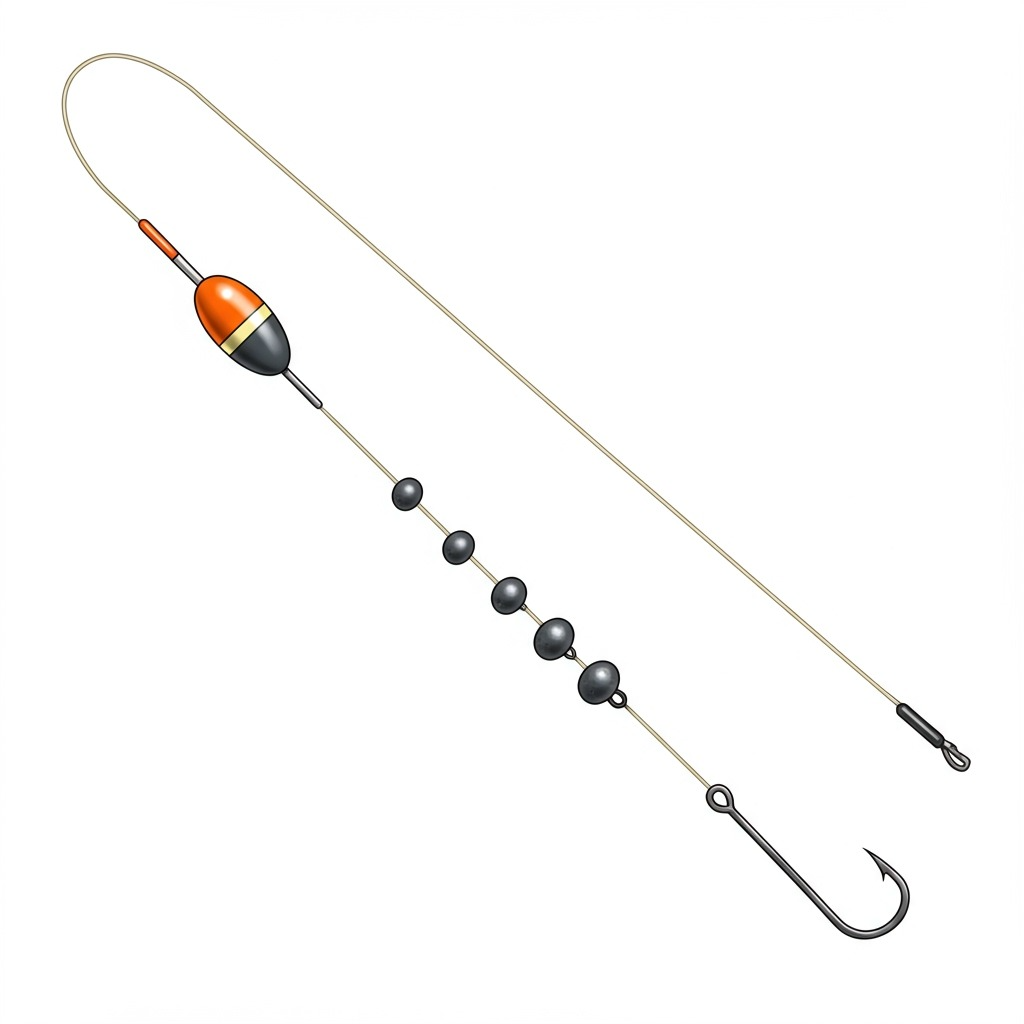
Rigging faq: Too much weight drags down the bobber; too little, and your bait won’t reach the fish. Tweak as you go!
Two Knots Every Angler Should Know
Arbor Knot
Used to attach your line to the reel spool:
- Wrap the line around the spool.
- Tie an overhand knot around the standing part.
- Tie a second overhand knot near the end, pull tight.
Improved Clinch Knot
Used to tie on hooks, swivels, or lures. It’s strong and quick:
- Thread the line through the hook eye.
- Wrap five times around the standing line.
- Pass the tag through the small loop near the eye.
- Bring it through the big loop you’ve just made.
- Wet the knot and pull tight.
Practice these at home—strong knots mean fewer lost fish!
Advanced tip: Want to join two lines together for building leaders? Practice the double uni knot (see Take Me Fishing’s knot guide for helpful diagrams).
Set Your Drag for Success
Your drag setting is the force required for the line to pull off the reel—a real lifesaver if that big bass runs for cover.
- Locate the drag knob on your spinning reel (usually top of the spool).
- Turn clockwise to tighten, counterclockwise to loosen.
- Pull your line by hand—it should come out smoothly, but with some resistance.
On-the-water rule: Start lighter—you can always tighten during a fight. If your line snaps on a strong fish, your drag was too tight, or your knots weren’t solid.
Casting Your First Line
It’s time to fish! Hold your rod at a 45-degree angle, open the bail, and hook your line with a finger. Bring the rod back, then sweep forward and release. Keep it smooth, not forceful—let the rod do most of the work.
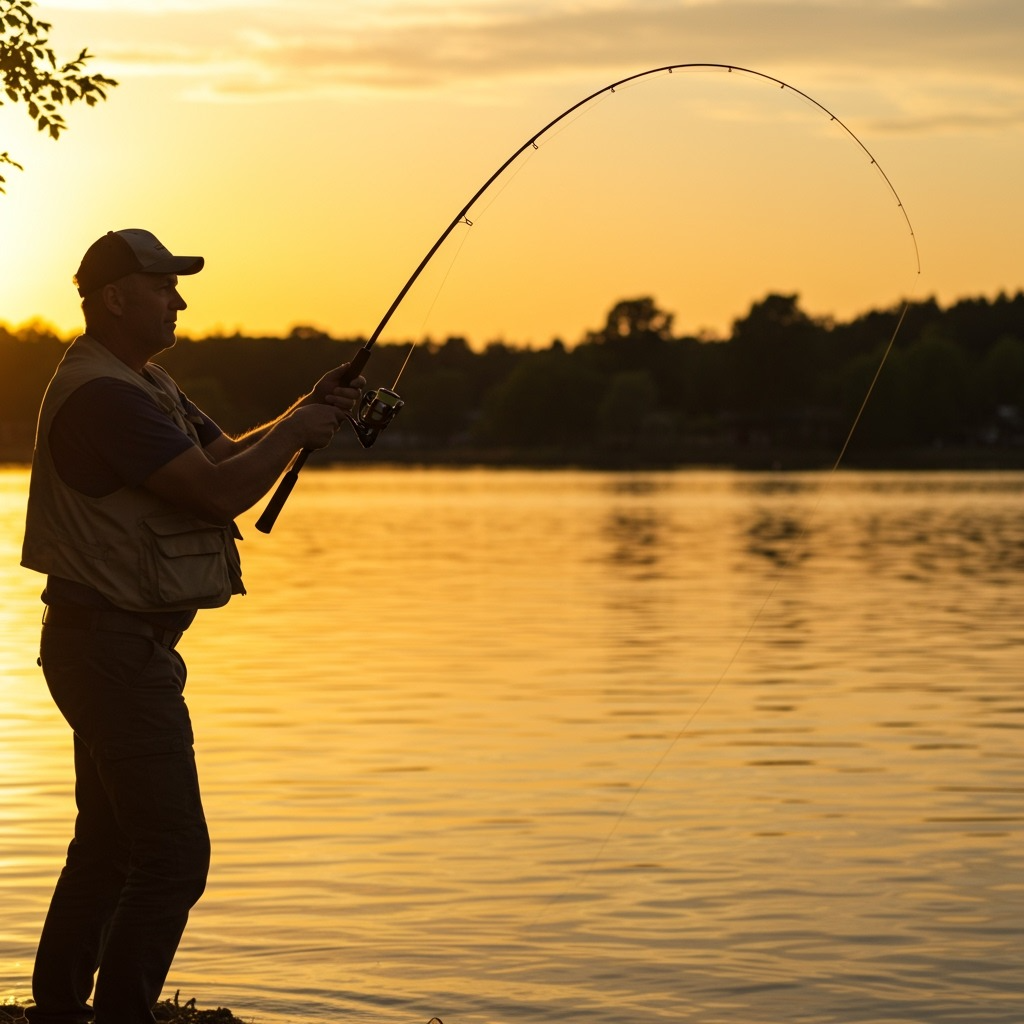
Practice tip: Try on grass first—casting improves with repetition.
Common Rod Setup Mistakes (And How To Fix Them)
- Tangled line: Most often caused by too much line or loose spooling. Fill your reel ¾ and keep tension steady while spooling.
- Skipping rod guides: Carefully thread through every guide, then double-check before casting.
- Weak knots: Knot fails? Retie slowly and make sure you moisten before pulling tight.
- Bail always flipping shut: Replace the line roller or clean your bail system—it takes only a minute but saves a lot of frustration.
Ready for more knowledge? Dive into this detailed beginner’s guide to camping for tips on prepping for long days on the water.
Taking Your Fishing Setup Outdoors
With your rod properly assembled, rigged, and adjusted, all that’s left is to get out and enjoy the water. Different fishing situations may call for tweaks to your setup—a heavier sinker in fast currents, or a smaller hook for spooky trout—but these fundamentals don’t change.
Quick final pre-trip checklist:
- Test every knot with a firm pull
- Confirm drag is set (and bail opens smoothly)
- Have backup tackle (a few extra hooks, bobbers, and split-shot)
- Brush up on regulations (get your fishing license where it’s required—check state laws here)
Once you get the basics down, you’ll spend less time untangling and more time reeling in—and that’s what the outdoors is all about.
FAQs: Fishing Rod Setup
How often do I need to replace my fishing line?
Monofilament should be replaced each season. If you fish often (or notice nicks, memory coils, or faded color), replace it sooner.
Which line strength is best for starting out?
10–12 lb test monofilament is forgiving for beginners and strong enough for most lake and pond fish.
Are saltwater and freshwater rods different?
The basics of setup are the same, but saltwater requires corrosion-resistant parts and sometimes heavier line. Always rinse your gear well after a salty trip!
How do I know my drag is “right”?
Pull the line by hand—it should give way smoothly with moderate resistance, not jerk or snap.
Which knot should I master first?
The improved clinch knot! It covers most beginner needs and works for hooks, swivels, and artificial lures.