
Early on a misty canyon hike, I once spilled half a bag of stale grocery store coffee into my pack. By dawn, the bitter brew tasted more like regret than reward. That’s the moment I vowed to learn how real coffee is made—and why fresh-roasted beans can turn a hard-won camp sunrise into something extraordinary.
Roasting coffee beans at home isn’t only for city-dwellers with fancy gear. It’s an outdoorsy ritual anyone can master, from tent campers and hammock hangers to those braving a week in the backcountry. You don’t need barista skills—just some courage, curiosity, and the willingness to make a few (delicious) mistakes along the way.
Want to take your outdoor coffee game to a summit-worthy level? Read on for the ultimate, field-ready guide to roasting coffee beans like a seasoned trail veteran.
Why Roast Coffee Yourself? (And Why Outside?)
Let’s get this out of the way: most bagged beans on supermarket shelves are already weeks—or months—old. In the wild, nothing beats the taste (or smell) of freshly roasted coffee, still crackling with flavor. Plus, roasting coffee outdoors sidesteps the smoke, smells, and mess that might fill up your kitchen.
Backyard? Campsite? Truck tailgate on a misty lake morning? If you can build a fire, you can roast beans.
The outdoor advantage goes beyond convenience. Fresh mountain air helps beans cool quickly, preventing over-roasting. Natural wind disperses smoke and chaff. And there’s something primal about transforming raw green seeds into aromatic brown gold using nothing but fire, patience, and elbow grease.
Ready to go all-in on your next camp morning? Check out our primitive camping guide for inspiration on transforming the simplest spots into gourmet experience zones.
Understanding Coffee Roasting Basics
Before diving into gear and technique, let’s cover the fundamentals. Coffee roasting is essentially controlled cooking—you’re applying heat to transform dense, grassy-smelling green beans into the aromatic brown beans we recognize.
Green coffee beans contain complex sugars, acids, and oils. Heat triggers chemical reactions that develop flavors, create that familiar coffee aroma, and turn beans from pale green to rich brown. This process happens in distinct stages, each with its own visual and auditory cues.
The roasting timeline typically follows this pattern:
- 0-3 minutes: Beans warm up, turning yellow and releasing grassy smells
- 3-5 minutes: Browning begins, sweet aromas emerge
- 5-8 minutes: First crack occurs (light roast achieved)
- 8-12 minutes: Development continues (medium roast territory)
- 12+ minutes: Second crack begins (dark roast range)
Understanding this timeline helps you anticipate changes and stop at your preferred roast level. Outdoor roasting means adapting to variable heat sources, wind conditions, and altitude—factors that make each batch unique.
Gearing Up: What You Need (and Don’t)
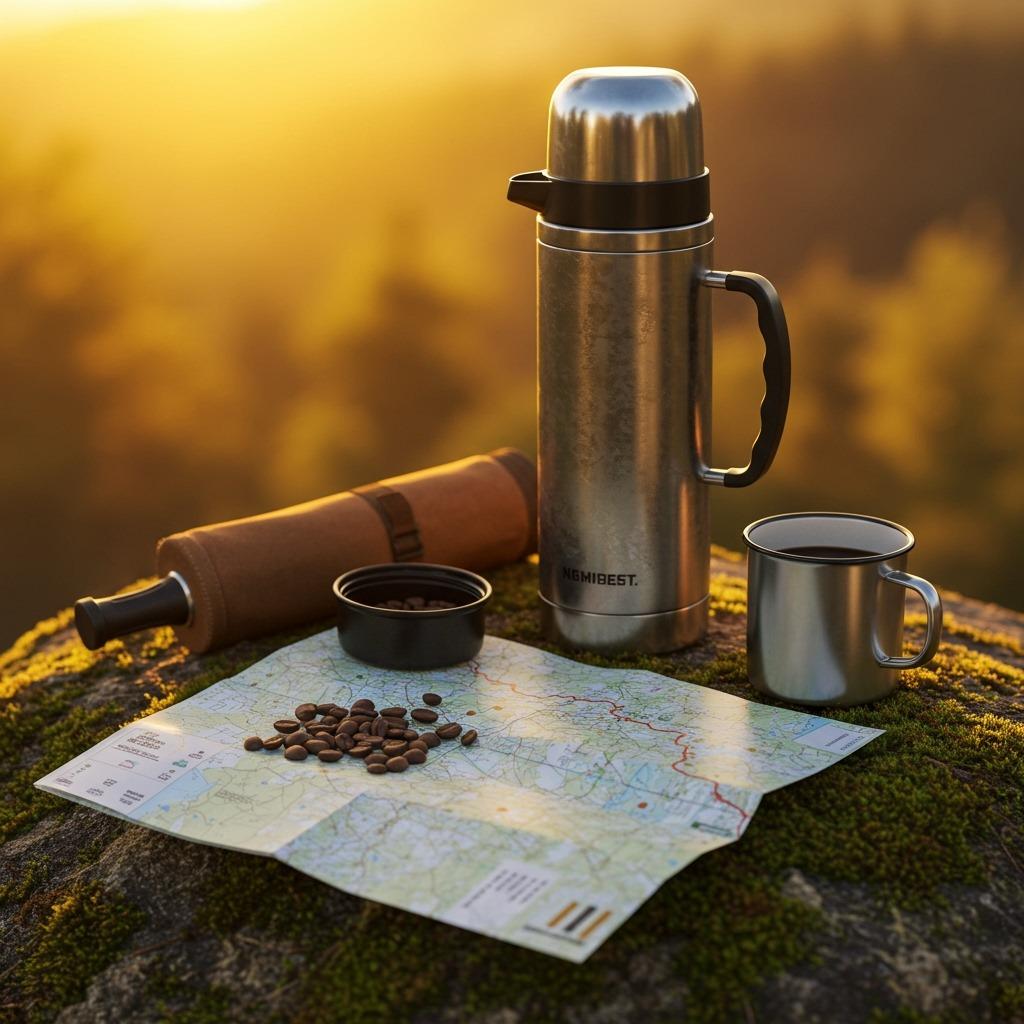
Here’s a secret: you don’t need $300 gadgets to start roasting. With a camping stove or fire ring, a good pan, and some green coffee beans, you’re set. Here’s the simple kit that’s served me well across dozens of camping trips:
Essential Gear:
- Green coffee beans (search local roasters, outdoor stores, or order online—freshness matters!)
- Heavy pan or skillet (cast iron is classic, carbon steel/enameled works too)
- Stirring tool (metal spoon, wooden spatula—long handle recommended)
- Heat source (campfire, backpacking stove, or even a portable grill)
- Colander or mesh sieve (for quick cooling)
- Airtight jar or bag (for post-roast storage)
Optional Upgrades:
- Manual thermometer (for precision-minded roasters)
- Timer (your phone works fine)
- Work gloves (protection from heat and flying chaff)
- Spray bottle (for emergency cooling if beans get too hot)
That’s it. If you’re feeling adventurous, experiment with an old-school popcorn popper, campfire Dutch oven, or even a rotisserie basket for truly wild roasting sessions.
The beauty of outdoor roasting lies in simplicity. A $20 cast-iron skillet often produces better results than expensive electric roasters, especially when you’re tuned into the sights, sounds, and smells that indicate perfect timing.
Picking the Right Beans and Roast Level
The “best” beans are the ones you’ll actually roast and drink. For your first try, order a pound of easy-going Arabica greens from Central or South America. These regions produce forgiving beans that taste great across light to dark roast levels.
Bean Origin Characteristics:
- Ethiopian: Fruity, wine-like, complex (can be tricky for beginners)
- Colombian: Balanced, nutty, reliable
- Brazilian: Chocolatey, low-acid, crowd-pleasing
- Guatemalan: Full-bodied, smoky potential
- Costa Rican: Bright, clean, consistent
Roast Level Guide:
- Light roast: Bright, tangy, more caffeine—great for pour-overs by a cool mountain stream
- Medium roast: Balanced, caramel notes, classic “camp coffee” feel
- Dark roast: Bold, smoky, sometimes a little oily—pairs perfectly with lakeside fishing trips
Lighter roasts preserve the bean’s origin characteristics and natural acidity. Medium roasts balance origin flavors with roasting notes. Dark roasts emphasize roasted flavors over origin characteristics—think campfire, chocolate, and spice.
Want actionable ideas for storing, grinding, and brewing outdoors? Dive into our handy hiking snacks post for all-in-one backpack meal planning tips.
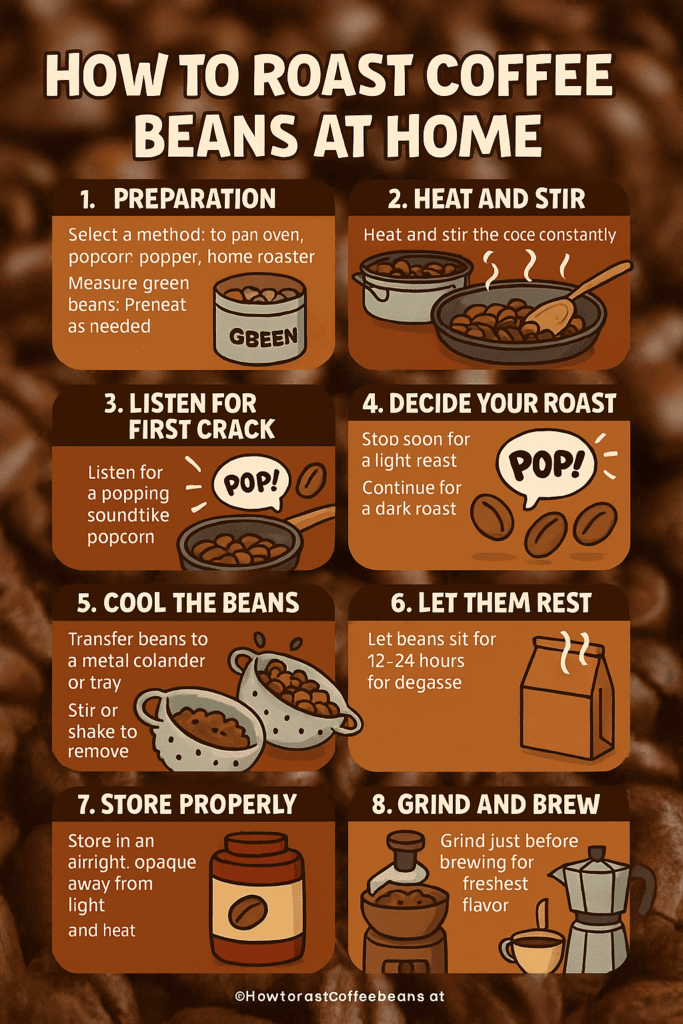
Step-By-Step: How to Roast Coffee Beans Outdoors
I’ve burnt a few batches (and rescued even more), testing out different methods over the years. Here’s a simple path to a dialed-in outdoor roast that works whether you’re car camping or deep in the backcountry:
1. Prep Your Station
Set your pan over steady, medium heat. A stable campfire bed of coals or a portable stove works best. Avoid high flames—they’ll char the outside while leaving the inside raw. If the surface is uneven, use a grill grate or old oven rack to keep things steady.
Check your setup: heat source stable, stirring tool within reach, cooling container nearby, and adequate ventilation. You’ll be stirring constantly, so position everything for easy access.
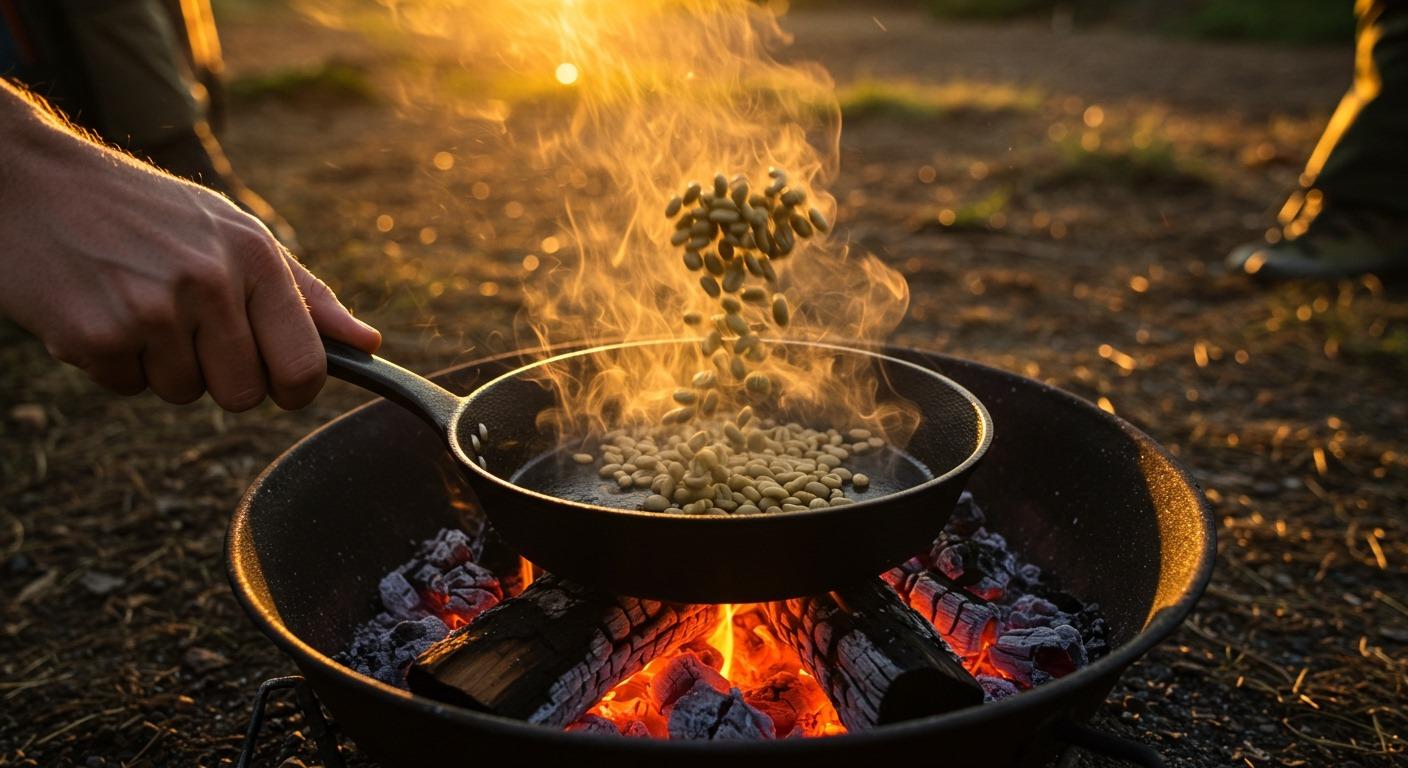
Pour 1–2 cups of green beans into your heated pan. Don’t overcrowd—the beans need room to swirl and tumble. A single layer works best for even heating.
2. Stir. Constantly.
This isn’t a walk-away-and-wait operation. Stir the beans non-stop, scraping the bottom and edges to avoid burning. You’ll start to hear a grassy, toasty aroma within minutes—don’t panic if the beans turn yellow first.
Keep the beans moving with smooth, consistent motions. Aggressive stirring can crack beans prematurely, while lazy stirring creates uneven roasts with some beans burnt and others barely browned.
Listen for changes in sound. Green beans rattle like pebbles. As moisture evaporates, they become quieter. Pay attention—your ears are as important as your eyes.
3. Watch the Color Changes
Roasting beans go through distinct color phases:
- Green to yellow: Moisture evaporating, grassy smell fading
- Yellow to tan: Maillard reactions beginning, sweet aromas emerging
- Tan to light brown: Approaching first crack, coffee smell developing
- Light to medium brown: Classic coffee appearance, balanced flavors
- Medium to dark brown: Oil migration, roasted flavors dominating.
Each phase brings different flavor compounds forward. Light roasts highlight origin characteristics and acidity. Medium roasts balance origin and roasted flavors. Dark roasts emphasize caramelization and roasted notes.
4. Listen for the “First Crack”
Nature’s timer! Around 4–7 minutes in, your beans will pop—like campfire popcorn. This is the “first crack,” marking a light roast stage (think juicy, acidic, high-caffeine). For a classic medium to dark roast, keep stirring through this phase.
First crack sounds like Rice Krispies in milk or small twigs snapping. It starts with a few isolated pops, builds to a crescendo, then gradually fades. This phase typically lasts 1-2 minutes.
At first crack, you’ve achieved a light roast. Beans are drinkable but may taste underdeveloped—sour or grassy. Most outdoor coffee lovers prefer to continue roasting.
Watch out for smoke; be ready to vent the pan away from your face if needed. Some smoke is normal, but excessive smoke indicates too-high heat or uneven roasting.
5. Find Your Roast Level
Monitor color and listen for the second crack:
- Light roast: Stop during or just after first crack ends
- Medium roast: Continue 1-2 minutes past first crack
- Dark roast: Wait for second crack (softer, snappier sounds)
The “second crack” marks dark roast territory. It sounds different—more like cellophane crinkling than popcorn popping. This is where oils begin migrating to the surface, creating shiny, dark beans.
Don’t let them burn! Outdoor heat is powerful and can turn golden beans to charcoal in seconds if you step away. Trust your senses over rigid timing—every heat source and altitude affects roasting speed.
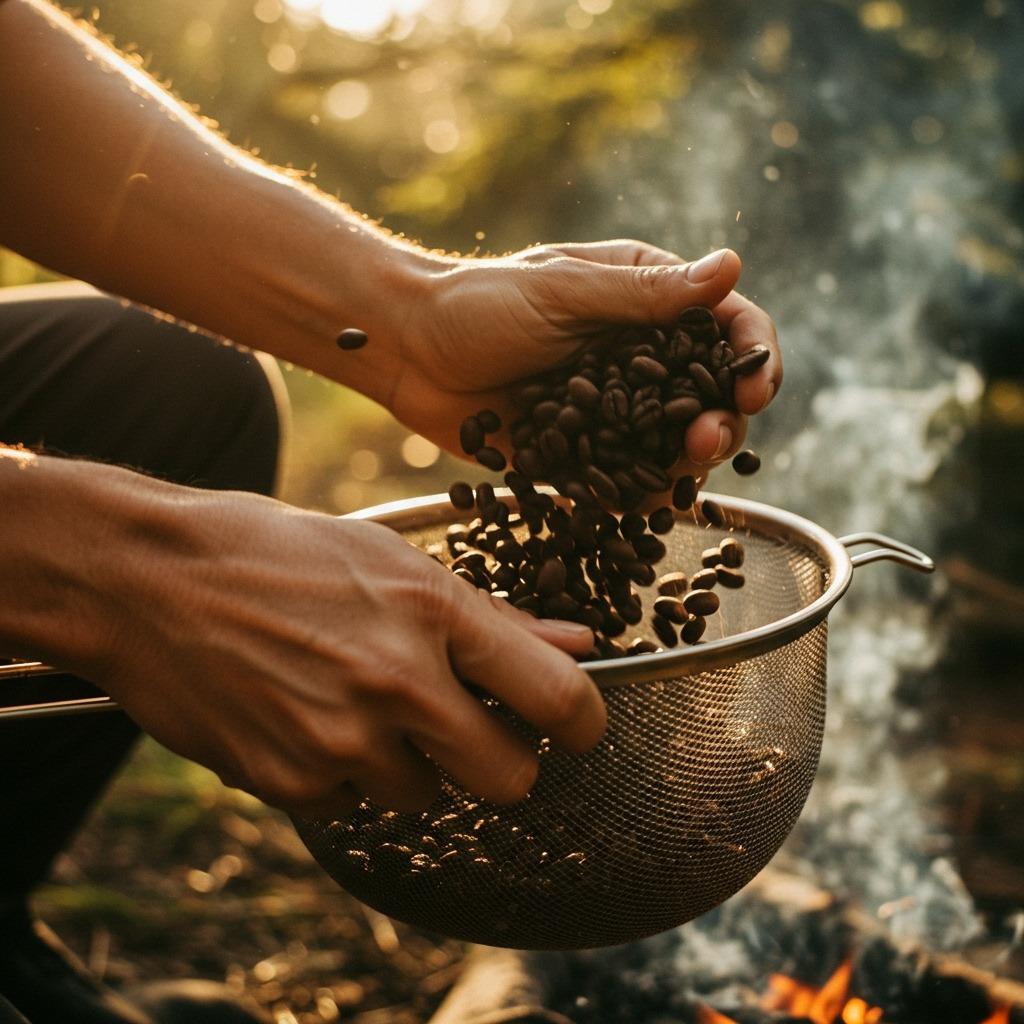
6. Cool Down Quickly
Once your beans hit the sweet spot, dump them into a wire mesh sieve or colander. Toss/shake gently to help shed leftover flakes (“chaff”). The cold outdoor air makes cooling fast and easy—another outdoor win.
Rapid cooling stops the roasting process and prevents overcooking from residual heat. Beans continue cooking for several minutes after leaving the heat source.
Shake the colander vigorously to separate chaff from beans. Chaff is papery, lightweight, and will blow away in the breeze. Clean beans roast more evenly and store better.
7. Rest & Store Properly
Fresh-roasted beans release gases (that magical coffee smell) for 12–24 hours. Let them breathe before sealing in an airtight jar. If you grind too soon, your brew will taste flat or sour. Be patient: that first post-roast cup is worth every minute.
Store cooled beans in an airtight container away from light and heat. Properly stored beans stay fresh for 1-2 weeks, though they’re best within the first week after roasting.
Roasting Methods for Every Outdoor Adventurer
Curious to experiment? Over time, you’ll want to try different tools and techniques, each with its own advantages and flavor quirks.
Cast Iron Skillet Method
Best for: Car camping, established campsites
Pros: Even heat distribution, durable, doubles as a cooking pan
Cons: Heavy, requires constant stirring
Technique: Medium heat, constant stirring, 8-12 minutes typical
The classic outdoor method. Cast iron’s thermal mass provides steady, even heating. Perfect for beginners because you can see, hear, and smell everything happening.
Manual Popcorn Popper
Best for: RV camping, group trips
Pros: Built-in stirring mechanism, contained roasting
Cons: Requires electricity or 12V adapter
Technique: Medium heat, occasional shaking, built-in agitation
Old-school hand-crank poppers work great over camp stoves. The built-in stirring mechanism ensures even roasting while preventing flying chaff.
Camp Dutch Oven
Best for: Large batches, established camps
Pros: High capacity, excellent heat retention
Cons: Heavy, harder to monitor progress
Technique: Careful heat management, frequent stirring, lid-off roasting
Perfect for groups or weekly camping trips. The heavy lid retains heat well, but remove it during roasting to monitor progress and prevent steam buildup.
Rotisserie Drum Method
Best for: Serious enthusiasts, car camping
Pros: Even roasting, hands-free operation
Cons: Requires fabrication skills, campfire setup
Technique: Steady rotation, moderate heat, 15-20 minutes
Next-level setup using a rotisserie mechanism over coals. Even heating and no stirring required, but building the setup takes time and skill.
Portable Camp Roaster
Best for: Coffee purists, frequent campers
Pros: Consistent results, temperature control
Cons: Expensive, requires a power source
Technique: Follow manufacturer instructions
Electric camp roasters provide the most control but require generators or RV hookups. Great for consistent results if you’re willing to carry extra gear.
No matter the method, the principles of steady heat, constant agitation, and quick cooling stay the same. Start simple and work up to more complex setups as your skills develop.
Looking to shift toward even more rustic breakfasts for your next trip? You’ll love our roundup of camping breakfast ideas.
Advanced Techniques and Troubleshooting
Reading the Roast
Experienced roasters rely on multiple senses:
- Visual: Color development, oil emergence, smoke patterns
- Auditory: First crack timing, second crack intensity
- Olfactory: Progression from grassy to sweet to roasted
- Tactile: Bean texture, weight changes, heat levels
Common Problems and Solutions
Uneven Roasting: Some beans are light, others dark
- Cause: Inadequate stirring, uneven heat source
- Solution: Stir more frequently, level your heat source
Scorched Beans: Black spots, acrid smell
- Cause: Heat too high, beans sitting still
- Solution: Lower heat, never stop stirring.
Underdeveloped Roast: Sour, grassy flavors
- Cause: Roasting too quickly, insufficient heat
- Solution: Extend roasting time, increase heat slightly
Smoky Flavors: Ashy, bitter aftertaste
- Cause: Excessive heat, poor ventilation
- Solution: Better airflow, moderate temperature
Altitude Adjustments
High-altitude roasting requires modifications:
- Lower air pressure: Beans roast faster, and the first crack comes earlier
- Dry air: Faster moisture loss, adjust timing accordingly
- Temperature variations: Greater day/night swings affect consistency
Start with shorter roasting times at altitude and adjust based on results.
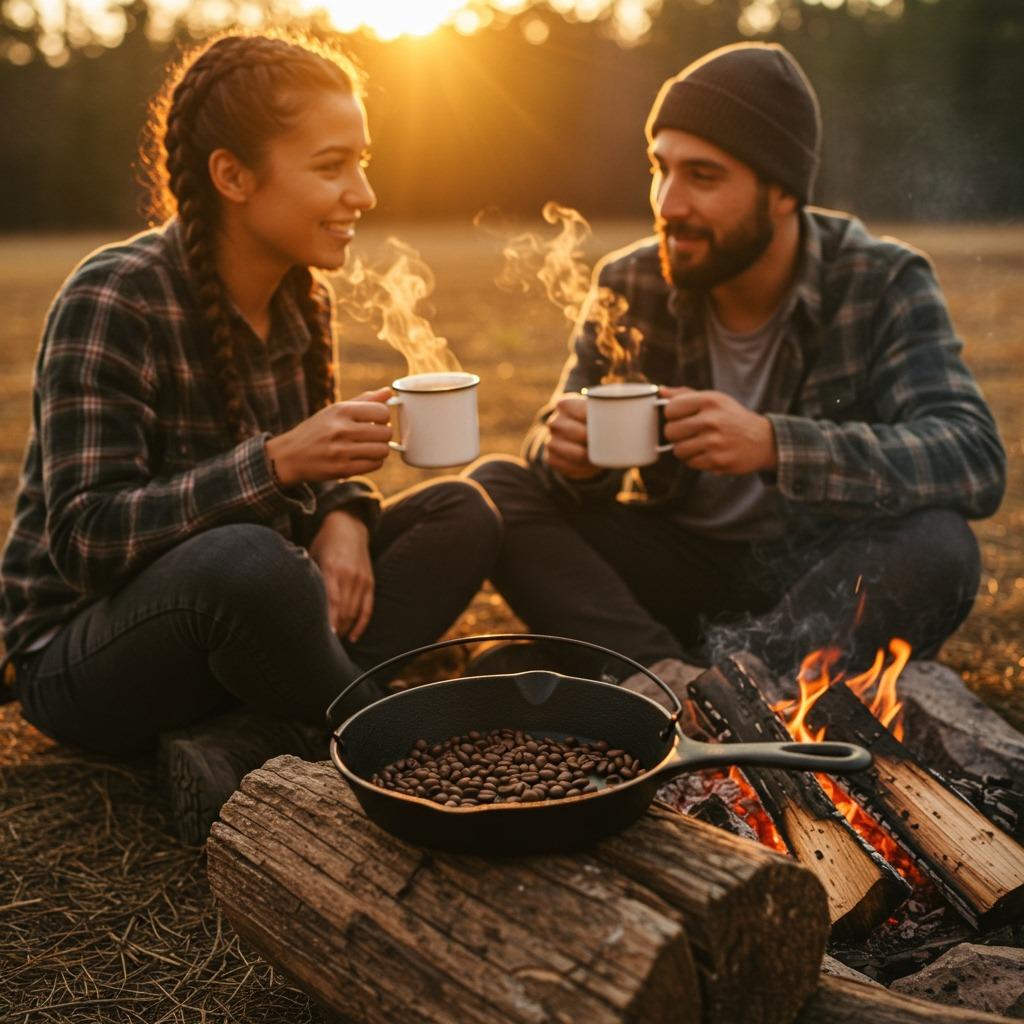
Campfire Coffee Story: The Batch That Changed Everything
Last spring in the Rockies, my old titanium pan sent every other bean flying into the embers—except the ones I stared at constantly. The singed leftovers became my morning ritual for days, tasted like sweet smoke and hard-won victory, and had my trail buddy begging for another try the following morning.
We spent three days perfecting our technique: steadier heat from banked coals instead of flames, a heavier pan that didn’t dance around, and most importantly, embracing the imperfections. That slightly uneven, smoky batch became the standard we chased for months afterward.
The lesson? Outdoor coffee magic is less about precision, more about sharing moments and learning by doing. Some of my best roasting memories involve “disasters” that somehow tasted perfect around a crackling fire with good friends.
Tips for Epic Outdoor Roasts (and Fewer Mistakes)
Heat Management
- Start with small batches so mistakes aren’t costly
- Use moderate, steady heat—aggressive heat scorches outsides while leaving insides raw.
- Bank your coals for even temperature instead of relying on flames.
- Test your setup with a few beans before committing to a full batch.
Technique Refinements
- Keep beans moving—even, constant stirring is your best friend.
- Don’t chase visual perfection; wild-roasted beans rarely look “store-bought”
- Trust your nose—aroma changes are more reliable than strict timing.
- Practice patience—rushing leads to uneven, underdeveloped roasts
Environmental Factors
- Ventilate! Pick a breezy spot or set up downwind of your sleeping quarters.
- Account for altitude—beans roast faster at elevation.
- Consider humidity—dry air accelerates moisture loss.
- Plan for weather—wind affects heat patterns, rain ruins everything
Storage and Safety
- Cool completely before storing—trapped heat creates condensation.
- Store correctly: Give beans a few hours to off-gas, then seal them tight.
- Keep fire safety gear handy—water, dirt, or a fire extinguisher within reach.
- Respect fire restrictions—check local regulations before roasting.
If you’re looking to optimize camp cooking and clothing for roasting sessions, get the scoop on the most comfortable camping clothes—these fabrics don’t hold in smoke or stains.
Brewing Your Fresh-Roasted Beans Outdoors
Roasting is only half the story. Brewing fresh beans outdoors deserves the same attention to detail:
Grinding Guidelines
- Wait 12-24 hours after roasting before grinding
- Grind just before brewing for maximum flavor.
- Use a manual grinder for a consistent particle size.
- Match grind to brewing method—coarse for French press, medium for pour-over
Brewing Methods for Camping
- Cowboy coffee: Coarse grind, boiling water, settling time
- Pour-over: Medium grind, steady pour, paper filter
- French press: Coarse grind, 4-minute steep, metal filter
- Percolator: Medium-coarse grind, gentle percolation cycle
Water Quality Matters
- Use filtered water when possible—camp water often contains minerals that affect taste.
- Avoid over-boiling—brings out bitter compounds.
- Mind the temperature—195-205°F is optimal for most methods.
- Consider your source—mountain streams often produce excellent coffee water.
Perfect your brewing technique with our comprehensive cowboy coffee guide for traditional campfire methods.
Building Your Outdoor Coffee Ritual
Great outdoor coffee isn’t just about technique—it’s about creating memorable experiences. Here’s how to build a coffee ritual that enhances every camping trip:
Morning Preparation
Start your roasting session the evening before your desired brew day. Fresh-roasted beans need time to degas, and evening roasting provides perfect campfire entertainment.
Set up your coffee station before bed: grinder, brewing gear, and water source organized for easy morning access. Nothing beats waking up to the aroma of yesterday’s roast wafting from your storage container.
Timing and Rhythm
Roasting takes 10-15 minutes of active attention. Use this time to connect with fellow campers, watch sunrise colors develop, or simply enjoy the meditative rhythm of stirring beans over glowing coals.
Build roasting into your camp routine: morning roasting for next-day coffee, evening roasting for tomorrow’s sunrise brew, or mid-afternoon roasting for sunset coffee sessions.
Sharing the Experience
Teach others your technique. There’s something magical about passing on coffee knowledge around a campfire. Everyone brings their own perspective, and you’ll learn new tricks from every student.
Document your experiments: note bean origins, roast levels, brewing methods, and weather conditions. Over time, you’ll develop your signature outdoor roast.
Frequently Asked Questions
What are the best green coffee beans for beginners?
Look for mild, single-origin Arabica beans from reputable suppliers. Central and South American greens (Colombian, Brazilian, Costa Rican) are famed for their balance and forgiving flavor profile. Avoid complex or expensive beans until you’ve mastered basic technique.
Is roasting coffee outdoors safe?
Absolutely—with proper precautions. Pick a fire-safe area away from dry vegetation, keep water handy for flare-ups, and cool beans away from open flames. Follow all local fire restrictions and never leave your heat source unattended.
How do I control roast level without a thermometer?
Use your senses! Sight (bean color progression), sound (first and second crack timing), and smell (aroma development) are your best guides. Start with visual cues, then train your ear for crack timing. Practice makes perfect—expect several learning batches.
Can I grind beans at camp?
Definitely. A manual hand grinder is compact and satisfies that wild, self-sufficient vibe. Hand grinders produce more consistent particle size than electric models and never need batteries. Grind just before brewing for the best taste.
Do I need a special container for roasted beans?
Store cooled beans in any airtight jar or sturdy zip bag. Mason jars work great for car camping. For backpacking, use lightweight containers with good seals. Keep beans out of the sun and heat until you’re ready to brew.
How long do fresh-roasted beans stay good?
Peak flavor occurs 2-7 days after roasting, though properly stored beans stay good for 2-3 weeks. They’re still better than most store-bought coffee for a month or more. In camp conditions, use within a week for best results.
What’s the difference between first crack and second crack?
First crack sounds like popcorn popping—sharp, distinct pops that build to a crescendo then fade. It marks light roast achievement. Second crack sounds like cellophane crinkling—softer, more frequent snaps indicating dark roast territory and oil migration.
Can I roast beans in the rain?
Not recommended. Moisture interferes with the roasting process and creates steam that affects heat transfer. Roast under shelter if possible, or wait for clear weather. Beans need dry conditions for proper development.
Level Up Your Morning Ritual
Roasting coffee outdoors is a backcountry superpower—once you start, old bagged coffee won’t cut it again. Next time you set out for the wilds or a lazy long weekend, toss some green beans and a sturdy pan in your pack. You’ll discover that every smoky swirl, every pop of the beans, and that first deep inhale of the scented mountain air becomes part of your story.
The journey from green seed to perfect cup mirrors the outdoor experience itself: patience, attention to detail, adaptation to conditions, and appreciation for simple pleasures. Whether you’re warming up after a cold morning hike or winding down after a day on the water, fresh-roasted coffee transforms ordinary moments into extraordinary memories.
Ready for more adventure-filled routines? Check out these helpful resources for deeper dives:
- For step-by-step brewing techniques, see Outside Online’s comprehensive camp coffee guide
- Curious about coffee science and roasting chemistry? National Coffee Association has home roasting facts and expert brewing tips.
- Need to decode roasting terminology while trail planning? Visit REI’s coffee and camping resource center.
For more wild food, fun, and gear routines, explore:
- Cowboy coffee techniques (the classic wild method)
- Primitive camping essentials
- Trail-worthy snack planning
- Camping breakfast inspiration
- Durable outdoor clothing
Happy trails, and see you around the campfire.