
I still remember my first attempt at spooling a fishing reel—what should have been a simple 10-minute task turned into an hour-long wrestling match with tangled line, loose knots, and growing frustration. The line twisted off in loops, the knot slipped loose on my first cast, and I ended up with what looked like fishing line spaghetti scattered across my garage floor.
That disaster taught me everything about the importance of proper line installation. Getting it right the first time saves hours of frustration on the water and prevents the heartbreak of losing fish to equipment failure. After years of spooling countless reels, I’ve learned the techniques that work and the mistakes that can ruin your fishing day before it starts.
Whether you’re setting up your first spinning reel or switching to heavier line for bigger fish, mastering this fundamental skill will make you a more confident and successful angler. Here’s everything you need to know about putting fishing line on a reel the right way.
Understanding Different Reel Types
Before diving into the spooling process, understanding your reel type determines which technique you’ll use. Each reel design requires slightly different approaches for optimal line installation.
Spinning Reels
Spinning reels are the most common type, featuring a fixed spool that sits below the rod. The line peels off the end of the spool during casting, and a bail arm controls line release and retrieval. These reels are forgiving for beginners and handle a wide range of line weights effectively.
The spool doesn’t rotate during casting, which prevents backlash and makes spinning reels ideal for lighter lines and lures. However, this design can introduce line twist if not spooled properly.
Baitcasting Reels
Baitcasting reels feature a rotating spool that sits above the rod. During casting, both the spool and line rotate together, providing more direct control over lure placement. These reels excel with heavier lines and lures but require more skill to operate effectively.
Proper spooling is crucial for baitcasters since poorly installed line contributes to backlash—the dreaded “bird’s nest” of tangled line that frustrates many anglers.
Spincast Reels
Spincast reels combine features of spinning and baitcasting designs. They feature an enclosed housing with a push-button casting system, making them excellent for beginners and children. The spooling process is similar to spinning reels, but with an additional cover that must be removed.
Understanding your reel type ensures you follow the correct spooling procedure and achieve optimal performance from your setup.
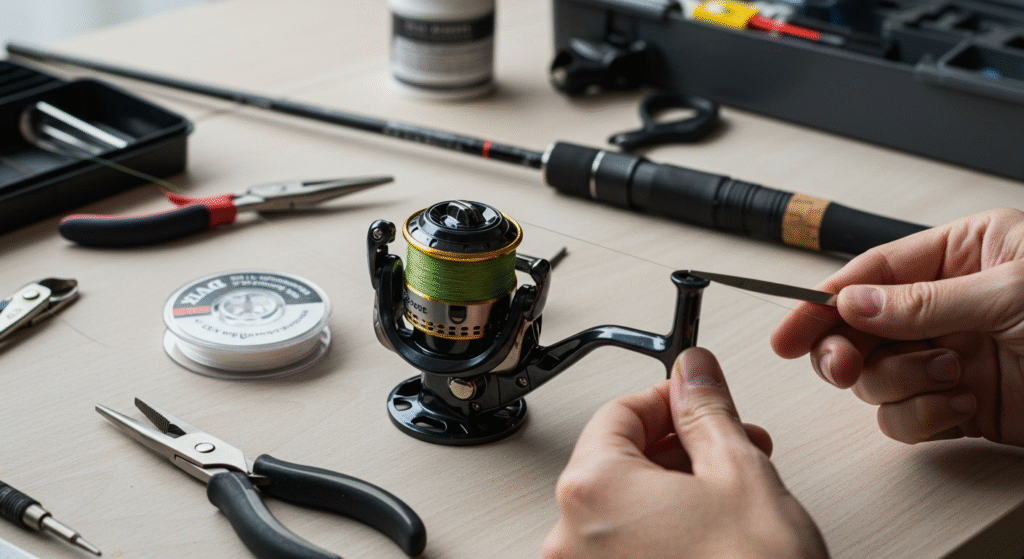
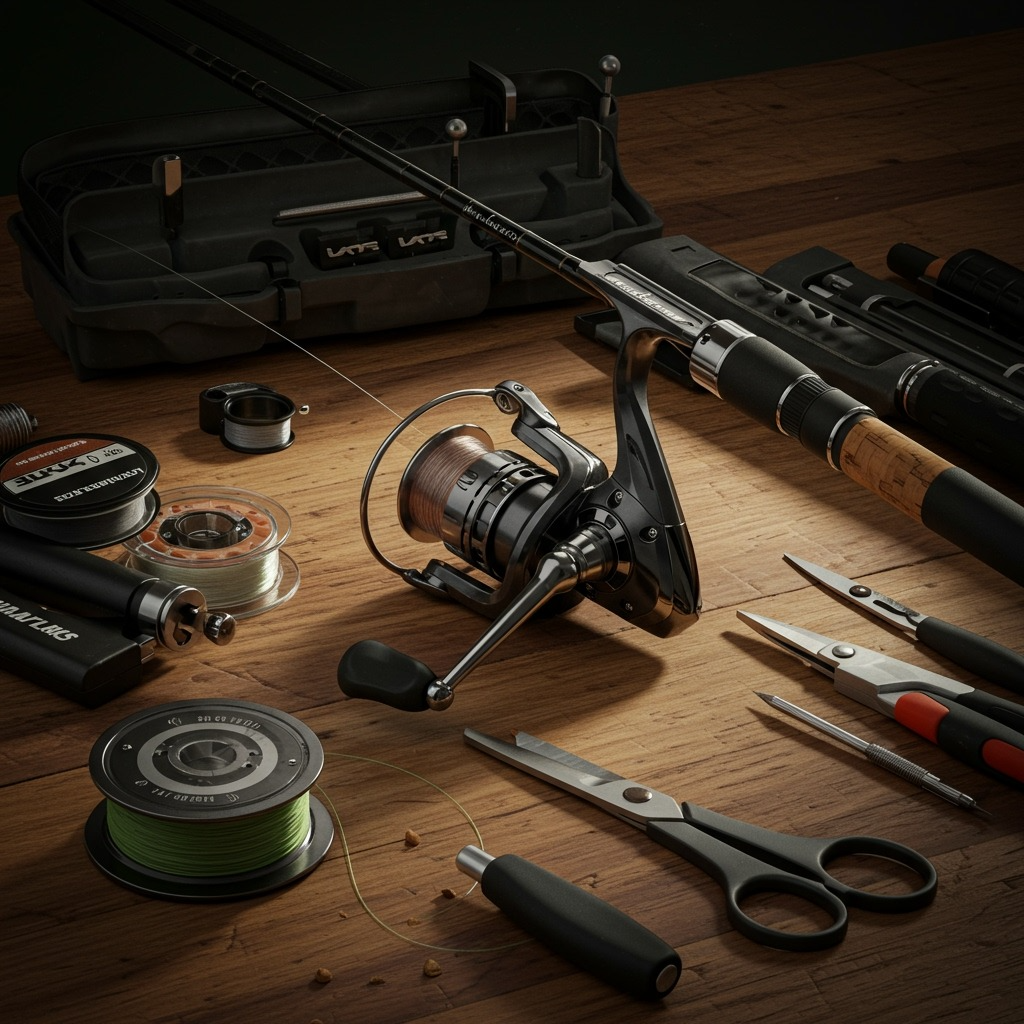
Essential Tools and Materials
Successful line installation requires preparation and the right tools. Having everything ready before starting prevents interruptions and ensures a smooth process.
Required Tools
A good pair of fishing scissors or line cutters is essential for clean cuts that won’t fray line ends. Kitchen scissors work in a pinch, but specialized fishing cutters provide cleaner results and often include additional features like split ring tools.
A small towel or rag helps maintain grip on the line and cleans any lubricants or oils from your hands. Wet hands can slip on monofilament and braided lines, leading to uneven tension during spooling.
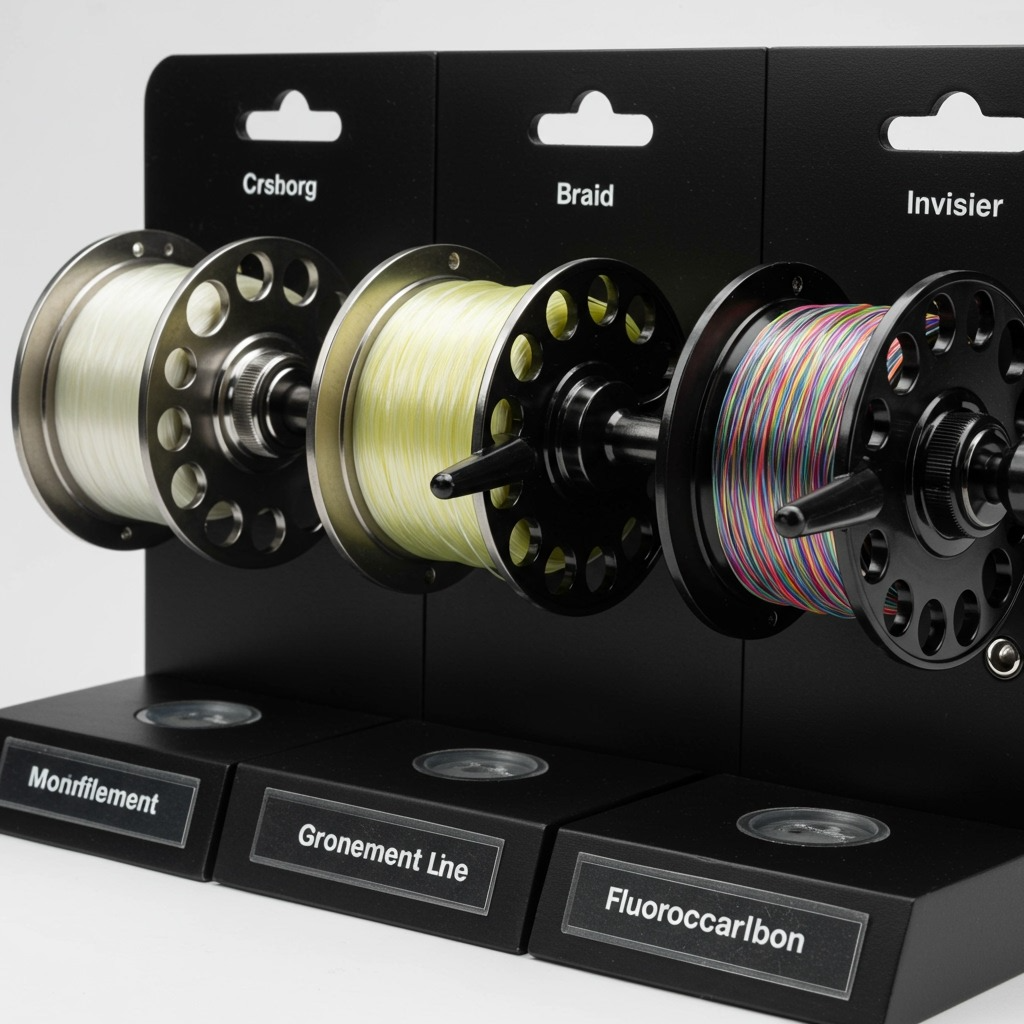
Line Selection Considerations
Choosing appropriate line weight and type for your target species and fishing conditions affects both spooling technique and fishing success. Lighter lines require more careful handling during installation, while heavier lines may need backing to fill the spool properly.
Monofilament line is most forgiving for beginners, stretches to absorb shock, and provides good knot strength. Braided line offers a superior strength-to-diameter ratio but requires different spooling techniques. Fluorocarbon provides excellent invisibility underwater, but can be stiffer and more challenging to handle.
Workspace Setup
Choose a clean, well-lit area with enough space to handle the full length of the line spool. A kitchen table or garage workbench provides an ideal working height and prevents lines from dragging on dirty floors.
Place the new line spool in a container or bucket to prevent it from rolling away and creating tangles. Some anglers use a pencil through the spool center to create a simple dispenser that allows smooth line flow.
For more comprehensive fishing gear guidance, check out our How to Line a Fishing Pole article.
Step-by-Step Spinning Reel Installation
Spinning reels are the most popular choice for most anglers, making this technique essential knowledge for anyone serious about fishing.
Preparing the Reel
Start by removing any old line from the reel. Cut the line near the spool and wind it off by hand rather than using the reel handle. This prevents the old line from getting caught in the bail mechanism or guides.
Inspect the spool for any damage, cracks, or rough edges that could weaken your new line. Clean any dirt or debris from the spool and bail arm mechanism using a damp cloth.
Open the bail arm by flipping it up. This position allows easy access to the spool and prevents interference during the spooling process.
Threading Through the Rod
If your reel is already mounted on a rod, thread the line end through the rod guides, starting from the tip and working toward the reel. This backwards threading makes winding easier and prevents having to thread several feet of line through multiple guides later.
Use only the line end—don’t try to thread the entire spool through the guides. About 18 inches of working line provides plenty for tying to the spool and initial winding.
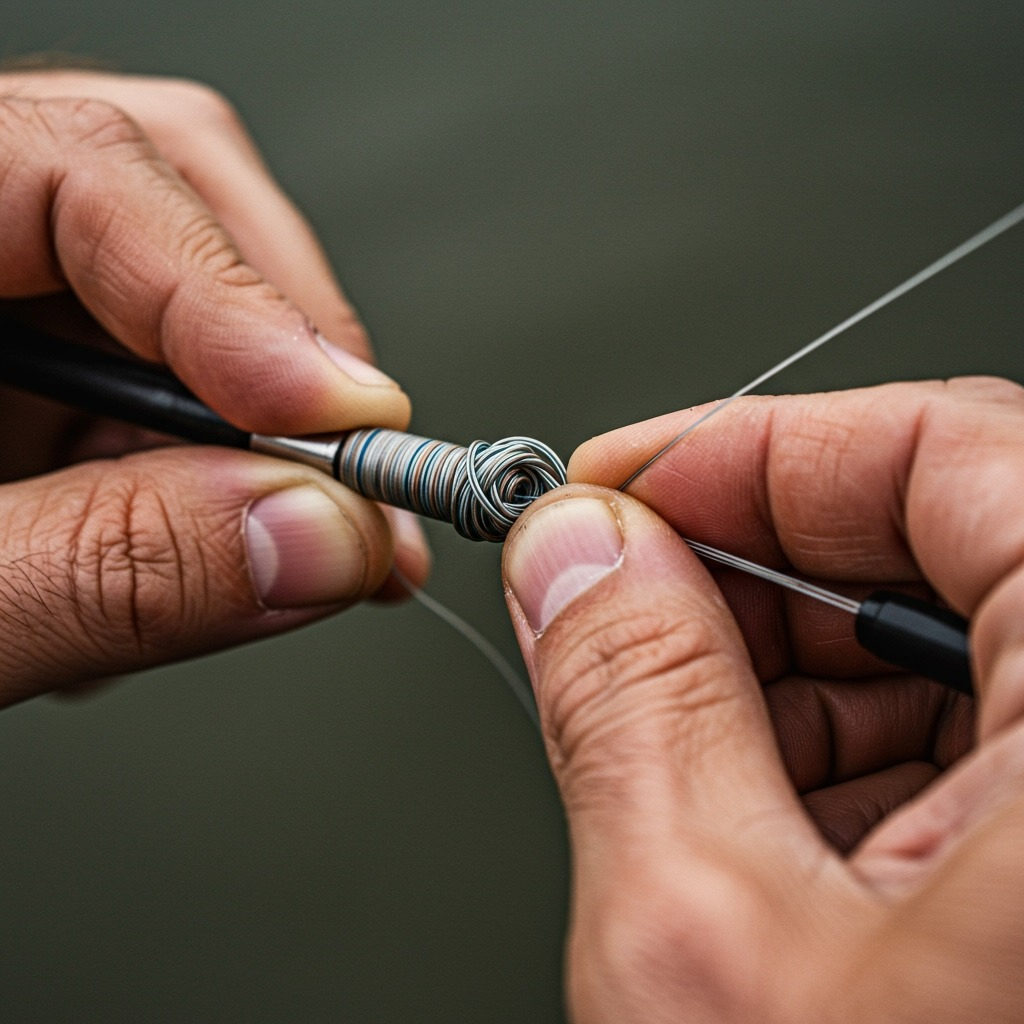
Tying the Arbor Knot
The arbor knot is specifically designed for attaching line to reel spools. It tightens under pressure and won’t slip when you’re fighting fish or retrieving lures.
Wrap the line around the spool once, then tie an overhand knot around the main line about six inches from the end. Tie a second overhand knot in the tag end itself, about two inches from the first knot.
Moisten both knots with water or saliva to reduce friction heat that can weaken the line. Pull the main line to tighten the knot against the spool, then trim the excess tag end close to the second knot.
Proper Spooling Technique
Close the bail arm and ensure the line passes under the bail roller properly. Apply firm, steady pressure to the line with your fingers as you wind it onto the spool. This tension prevents a loose line that can cause casting problems later.
Wind slowly and evenly, moving the line back and forth across the spool width to ensure even distribution. Most spinning reels have automatic level wind mechanisms, but maintaining steady tension helps the process.
Stop filling when the line reaches about 1/8 inch from the spool rim. Overfilling causes the line to spring off during casting, while underfilling reduces casting distance and line capacity.
Baitcasting Reel Spooling Method
Baitcasting reels require different techniques due to their rotating spool design and different line release mechanisms.
Initial Setup
Remove the side plate to access the spool directly. Most baitcasting reels have a quick-release mechanism that allows easy spool removal for line installation.
Thread the line through the levelwind mechanism if your reel has one. This guide distributes the line evenly across the spool width during winding.
Spool Attachment
Use the same arbor knot technique as spinning reels, but tie directly to the spool without threading through rod guides first. The shorter working distance makes this more manageable.
Ensure the knot sits flat against the spool and won’t interfere with the levelwind mechanism or spool rotation.
Winding Process
Replace the side plate and engage the reel handle. Apply steady pressure to the line while winding, but don’t over-tension since baitcasting reels are more sensitive to line pressure variations.
Watch the levelwind guide to ensure it’s distributing the line evenly. If the line builds up in one area, stop and redistribute by hand before continuing.
Fill the spool to about 1/8 inch from the rim, just like spinning reels. Baitcasting reels are particularly sensitive to overfilling, which increases backlash potential.
For advanced fishing techniques, explore our comprehensive strongest fishing knot guide.
Spincast Reel Installation Process
Spincast reels combine ease of use with enclosed mechanics, requiring a slightly modified approach to line installation.
Accessing the Spool
Remove the front cover by unscrewing it counterclockwise or releasing any clips that hold it in place. Some models have a simple twist-lock mechanism, while others use threaded connections.
Remove any old line by cutting near the spool and pulling it out through the cover hole. Clean the spool and internal mechanism while you have access.
Line Installation
Thread the new line through the hole in the front cover before tying it to the spool. This saves time and prevents having to thread the line through the small cover opening after installation.
Use the standard arbor knot technique to secure the line to the spool, ensuring the knot won’t interfere with the cover when replaced.
Final Assembly
Reinstall the front cover, ensuring the line exits through the proper hole and doesn’t get pinched or damaged during reassembly. Test the push-button mechanism to verify smooth operation.
Fill the spool using the same guidelines as other reel types, maintaining steady tension and stopping at the appropriate level.
Common Mistakes and How to Avoid Them
Learning from common spooling errors saves time and prevents frustration when you’re eager to get fishing.
Overfilling the Spool
The most frequent mistake beginners make is putting too much line on the reel. Overfilled spools cause the line to spring off in loops during casting, creating tangles and reducing casting distance.
Always leave 1/8 to 1/4 inch of space between the line and spool rim. This clearance allows proper line flow while preventing overflow problems.
Insufficient Tension
A loose line on the spool creates problems when casting and retrieving. Without proper tension during spooling, the line can dig into itself under pressure, causing binding and uneven release.
Apply steady, firm pressure throughout the spooling process. Your fingers should provide enough resistance to keep the line tight but not so much that you strain the rod or reel mechanisms.
Wrong Direction Installation
The line must come off the supply spool in the same direction it goes onto the reel spool to prevent twist. This is particularly important for monofilament lines that can develop memory coils.
Test by starting to wind a few feet, then letting the line out. If it coils or springs, flip the supply spool over and try again.
Poor Knot Selection
Using inappropriate knots or tying them incorrectly causes line failure at the worst possible moments. The arbor knot is specifically designed for spool attachment and performs better than general-purpose knots.
Take time to tie the arbor knot properly, moistening it before tightening and trimming the tag end close to prevent snagging.
Line Type Specific Considerations
Different line materials require adjusted techniques for optimal spooling results.
Monofilament Characteristics
Monofilament line has memory, meaning it retains the coil shape from the supply spool. Proper spooling direction and tension help minimize this memory effect.
Warm monofilament is more pliable and easier to work with. On cold days, bringing line spools indoors overnight makes installation smoother.
Braided Line Techniques
Braided line is slippery and can slip on smooth spool surfaces. Some anglers apply a small piece of electrical tape to the spool before tying the arbor knot to provide extra grip.
Use extra wraps in your arbor knot when spooling braided line since its smooth surface doesn’t hold knots as securely as monofilament.
Fluorocarbon Handling
Fluorocarbon is stiffer and more abrasion-resistant than other line types. It requires more careful handling during spooling since it’s less forgiving of improper technique.
Use slightly less tension when spooling fluorocarbon to prevent overstressing the line. Its stiffness means it won’t compact as much as monofilament under pressure.
Backing Applications
When switching to expensive lines like fluorocarbon or high-end braided lines, backing lets you use less premium line while still filling the spool properly.
Use inexpensive monofilament as backing, filling the spool about half full before tying on your premium line. This technique saves money while maintaining proper spool fill levels.
Maintenance and Care Tips
Proper line maintenance extends its life and ensures reliable performance when you need it most.
Storage Considerations
Store spooled reels in cool, dry locations away from direct sunlight. UV rays degrade line over time, particularly monofilament and fluorocarbon.
Check the line regularly for nicks, abrasions, or weak spots. Replace damaged sections promptly rather than risking failures during fishing.
Seasonal Line Changes
Many anglers change line at the beginning of each fishing season or after every 10-15 trips, depending on usage intensity and fishing conditions.
Keep records of when you installed the new line to track its age and performance. Different fishing styles and environments affect line life differently.
Cleaning and Lubrication
Periodically clean reel spools and mechanisms to prevent dirt buildup that can cause premature line wear. Use reel-appropriate lubricants on moving parts according to manufacturer recommendations.
For more comprehensive fishing preparation, review our detailed How to Start Fishing guide.
Troubleshooting Common Issues
Even experienced anglers occasionally encounter problems during line installation. Knowing how to identify and fix these issues prevents wasted time and materials.
Line Twist Problems
Excessive line twist makes casting difficult and can cause tangling during retrieval. This usually results from incorrect spooling direction or inadequate tension during installation.
To test for twist, let out about 20 feet of line and observe whether it coils on itself. A properly spooled line should hang relatively straight with minimal twisting.
Uneven Line Distribution
The line that builds up in one area of the spool affects casting performance and can cause binding during use. This typically happens when tension varies during spooling or when the levelwind mechanism isn’t functioning properly.
Stop spooling periodically to check line distribution. If necessary, guide the line manually to fill gaps or redistribute accumulated areas.
Capacity Issues
Running out of line capacity before reaching proper fill levels usually means you need backing or a different line weight. Calculate your needs based on the target species and fishing style.
Most reel manufacturers provide line capacity charts showing how much line of various weights the spool holds. Use these specifications to plan your line installation.
Knot Failures
If your arbor knot slips or breaks during initial testing, examine your tying technique and line condition. A damaged or old line may not hold knots properly.
Retie the knot using fresh line, ensuring proper moisture application and gradual tightening. Trim tag ends close, but leave enough material to prevent unraveling.
Advanced Techniques and Tips
Once you’ve mastered basic spooling, these advanced techniques can improve your results and handle specialized situations.
Backing Calculations
When using backing with an expensive main line, calculate how much of each type you need. Measure your reel’s capacity and subtract the amount of main line you want, then fill the remainder with backing.
Use bright-colored backing so you can see when you’re approaching your main line during fishing. This prevents breaking off an expensive line unnecessarily.
Professional Spooling Services
Many tackle shops offer professional spooling services using specialized equipment that ensures perfect tension and distribution. This service is particularly valuable for expensive lines or when spooling multiple reels.
Professional services often include line testing and can identify potential problems before they affect your fishing.
Seasonal Adjustments
Consider changing line weights seasonally based on target species and fishing conditions. Lighter lines work better in clear water and for finicky fish, while heavier lines handle structure fishing and aggressive species.
Keep spare spools loaded with different line types for quick changes based on fishing conditions. This flexibility lets you adapt to changing situations without re-spooling.
For expert fishing techniques and comprehensive guides, visit Bass Pro Shops’ fishing tutorials or explore detailed equipment guides at Fishing Tackle Retailer.
Frequently Asked Questions
Q: How much line should I put on my reel?
A: Fill your reel to within 1/8 inch of the spool rim. Overfilling causes casting problems, while underfilling reduces casting distance. Most reel manufacturers provide capacity guidelines for different line weights.
Q: Which direction should the line come off the spool?
A: The Line should come off the supply spool in the same direction it goes onto your reel spool to prevent twist. Test a few feet first—if it coils or springs when released, flip your supply spool over.
Q: Do I need backing with all line types?
A: Backing isn’t always necessary, but it saves money when using expensive fluorocarbon or braided lines. It’s most useful when you don’t need the reel’s full line capacity for your fishing style.
Q: How often should I replace fishing line?
A: Replace line at least once per fishing season or after 10-15 trips, whichever comes first. More frequent replacement may be needed in harsh conditions or with heavy use. Check regularly for nicks and weak spots.
Q: Can I mix different line types on the same reel?
A: Yes, using different line types as backing and main line is common practice. Use inexpensive monofilament backing with expensive braided or fluorocarbon main line to save money while maintaining performance.
Q: What’s the best knot for attaching line to the reel?
A: The arbor knot is specifically designed for spool attachment and provides secure holding power that tightens under load. It’s easy to tie and works well with all line types when tied properly.