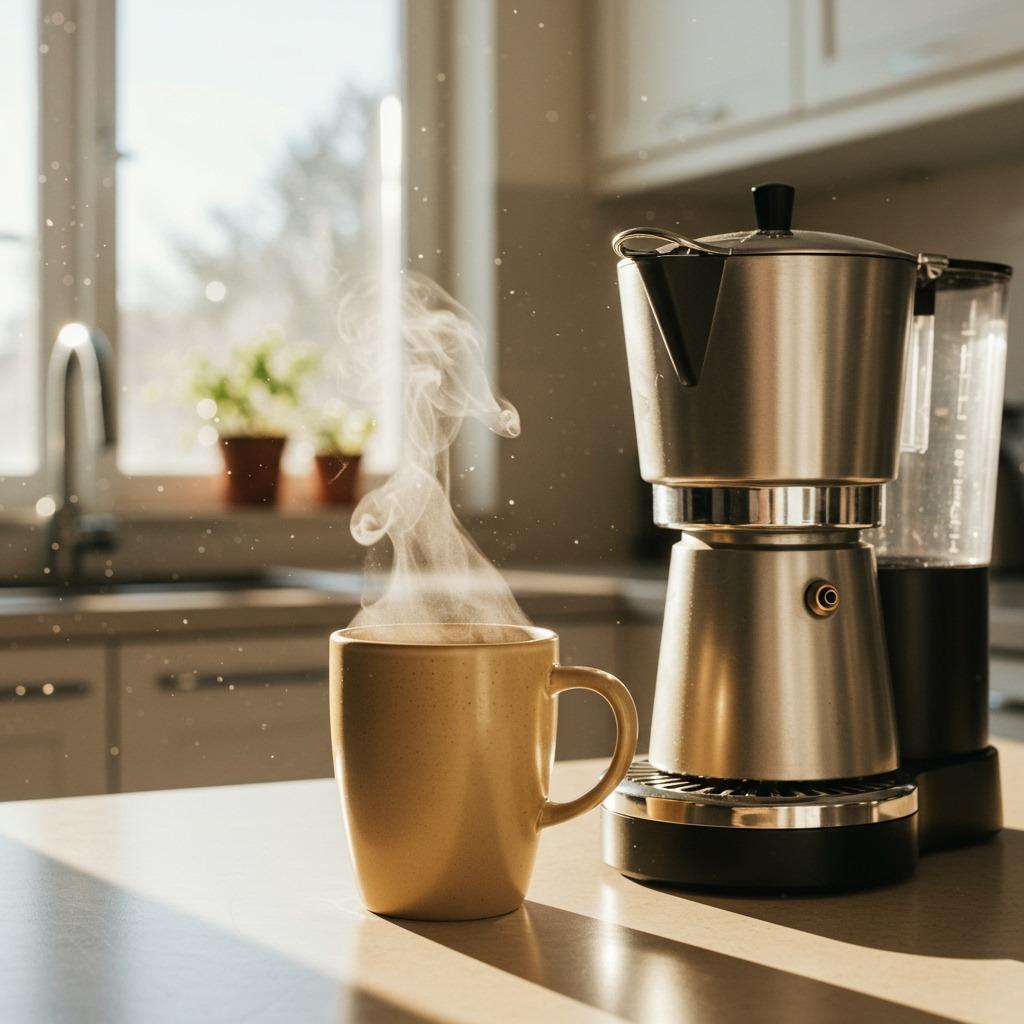
I still remember the first time I tried to make coffee with my brand-new drip coffee maker. I was 18, living in my first apartment, and absolutely convinced I knew what I was doing. I dumped in what looked like “enough” coffee grounds, filled the water reservoir to the brim, and pressed the brew button with complete confidence. Twenty minutes later, I had a pot of what could only be described as coffee-flavored water that was somehow both weak and bitter at the same time. That disaster taught me that making great coffee in a coffee maker isn’t just about pressing a button—it’s about understanding the fundamentals.
The good news is that once you learn the proper technique, making delicious coffee in a drip coffee maker is actually one of the easiest and most consistent brewing methods available.
The Quick Answer: Perfect Coffee Maker Coffee in 4 Steps
Making excellent coffee in a drip coffee maker comes down to four essential steps:
- Use the right ratio: 1-2 tablespoons of coffee per 6 ounces of water (1:15 to 1:17 ratio by weight)
- Choose quality water: Fresh, cold, filtered water makes a huge difference.
- Select proper grind: Medium grind, like coarse sand consistency.
- Time it right: Brew immediately after grinding and serve fresh
Following these fundamentals will give you consistently great coffee, but understanding the details behind each step will elevate your morning brew from good to exceptional.
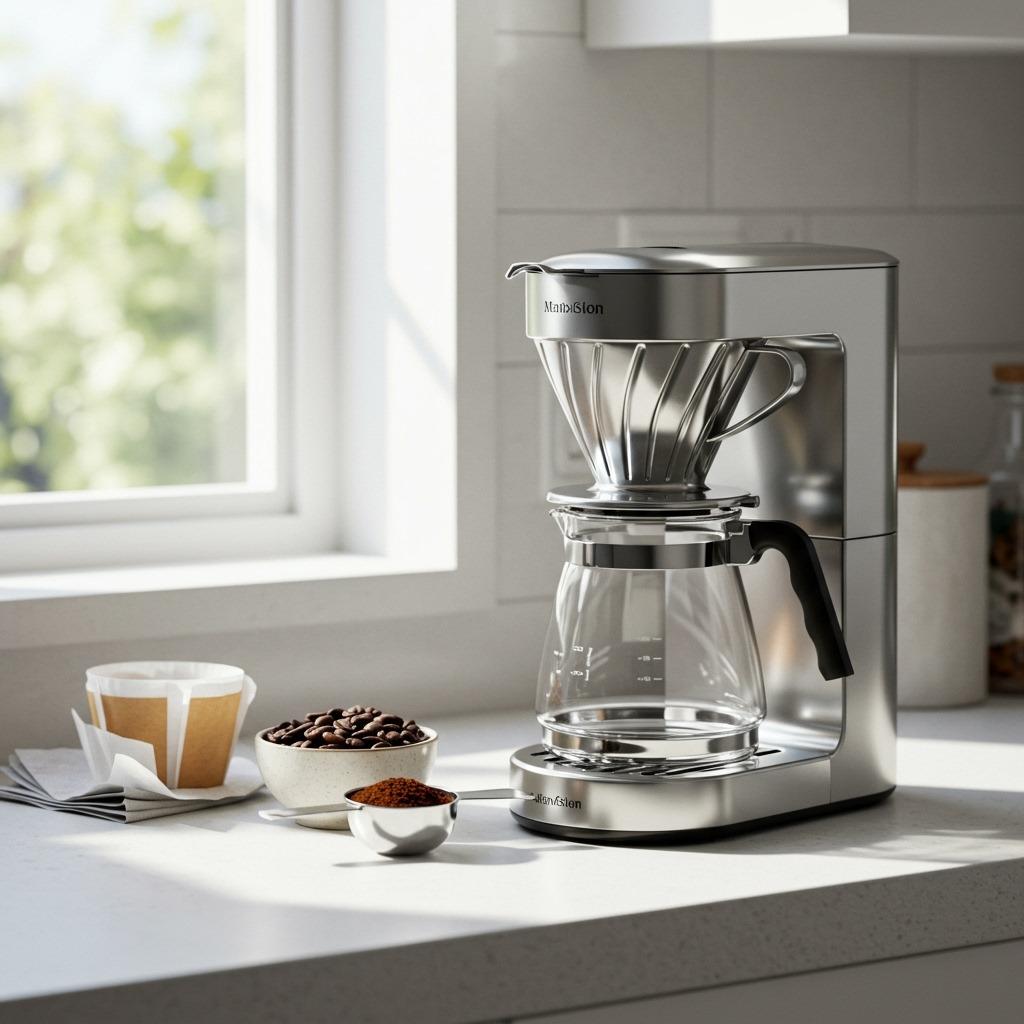
Understanding Your Coffee Maker
How Drip Coffee Makers Work
Drip coffee makers operate on a simple but effective principle. Water from the reservoir is heated to approximately 195-205°F (the optimal brewing temperature) and then distributed evenly over coffee grounds through a shower head. Gravity pulls the hot water through the grounds, extracting flavors, oils, and caffeine before collecting in the carafe below.
Modern coffee makers are designed to maintain consistent water temperature throughout the brewing process, though research shows that most consumer machines take about 6-7 minutes to reach optimal temperature. This means the first portion of water passing through your grounds is cooler than ideal, which is why higher-end machines often have pre-infusion cycles.
Types of Drip Coffee Makers
Basic Automatic Machines: Simple on/off operation with minimal features. These typically cost $20-50 and work well for basic needs.
Programmable Machines: Include timers, auto-shutoff, and brew strength settings. Mid-range option ($50-150) that offers convenience features.
High-End Automatic: Features precise temperature control, pre-infusion, and often SCA (Specialty Coffee Association) certification. These machines ($150-400) produce café-quality coffee at home.
Grind-and-Brew Combinations: Include built-in grinders for maximum freshness. Popular but requires more maintenance due to additional moving parts.

Step-by-Step Coffee Making Process
Step 1: Prepare Your Coffee Maker
Clean Check: Always start with a clean machine. Oils from previous brews can turn rancid and affect the taste. If you haven’t cleaned your machine recently, learn how to clean your coffee maker properly for optimal results.
Filter Installation: Place a paper filter in the basket, ensuring it sits flush against all sides. Quality filters make a difference—cheap filters can tear or impart papery flavors.
Water Quality Assessment: Use filtered or bottled water if your tap water is heavily chlorinated or has strong mineral flavors. According to the Specialty Coffee Association, coffee is 98% water, so water quality dramatically affects the final taste.
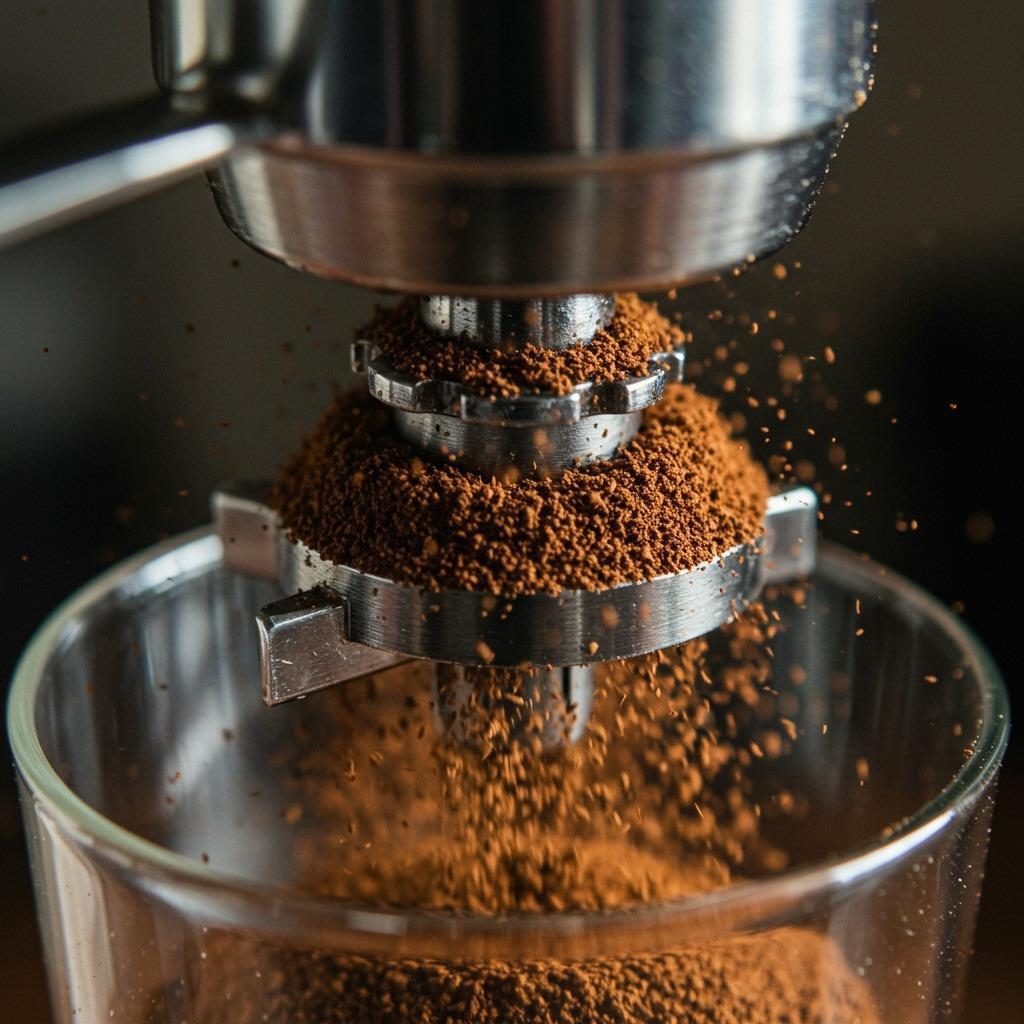
Step 2: Measure Your Coffee
The Golden Ratio: Start with 1-2 tablespoons of ground coffee per 6 ounces of water. For more precision, use a 1:15 ratio (1 gram of coffee to 15 grams of water) for stronger coffee, or 1:17 for milder brew.
Grind Size Matters: Use a medium grind that resembles coarse sand. Too fine and your coffee will over-extract and become bitter; too coarse and it will be weak and sour.
Freshness Factor: Grind beans just before brewing when possible. Pre-ground coffee loses flavor rapidly due to oxidation. If using pre-ground, store it in an airtight container and use within two weeks of opening.
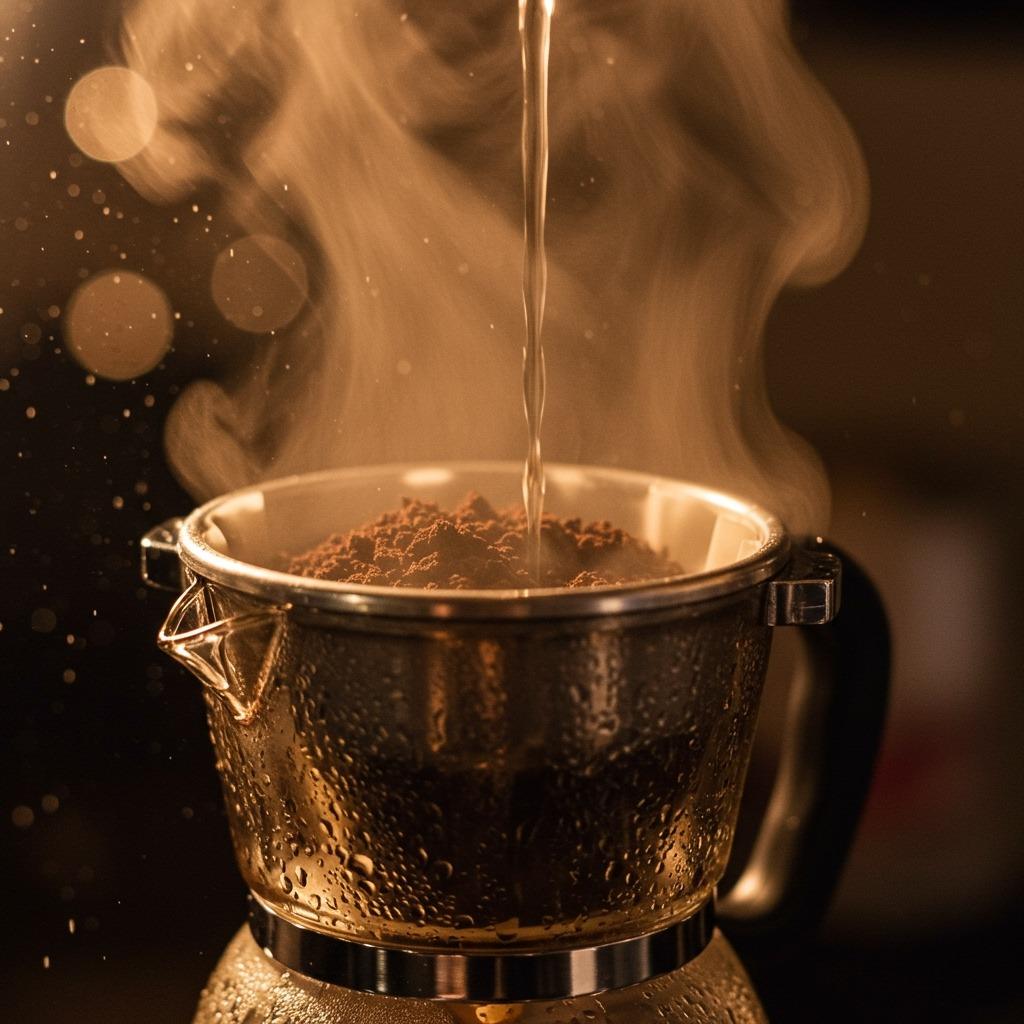
Step 3: Add Water and Start Brewing
Water Temperature: Fill the reservoir with cold water. Don’t use hot water from the tap, as it can contain metallic flavors and may interfere with the machine’s heating cycle.
Proper Measurement: Use the markings on your coffee maker’s water reservoir, but remember that “cups” on coffee makers typically measure 5-6 ounces, not the standard 8-ounce cup.
Brewing Process: Press the brew button and wait. A full pot typically takes 5-7 minutes. Don’t lift the carafe during brewing unless your machine has a pause-and-serve feature.
Perfect Coffee Ratios and Measurements
Understanding Coffee-to-Water Ratios
The Specialty Coffee Association recommends a ratio between 1:15 and 1:18 (coffee to water by weight) for optimal extraction. This translates to approximately:
Strong Coffee (1:15): 67 grams of coffee per liter of water
Medium Strength (1:16-17): 59-63 grams of coffee per liter of water
Mild Coffee (1:18): 56 grams of coffee per liter of water
Volume-Based Measurements
If you don’t have a scale, use these volume measurements as starting points:
Standard Strength: 1 tablespoon ground coffee per 6 ounces of water
Strong: 2 tablespoons ground coffee per 6 ounces of water
Mild: 1 tablespoon ground coffee per 8 ounces of water
Adjusting for Taste Preferences
Too Weak: Increase coffee amount by 10-20% before changing grind size
Too Strong: Decrease coffee amount or use a slightly coarser grind
Too Bitter: Use less coffee, a coarser grind, or check water temperature.
Too Sour: Use more coffee, finer grind, or ensure proper water temperature
Water Quality and Temperature
Why Water Quality Matters
Since coffee is approximately 98% water, poor water quality directly translates to poor coffee taste. Common water problems include:
High Chlorine Content: Creates harsh, chemical flavors
Hard Water: Excessive minerals can cause over-extraction and equipment buildup
Soft Water: May cause under-extraction and flat-tasting coffee
Poor pH Balance: Can affect extraction and create off-flavors
Optimal Water Standards
According to the National Coffee Association, ideal brewing water should have:
- Temperature: 195-205°F (90-96°C)
- pH: 6.5-7.5 (neutral)
- Total Dissolved Solids: 150-300 ppm
- Chlorine: Less than 1 ppm
Water Solutions
Filtered Water: Use a carbon filter to remove chlorine and improve taste
Bottled Water: Choose spring water over distilled (which lacks beneficial minerals)
Water Treatment: Consider a whole-house filter if you have severe water quality issues
The temperature aspect is handled automatically by your coffee maker, but understanding optimal temperature helps you troubleshoot problems. If your coffee tastes weak despite proper ratios, your machine might not be reaching the proper brewing temperature.
Coffee Selection and Grinding
Choosing the Right Coffee Beans
Roast Level Considerations:
- Light Roasts: Bright, acidic, fruity flavors. Require precise brewing to avoid sourness.
- Medium Roasts: Balanced flavor with good body. Most forgiving for drip brewing
- Dark Roasts: Bold, bitter, smoky flavors. Risk of over-extraction if not careful
Freshness Indicators:
- Roast Date: Use beans within 2-4 weeks of roasting
- Whole Bean vs. Pre-Ground: Whole beans stay fresh longer
- Storage: Keep beans in airtight containers away from light and heat
Grinding for Drip Coffee Makers
Ideal Grind Size: Medium grind, resembling coarse sand or sea salt. This allows proper water flow while maximizing extraction.
Grinder Types:
Blade Grinders: Inexpensive but produce uneven particles that can cause over-extraction of fine pieces and under-extraction of larger ones
Burr Grinders: More expensive but create a uniform particle size for even extraction
Grinding Tips:
- Grind just before brewing for maximum freshness
- Clean your grinder regularly to prevent oil buildup.
- Adjust grind size based on taste—finer for stronger coffee, coarser for milder.
For outdoor enthusiasts who want to enjoy quality coffee while camping, understanding grind size becomes especially important when using portable brewing methods.
Brewing Process and Timing
The Complete Brewing Timeline
Pre-Brewing (30 seconds): Machine heats water to brewing temperature
Initial Extraction (0-2 minutes): First water passes through grounds, beginning extraction
Peak Brewing (2-5 minutes): Optimal temperature water extracts primary flavors
Final Phase (5-7 minutes): The Last water completes the extraction cycle
Bloom Phase
While automatic drip makers don’t have manual control over blooming (pre-wetting grounds to release CO2), some higher-end models include pre-infusion cycles that accomplish this automatically. This 30-second pause allows the grounds to “bloom” and prepares them for optimal extraction.
Timing Best Practices
Total Brew Time: 4-7 minutes for a full pot (varies by machine and volume)
Serving Time: Serve immediately after brewing for the best taste
Holding Time: Coffee quality degrades after 20-30 minutes on a hot plate
Thermal Carafes: Maintain quality for 2-3 hours without additional heat
Understanding these timing elements helps you troubleshoot issues and understand why fresh coffee tastes so much better than coffee that’s been sitting around.
Common Mistakes and How to Avoid Them
The Top 8 Coffee Maker Mistakes
1. Using Poor Water Quality
Using tap water with high chlorine content or excessive minerals ruins even the best coffee beans. Always use filtered water when possible.
2. Wrong Coffee-to-Water Ratio
Too much coffee creates bitter, over-extracted flavors. Too little results in weak, underwhelming coffee. Measure consistently until you find your preference.
3. Stale Coffee Grounds
Pre-ground coffee loses flavor rapidly. Whole beans maintain freshness much longer, so invest in a grinder if possible.
4. Incorrect Grind Size
Using espresso-fine grind in a drip maker causes over-extraction and bitter flavors. Too coarse creates weak, sour coffee.
5. Dirty Equipment
Old coffee oils become rancid and contaminate new brews. Clean your machine regularly for consistently good coffee.
6. Leaving Coffee on the Hot Plate Too Long
Heat continues cooking the coffee, creating bitter, burnt flavors. Use thermal carafes when possible.
7. Not Replacing Filters
Old or cheap filters can tear, allowing grounds into your coffee, or impart papery flavors.
8. Inconsistent Measurement
Eyeballing measurements leads to inconsistent results. Use measuring spoons or a scale for repeatable success.
Troubleshooting Common Problems
Weak Coffee Solutions:
- Increase coffee amount by 10-20%
- Use a slightly finer grind.
- Check that water is reaching the proper temperature.
- Ensure even distribution of grounds in the filter.
Bitter Coffee Solutions:
- Reduce the coffee amount
- Use a coarser grind
- Check water temperature (too hot causes over-extraction)
- Clean the machine to remove oil buildup.
Uneven Extraction:
- Level coffee grounds in the filter basket
- Ensure the shower head isn’t clogged.
- Check that the filter sits properly in the basket.
Advanced Techniques and Tips
Optimizing Your Coffee Maker’s Performance
Pre-Heating: Run a cycle of hot water through the empty machine before brewing to ensure optimal temperature from the start.
Water Distribution: Gently shake the filter basket after adding grounds to level the bed for even water distribution.
Bloom Simulation: For machines without pre-infusion, pour a small amount of hot water over grounds manually, wait 30 seconds, then start the brew cycle.
Customizing Strength and Flavor
Strength Adjustments: Change coffee amount rather than grind size for strength preferences. Grind size affects the extraction balance more than strength.
Flavor Modifications:
- For brighter, more acidic coffee: Use a slightly coarser grind and lighter roast.
- For bolder, more body: Use slightly finer grind and darker roast.
- For smoother coffee: Ensure water temperature isn’t too hot.
Seasonal and Environmental Considerations
High Altitude: Water boils at lower temperatures, so coffee may under-extract. Use a slightly finer grind or increase the coffee amount.
Hard Water Areas: May need to increase coffee amount as minerals can inhibit extraction.
Cold Weather: Machines may take longer to reach optimal temperature, affecting early extraction.
When you’re dealing with outdoor conditions while truck bed camping, portable coffee makers operate on similar principles but may require additional attention to these environmental factors.
Maintenance and Cleaning
Daily Maintenance
After Each Use:
- Rinse the carafe and filter basket with warm water
- Wipe down the hot plate and exterior surfaces.
- Leave the lid open to air dry and prevent mold growth.
- Empty the water reservoir if not using it daily.
Weekly Tasks:
- Wash all removable parts with warm, soapy water
- Clean exterior thoroughly
- Check the water reservoir for buildup or discoloration.
Monthly Deep Cleaning
Descaling Process:
- Mix equal parts white vinegar and water
- Fill the reservoir with the solution and run the full brew cycle.
- Let it sit for 15 minutes, then run another cycle.
- Run 2-3 cycles of clean water to remove vinegar taste.
- Wipe down all surfaces.
Signs You Need to Clean:
- Slower than normal brew times
- Unusual tastes or odors
- Visible mineral buildup
- Coffee tastes bitter despite proper ratios.
Cleaning Solutions:
- Vinegar: Most economical and effective for home use
- Commercial Descaling: Specialized products for heavy buildup
- Citric Acid: Natural alternative that’s gentler than vinegar
Extending Equipment Life
Filter Replacement: Change water filters every 60 days or as recommended
Part Inspection: Regularly check gaskets, heating elements, and water lines
Proper Storage: Store in a dry environment when not in use for extended periods
Coffee Storage and Freshness
Optimal Bean Storage
Storage Containers: Use airtight containers with CO2 valves for whole beans. Glass or ceramic containers work well for ground coffee.
Environmental Factors: Store in cool, dry, dark places. Avoid refrigerator storage, which can introduce moisture and odors.
Batch Sizes: Buy coffee in quantities you’ll use within 2-3 weeks of opening.
Ground Coffee Considerations
Immediate Use: Grind only what you’ll use within 15-20 minutes for maximum freshness.
Pre-Ground Storage: If using pre-ground coffee, store in original packaging until opened, then transfer to an airtight container.
Freezer Storage: For long-term storage, freeze beans in small portions and only defrost what you’ll use within a week.
The principles of coffee freshness apply whether you’re brewing at home or preparing camping breakfast ideas that include a great cup of coffee to start your outdoor adventures.

Choosing the Right Coffee Maker
Features to Consider
Basic Features:
- Programmable Timer: Allows you to wake up to fresh coffee
- Auto-Shutoff: A Safety feature that turns off the heating element
- Pause-and-Serve: Temporarily stops dripping when the carafe is removed
Advanced Features:
- Temperature Control: Adjustable brewing temperature for optimization
- Pre-Infusion: Brief pause to allow grounds to bloom
- Shower Head Design: Even water distribution over the grounds
Size and Capacity:
- Single Serve: 1-2 cups, perfect for individuals
- Standard: 4-8 cups, ideal for couples or small families
- Large Capacity: 10-14 cups, great for offices or large families
Budget Considerations
Entry Level ($20-50):
Basic functionality with simple controls. Good for occasional use or budget-conscious buyers.
Mid-Range ($50-150):
Programmable features with better build quality. Best value for regular coffee drinkers.
High-End ($150-400):
SCA certification, precise temperature control, and premium materials. For serious coffee enthusiasts.
Brand and Reliability Factors
Research reliability ratings and warranty terms. Well-known brands typically offer better customer service and replacement parts availability. Read user reviews focusing on long-term performance rather than just initial impressions.
Troubleshooting Common Issues
Machine Won’t Start
Basic Checks:
- Ensure the machine is plugged in securely
- Check that the carafe is properly seated (safety feature)
- Verify the water reservoir is in place and contains water.
- Try unplugging for 5 minutes, then reconnecting.
Advanced Solutions:
- Check for blown fuses or tripped breakers
- Inspect the power cord for damage.
- Contact the manufacturer if under warranty.
Water Not Flowing Properly
Common Causes:
- Clogged mineral deposits in water lines
- Blocked shower head holes
- Air bubbles in the water system
Solutions:
- Run a descaling cycle with a vinegar solution
- Use a needle or a toothpick to clear the shower head holes.
- Check the water reservoir for proper seating.
Coffee Tastes Off
Flavor Issues and Solutions:
- Metallic taste: Clean water reservoir and lines
- Bitter flavor: Reduce the coffee amount or use a coarser grind
- Weak taste: Increase coffee amount or check water temperature
- Stale flavor: Replace old coffee and clean the machine thoroughly
Leaking Problems
Leak Sources:
- Carafe area: Check carafe placement and condition
- Water reservoir: Inspect for cracks or improper installation
- Internal leaks: May require professional service
Quick Fixes:
- Ensure all parts are properly seated
- Check for damaged rubber seals.
- Clean mineral buildup around connections
Health and Safety Considerations
Safe Operating Practices
Electrical Safety:
- Keep water away from electrical components
- Unplug when cleaning internal components.
- Replace damaged power cords immediately.
- Use GFCI outlets in kitchen environments.
Burn Prevention:
- Allow the machine to cool before cleaning
- Handle hot carafes with care.
- Keep hot plates clean to prevent smoking.
- Be cautious of steam during brewing.
Health Benefits and Considerations
Coffee Health Benefits:
- High in antioxidants that may reduce disease risk
- Can improve mental alertness and focus
- May boost metabolism and physical performance
- Contains beneficial compounds like chlorogenic acid
Moderation Guidelines:
- FDA recommends a maximum of 400mg caffeine daily (about 4 cups)
- Pregnant women should limit intake to 200mg daily.
- Those with anxiety or heart conditions should consult doctors.
Quality Control:
- Regular cleaning prevents bacteria and mold growth.
- Fresh water reduces contaminant exposure.
- Quality filters remove chlorine and other chemicals.
For those interested in understanding more about coffee’s effects on health, learning about different coffee preparation methods can help you make informed choices about your daily consumption habits.
Frequently Asked Questions
How much coffee should I use per cup?
Use 1-2 tablespoons of ground coffee per 6 ounces of water, depending on your strength preference. For more precision, use a 1:15 to 1:17 ratio by weight (coffee to water). Start with the middle range and adjust based on taste.
Why does my coffee taste bitter?
Bitter coffee usually results from over-extraction caused by too much coffee, grind that’s too fine, water that’s too hot, or leaving coffee on the hot plate too long. Try reducing the coffee amount or using a slightly coarser grind.
How often should I clean my coffee maker?
Clean removable parts daily with warm, soapy water. Run a descaling cycle with vinegar monthly, or more frequently if you have hard water. Deep clean weekly and replace water filters every 60 days.
Can I use any type of coffee in a drip coffee maker?
Yes, but medium grind works best. Avoid espresso-fine grinds, which can over-extract and clog filters. Light to medium roasts generally work better than very dark roasts, which can become overly bitter in drip makers.
What’s the ideal water temperature for coffee makers?
The optimal brewing temperature is 195-205°F (90-96°C). Most quality coffee makers automatically heat water to this range, but cheaper machines may not reach optimal temperature consistently.
Making great coffee in a coffee maker is both an art and a science, but with the right fundamentals, anyone can brew café-quality coffee at home. Whether you’re perfecting your morning routine or preparing for outdoor adventures like easy camping meals for family that include great coffee, understanding these principles will ensure you always start your day with an exceptional cup.
Remember: the best coffee maker is the one you use consistently with quality ingredients and proper technique. Master these basics, and you’ll never have to settle for mediocre coffee again.