
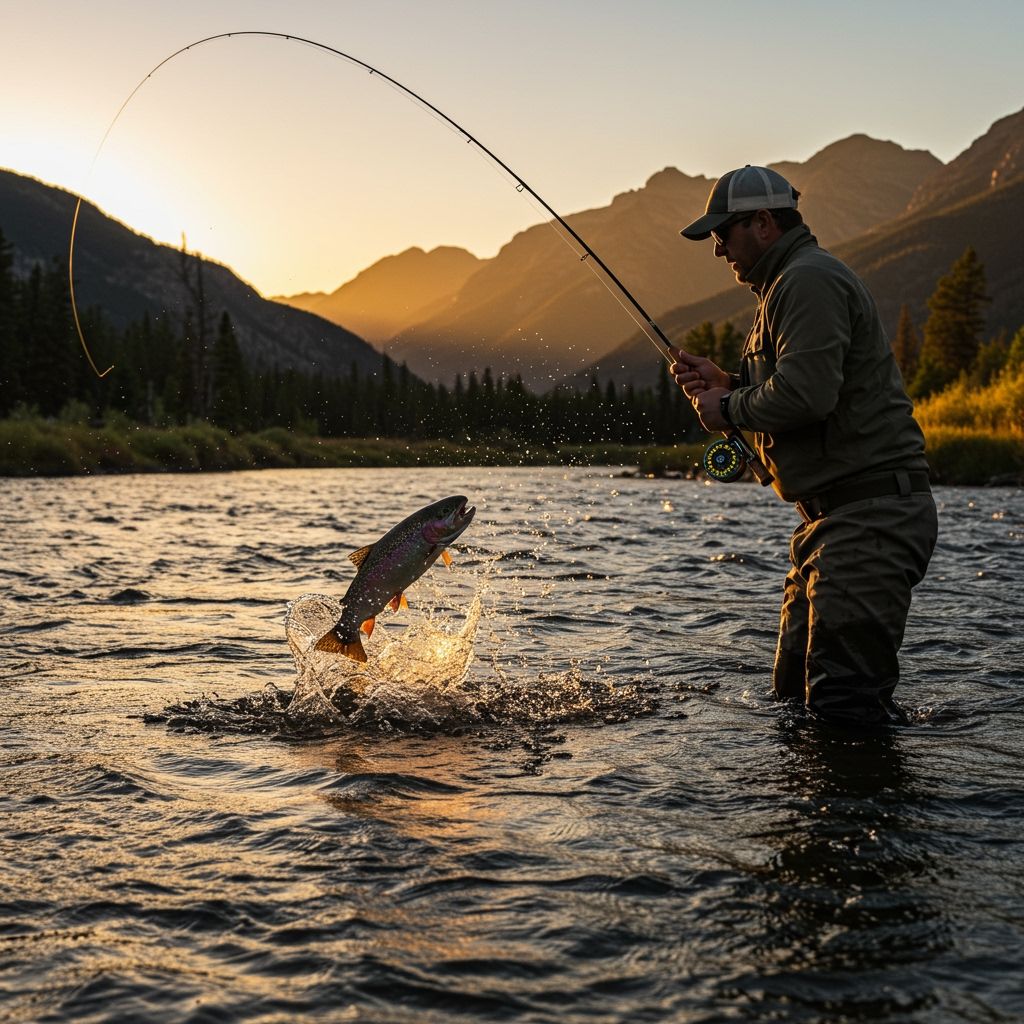
Imagine this: You’re on the water, the trout are rising, and you cast perfectly. A monster hits your fly, the fight is on, and your heart pounds. Then, suddenly, the line goes slack. Nothing. You reel in to find a limp leader and a missing fly. The culprit? A failed knot. It’s a gut-wrenching moment every fly angler dreads, and it’s why mastering your fly fishing knots isn’t just a suggestion—it’s absolutely essential.
Think of knots as the critical link between you and your fish. A weak knot means a lost fish, plain and simple. It doesn’t matter how expensive your rod is, how perfect your cast, or how precisely you matched the hatch; if your knot fails, your day is over. But here’s the good news: tying strong, reliable fly fishing knots isn’t some mystical art. It’s a skill you can learn, practice, and perfect. I’m going to walk you through the core knots you absolutely need to know for every part of your fly fishing setup. We’ll cover everything from securing your backing to the reel to attaching that tiny fly to your tippet. Get ready to tie with confidence and land more fish.
The Knot Spectrum: Understanding Your Line Connections
When you pick up a fly fishing rod, you’re not just dealing with one continuous piece of line. Your setup is a system of different lines, each designed for a specific purpose, and each requiring a specific knot to connect it securely to the next component. It’s not about knowing just one knot; it’s about knowing the right knot for the right job. If you’re new to the sport, understanding fly fishing basics will make these connections even clearer.
Here’s a quick breakdown of the main connection points on your fly fishing rig:
- Backing to Reel: This is your initial connection, ensuring your backing line is securely fixed to the reel arbor.
- Fly Line to Backing: This knot connects your primary fly line to the thinner backing. It needs to be strong and smooth enough to pass through your rod guides.
- Fly Line to Leader: Your leader is the clear, tapered line that connects directly to your fly line. This connection needs to be streamlined for smooth casting.
- Leader to Tippet: The tippet is a fine, often replaceable, section of line at the end of your leader where you tie your fly. This connection needs to be strong but also allow for easy changes.
- Tippet to Fly: This is the most crucial connection – the one that holds your fly to the fish. It must be absolutely secure.
Essential Fly Fishing Knots You MUST Know
Let’s dive into the practical side. Here are the core fly fishing knots that will serve you reliably on the water. For each, I’ll tell you its purpose and how to tie it with clear, actionable steps.
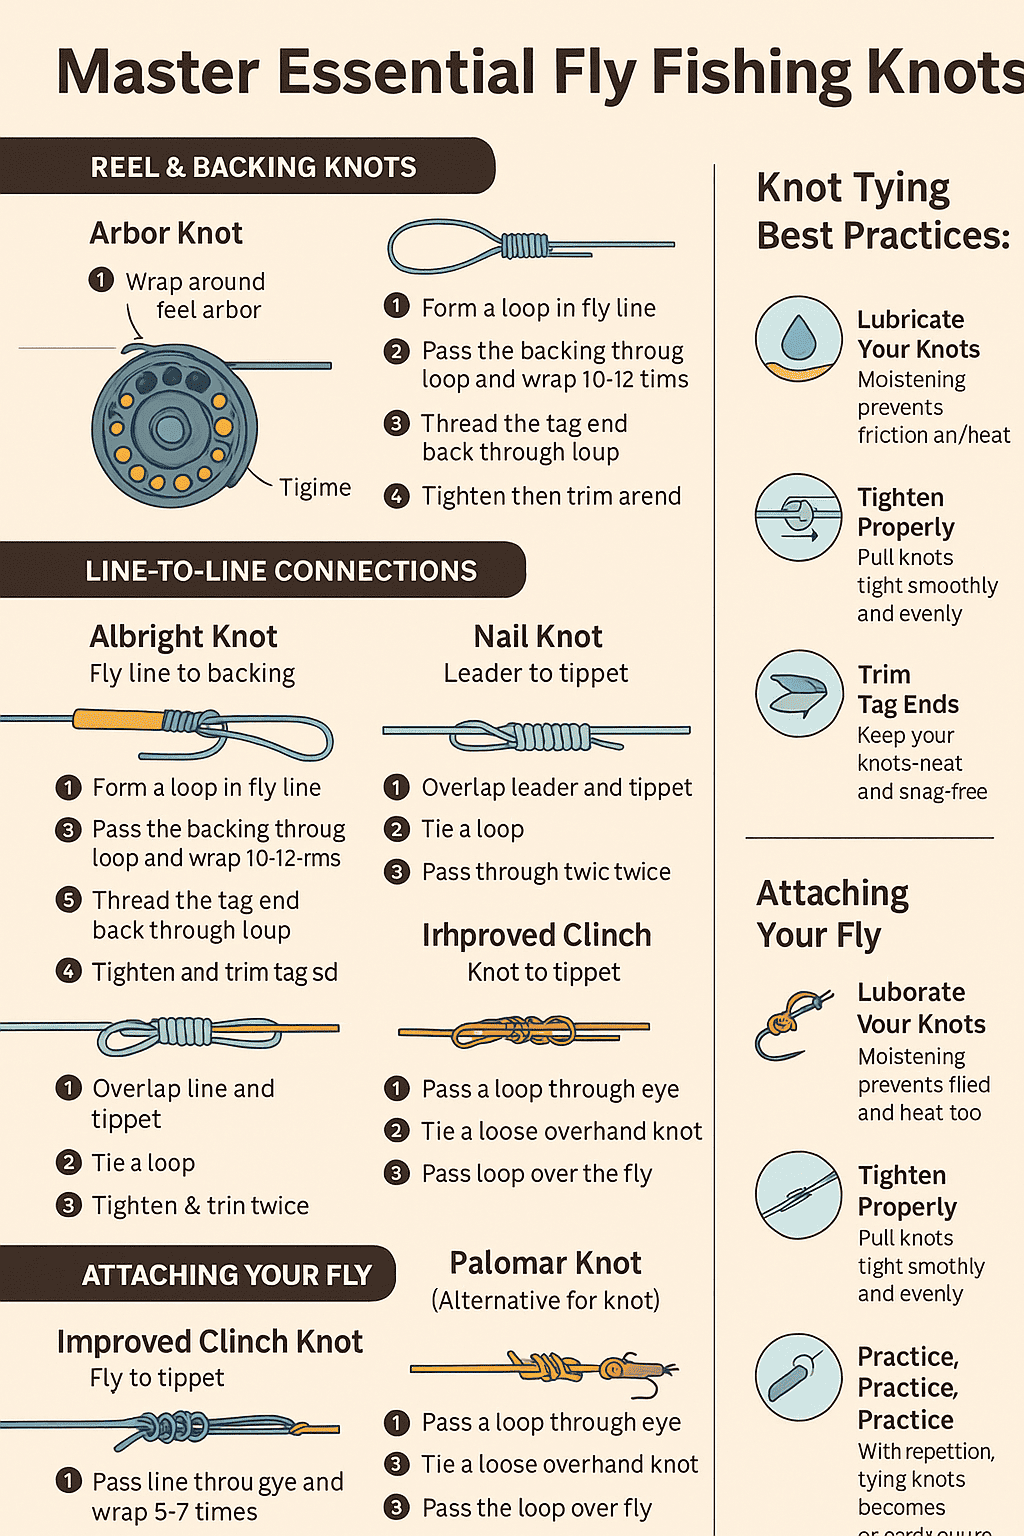
A. Reel & Backing Knots
Your reel is where it all begins. A secure start ensures you don’t literally run out of line.
- Arbor Knot: Attaching Backing to the Reel This is your first knot, securing your backing line to the spool of your fly reel. It’s simple, effective, and rarely fails if tied correctly.
- Purpose & Why it’s essential: It prevents your backing from slipping on the reel arbor. You won’t be casting your backing much, but when a big fish runs, you absolutely need this connection to hold.
- How to tie:
- Wrap the tag end of your backing around the reel arbor.
- Tie a simple overhand knot around the standing line.
- Tie a second overhand knot a few inches from the first, on the tag end itself.
- Pull the standing line to tighten the first overhand knot around the arbor, letting the second knot slide down and act as a stopper.
- Trim the tag end closely.
B. Line-to-Line Connections
These knots are about joining different line materials and diameters while maintaining strength and a smooth transition.
- Albright Knot: Fly Line to Backing
The Albright is a champion for connecting lines of different diameters, making it perfect for joining your thick fly line to your thinner backing.
- Purpose & Why it’s strong: It creates a strong, compact knot that slides easily through rod guides. It’s often considered one of the strongest ways to connect these two distinct lines. Learning how to put fishing line on a reel correctly is key to ensuring this knot, and others, perform optimally.
- How to tie:
- Form a loop in the heavier (fly) line.
- Pass the tag end of the lighter (backing) line through the loop.
- Wrap the backing line around both sides of the loop, typically 10-12 times, moving away from the standing line.
- Pass the backing tag end back through the original loop, entering from the same side it exited.
- Moisten the knot and pull all four ends (both standing lines and both tag ends) slowly and firmly to tighten.
- Trim the tag ends close.
- Nail Knot: Fly Line to Leader
The Nail Knot creates a very low-profile, streamlined connection between your fly line and leader, crucial for smooth casting. While it might sound intimidating, you can often tie it without an actual “nail” using specialized tools or even a pen.
- Purpose & Why it’s streamlined: Its slender profile prevents hinging and allows the line to shoot freely through your rod guides, preventing frustrating snags during your cast.
- How to tie:
- Lay the leader end parallel to the fly line, overlapping by about 6-8 inches. Place a small diameter tube (like a specialized knot tool, a small nail, or even a pen) parallel to both lines.
- Wrap the leader around the fly line and the tube, typically 5-7 tight wraps, moving towards the end of the fly line.
- Pass the tag end of the leader back through the tube.
- Carefully remove the tube.
- Moisten the knot and pull the standing leader and the fly line to slide the wraps down and tighten over the fly line.
- Trim the tag end closely.
- Alternative: Loop-to-Loop Connection: For a simpler and quicker connection, many anglers opt for a loop-to-loop connection. You create a Perfection Loop on the end of your fly line (many fly lines come with a factory-welded loop) and a Surgeon’s Loop on the butt section of your leader. These loops then interlock, offering a strong, easily changeable connection. This is a great option if you often swap leaders.
- Surgeon’s Knot (Double or Triple): Leader to Tippet
This is arguably the most common and versatile knot for connecting two lines of similar or slightly dissimilar diameters, making it perfect for attaching a new section of tippet to your leader. The “double” or “triple” refers to the number of times you pass the lines through the loop.
- Purpose & Why it’s simple and strong: It’s quick to tie, incredibly strong, and highly reliable. It maintains a good portion of the line’s breaking strength.
- How to tie:
- Overlap the ends of your leader and tippet by about 6 inches.
- Form a loop with the overlapping lines.
- Pass both tag ends and the standing line of the other line through the loop twice (for a double surgeon’s) or three times (for a triple surgeon’s).
- Moisten the knot and pull all four ends slowly and evenly to cinch down the knot.
- Trim the tag ends closely.
- Blood Knot: Leader to Tippet (Stronger Alternative)
The Blood Knot is a classic, often considered one of the strongest knots for joining two lines of similar diameter. It creates a very sleek, strong connection. However, it can be a bit trickier to master than the Surgeon’s Knot, especially with slippery lines or in cold weather.
- Purpose & When to use: Use it when you need the absolute maximum strength for line-to-line connections, particularly if you’re joining sections of your leader that will endure a lot of stress.
- Brief note on complexity vs. Surgeon’s: While the Surgeon’s Knot is faster and easier for most, the Blood Knot, when tied perfectly, often retains more of the line’s original breaking strength. It’s a knot worth learning for its ultimate reliability. Learning to tie a strongest fishing knot like the Blood Knot is a skill that directly translates to more landed fish.
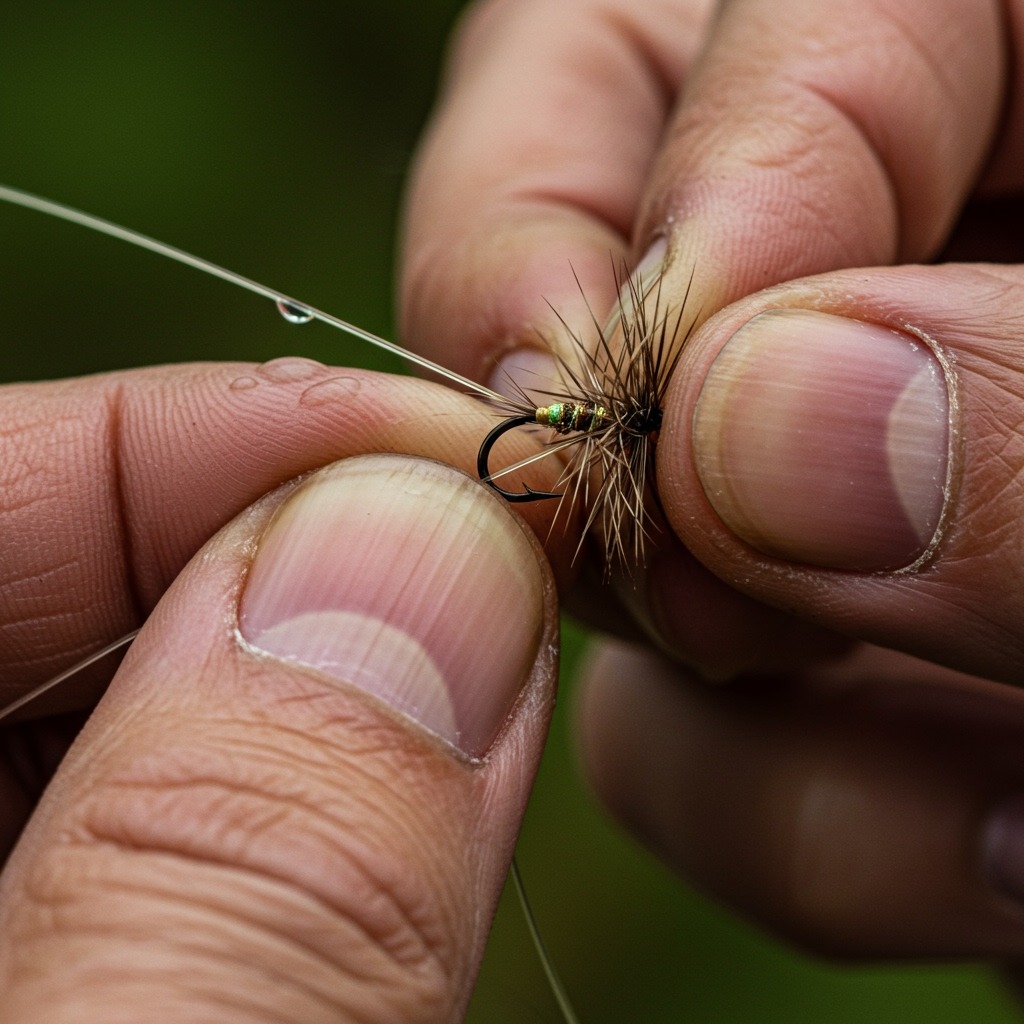
C. Attaching Your Fly
This is the make-or-break connection. If this knot fails, your fly is gone, and so is your fish.
- Improved Clinch Knot: Attaching Fly to Tippet
This is the workhorse knot for attaching flies. It’s widely used, strong, and relatively easy to tie once you get the hang of it. It’s an evolution of the basic Clinch Knot, with an extra tuck for added security.
- Purpose & Most common fly knot: This is likely the first knot you learned for attaching a hook, and for good reason. It’s reliable for a wide range of fly sizes and line diameters. If you also enjoy conventional fishing, this knot is similar to how to tie a hook on a fishing line for bait fishing.
- How to tie:
- Pass the tag end of your tippet through the eye of the hook.
- Twist the tag end around the standing line 5-7 times (fewer for heavier line, more for lighter).
- Pass the tag end back through the first loop created just above the eye, then back through the larger loop you just made.
- Moisten the knot and pull the standing line to cinch the knot tightly against the hook eye.
- Trim the tag end closely.
- Palomar Knot: Attaching Fly to Tippet (Strong Alternative)
Often lauded as one of the strongest fishing knots overall, the Palomar Knot is surprisingly simple to tie once you get the hang of it. It’s particularly good for braided lines, but it excels with monofilament and fluorocarbon tippets too.
- Purpose & Why it’s popular for some: Its strength retention is exceptional. It’s a great choice if you consistently struggle with Improved Clinch failures or if you just want maximum peace of mind.
- How to tie:
- Double about 6-8 inches of your tippet and pass the loop through the eye of the hook.
- Tie a loose overhand knot with the doubled line and the tag end, letting the hook hang freely.
- Pass the loop completely over the hook.
- Moisten the knot and pull both standing lines to tighten the knot around the hook eye.
- Trim the tag end closely.
- Orvis Knot: Attaching Fly to Tippet (Orvis Specific)
The Orvis Knot is a proprietary knot championed by Orvis. It’s designed to be strong and straightforward, especially with lighter tippets.
- Purpose & Orvis’s choice: It’s known for its high breaking strength relative to line diameter and its ease of tying, particularly with small flies.
- How to tie:
- Pass the tag end through the hook eye from the top.
- Loop it around the standing line twice, forming two parallel loops.
- Pass the tag end back through both of these loops.
- Moisten and pull the standing line and hook gently until the knot forms and tightens.
- Trim the tag end.
Knot Tying Best Practices: Secrets to Success
Knowing how to tie the knot is half the battle; tying it well is the other half. These tips will help ensure your knots are as strong as they can be.
- Lubricate Your Knots: The Unsung Hero of Knot Strength Always, always moisten your knots before pulling them tight. Use saliva, water, or a specialized lubricant. This reduces friction as the coils cinch down, preventing heat buildup that can weaken or “burn” the line. It also allows the knot to seat properly and evenly, ensuring maximum strength.
- Tighten Properly: Slow and Steady Wins the Race Don’t just yank your knots tight. Pull slowly and firmly, making sure each loop snugs down evenly. A rapid, uneven pull can create kinks or weak spots.
- Trim Tag Ends: Cleanliness and Stealth Once your knot is cinched down, trim the tag end very close to the knot. A long tag end can snag on weeds or debris, collect algae, or spook wary fish. Use sharp clippers for a clean cut.
- Practice, Practice, Practice: On and Off the Water The only way to get truly good at tying knots is to practice. Don’t wait until you’re on the water, shivering with cold fingers, to try a new knot. Practice at home while watching TV. Tie knots on different sizes of line. The muscle memory you build will be invaluable when you need it most.
- Inspect Your Knots: Before and After Every Fish Before you cast, quickly inspect your knots. After you land a fish (especially a good one), always check your tippet-to-fly knot. The stress of the fight can weaken it, and you don’t want to lose the next fish to a compromised connection.
When Knots Fail: Learning from Mistakes
Every angler experiences knot failures. It’s frustrating, but it’s also a learning opportunity.
- Common Reasons Knots Break:
- Improper Tying: The most frequent cause. Not enough wraps, incorrect passes, or failing to moisten.
- Line Damage: Nicks, abrasions, or sun exposure can weaken line before you even tie it.
- Not Lubricating: Causes friction burn and uneven tightening.
- Excessive Force: Over-cinching or yanking too hard can weaken the line at the knot.
- Old or Improper Line: Lines degrade over time. Using line not suited for the conditions (e.g., too light a tippet for too heavy a fly) also contributes.
- How to Identify a Bad Knot: Look for uneven wraps, kinks, or a dull, stretched appearance in the line around the knot.
- The Cost of a Weak Knot: Beyond the lost fish, it’s a lost fly, wasted time, and a blow to your confidence. A solid knot means more enjoyable time actually fishing. It’s why understanding the fundamentals of fly fishing basics is so important.
Beyond the Basics: Growing Your Knot Repertoire
While the knots I’ve covered here are sufficient for 90% of your fly fishing situations, there are many others.
- When to learn new knots: As you advance in your fishing, perhaps you start fishing specific techniques like Euro nymphing, or you encounter new line materials that demand different knots. That’s when you expand your knowledge. For instance, knowing how to tie a hook on a fishing line is a fundamental skill that applies across various fishing disciplines.
- Resources for advanced knot tying: Many excellent books, animated knot-tying apps, and YouTube channels can help you learn more specialized knots. Don’t stop learning! You might also find yourself exploring different types of fishing, such as early spring bass fishing, which might introduce new knot needs.
FAQ: Your Fly Fishing Knot Questions Answered
What is the strongest fly fishing knot?
There’s no single “strongest” knot for all situations, as strength depends on line type, diameter, and proper tying. However, for leader-to-tippet, the Blood Knot (if tied perfectly) or Triple Surgeon’s Knot are excellent. For attaching a fly, the Palomar Knot or a well-tied Improved Clinch Knot are top contenders for strength.
How do I learn to tie knots quickly?
Practice consistently. Start by tying them slowly at home without pressure. Then, try tying them with your eyes closed, or in low light, to build muscle memory. Watch video tutorials repeatedly.
Can I use superglue on my knots?
While some anglers use a tiny dab of superglue on certain knots (like the Nail Knot for fly line to leader) for added security, it’s generally not recommended for knots that undergo frequent stress or where the line needs to flex, like fly-to-tippet connections. Superglue can make the line brittle and actually weaken it over time.
How often should I re-tie my knots?
For your fly-to-tippet knot, re-tie it every few fish, after battling a strong fish, or whenever you notice any fraying or damage to the tippet near the fly. Leader-to-tippet knots can last longer, but inspect them regularly. It’s always better to re-tie proactively than to lose a fish to a worn knot.