
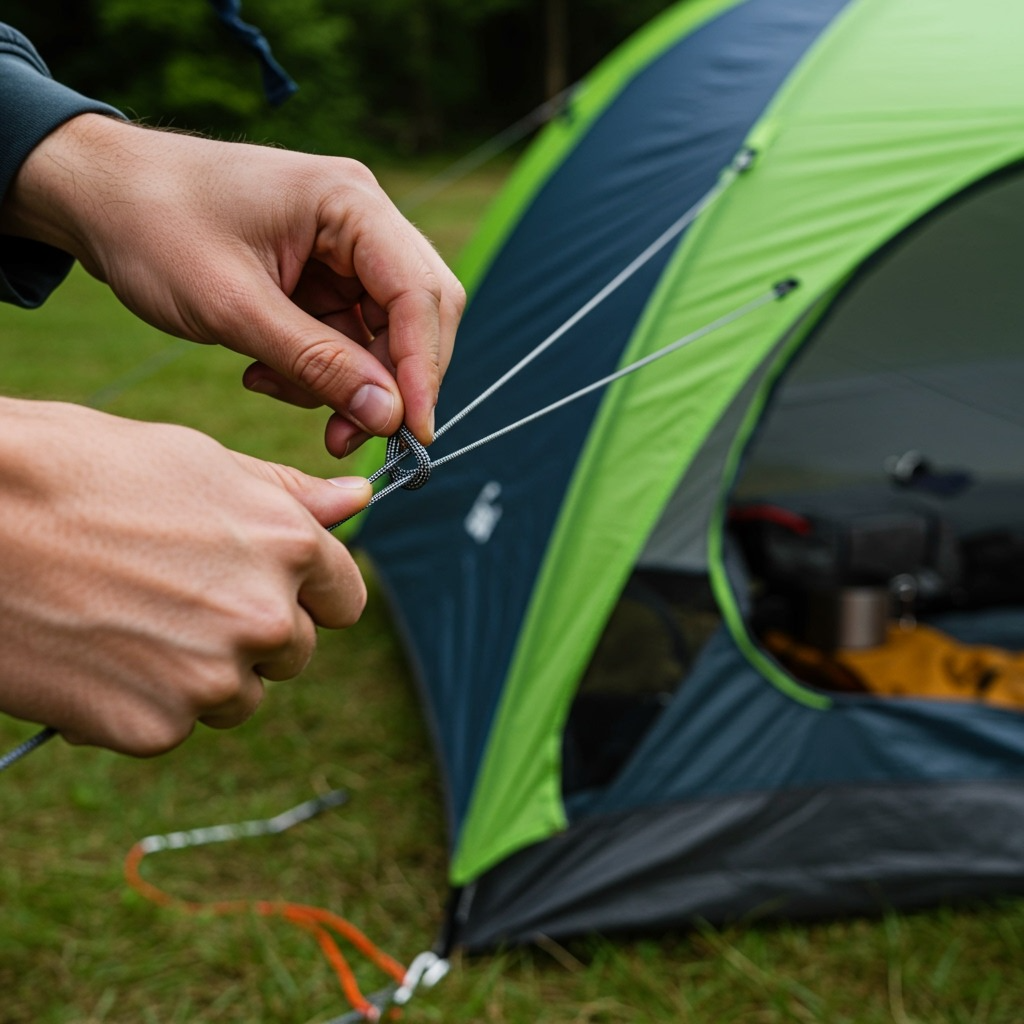
Picture this: you’re setting up camp as storm clouds gather overhead, and your tarp keeps flapping loose in the wind. You fumble with the rope, tying knot after knot, but nothing holds. The rain starts, your gear gets soaked, and you spend a miserable night wishing you’d learned proper knot-tying techniques.
This scenario happens more often than you’d think. Proper knot-tying skills are among the most essential yet overlooked camping abilities. Whether you’re securing a tarp, hanging food from bears, creating a clothesline, or setting up guy lines for your tent, the right knot can mean the difference between a successful camping trip and a frustrating disaster.
After years of camping in everything from gentle summer breezes to howling mountain storms, I’ve learned that mastering just a handful of essential knots will solve 90% of camping situations you’ll encounter. This comprehensive guide covers 15 must-know camping knots, complete with step-by-step instructions, practical applications, and pro tips that will transform you from a fumbling novice into a confident camp knot-tier.

Why Camping Knots Matter
Good knots provide security, adjustability, and reliability when you need them most. Unlike indoor situations where you might have access to hardware, clamps, or other fastening devices, camping requires you to solve problems using just rope, cord, and your knowledge.
The right knot:
- Holds under load without slipping or failing
- Can be easily untied even after being under tension
- Doesn’t damage the rope through excessive stress or pinching
- Provides adjustability when conditions change
- Works in wet conditions when the rope becomes slippery
Categories of Camping Knots
Understanding knot categories helps you choose the right tool for each job:
Loops: Create fixed or adjustable loops (Bowline, Figure 8 on a Bight)
Hitches: Attach rope to objects like trees or stakes (Clove Hitch, Taut Line Hitch)
Bends: Join two ropes together (Sheet Bend, Fisherman’s Knot)
Stoppers: Prevent rope from slipping through holes (Figure 8, Overhand)
Essential Loop Knots
1. Bowline
The “King of Knots” creates a fixed loop that won’t slip under load and can be easily untied afterward.
How to Tie:
- Form a small loop in the rope (the “rabbit hole”)
- Pass the working end up through the loop (“rabbit comes up”)
- Wrap it around the standing line (“around the tree”)
- Pass it back down through the small loop (“back down the hole”)
- Tighten by pulling both ends.
Uses: Hanging food bags, creating attachment points, rescue situations, securing tarps
Memory Aid: “Up through the rabbit hole, round the big tree; down through the rabbit hole and off goes he!”
2. Figure 8 on a Bight
Creates two secure loops that distribute load evenly—perfect when you need multiple attachment points.
How to Tie:
- Fold the rope to create a bight (doubled section)
- Form a loop with the bight.
- Pass the light under the standing line.
- Thread the bight through the original loop.
- Pull tight to secure.
Uses: Hanging bear bags with pulleys, creating anchors, and climbing applications
3. Alpine Butterfly Loop
An excellent mid-line loop that can be loaded from three directions without compromising strength.
How to Tie:
- Form two loops in the rope, one on top of the other
- Fold the top loop down through the bottom loop.
- Pull the sides to tighten and form the butterfly shape.
Uses: Creating multiple attachment points along a ridgeline, rescue applications
Critical Hitch Knots
4. Clove Hitch
A quick-tying hitch perfect for temporary attachments to posts or trees.
How to Tie:
- Wrap the rope around the post
- Cross over and wrap around again in the same direction.
- Tuck the working end under the second wrap.
- Pull tight
Uses: Starting lashings, temporary tie-offs, securing guy lines
Pros: Fast to tie, adjustable
Cons: Can slip under varying loads, not suitable for critical applications
5. Taut Line Hitch
The adjustable tent guy-line champion. This knot grips under load but can be slid along the rope when tension is released.
How to Tie:
- Pass the working end around a tent stake or anchor
- Wrap the working end around the standing line twice, working back toward the anchor.
- Make one more wrap around the standing line, but on the other side of the previous wraps.
- Pass the working end through the loop you just created
- Slide the knot to adjust tension.
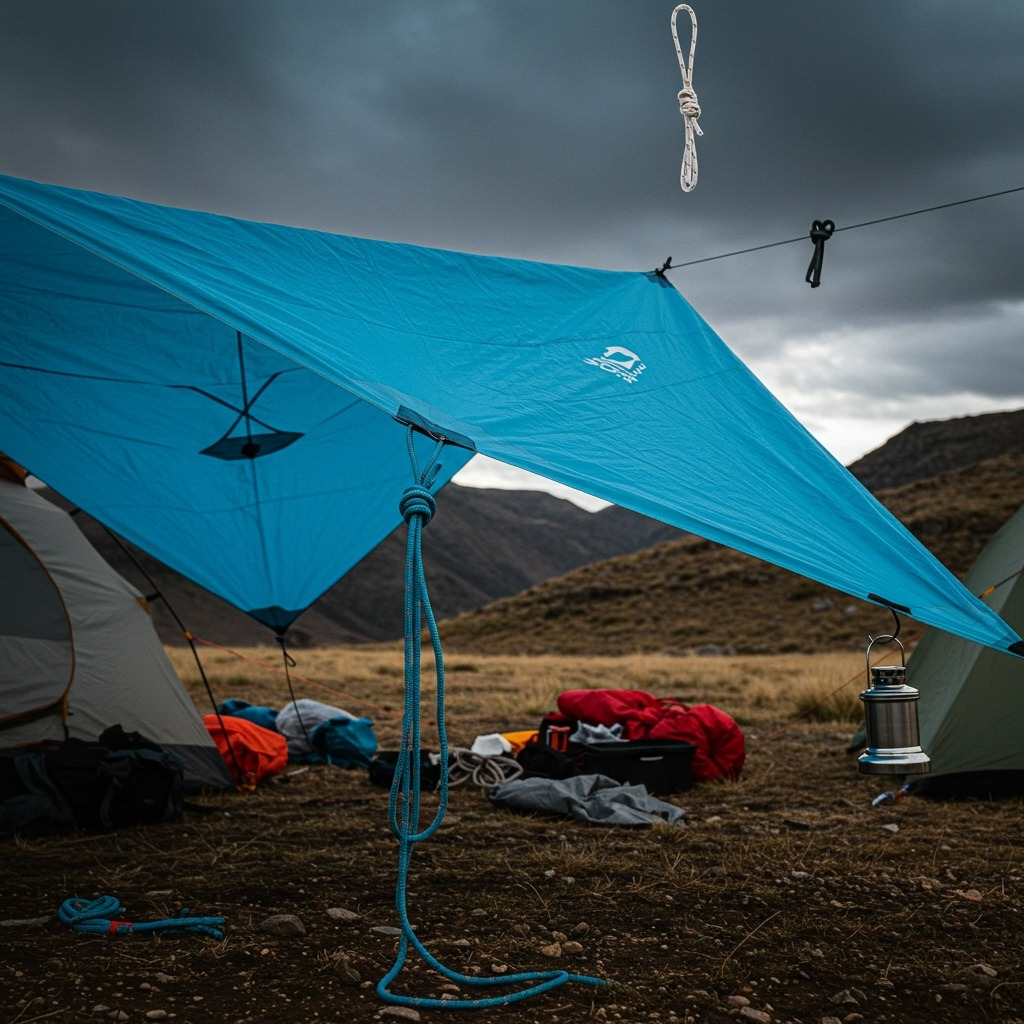
Uses: Tent guy lines, tarp tie-downs, clotheslines, adjustable shelter systems
Why It’s Essential: Allows for easy adjustment as ropes stretch or weather changes without retying
6. Trucker’s Hitch
Creates a mechanical advantage for tightening loads—like having a pulley system with just rope.
How to Tie:
- Tie a slip knot or fixed loop about 3 feet from the anchor point
- Pass the working end around your second anchor.
- Thread the working end back through the loop.
- Pull to create tension (you’ll have 2:1 mechanical advantage)
- Secure with two half hitches.
Uses: Securing tarps, tightening loads on vehicles, creating tight ridgelines
Power Tip: This knot effectively doubles your pulling strength
7. Round Turn and Two Half Hitches
Extremely secure for high-load situations and works well with stiff or slippery ropes.
How to Tie:
- Pass the rope around the anchor twice (round turn)
- Tie two half hitches around the standing line.
- Pull tight and dress the knot.
Uses: Heavy-duty anchoring, boat mooring, securing large tarps in windy conditions
Essential Bend Knots
8. Sheet Bend
The most reliable way to join two ropes, especially if they’re of different diameters or materials.
How to Tie:
- Form a bight in the thicker rope
- Pass the thinner rope up through the bight.
- Wrap the thinner rope around both parts of the bight.
- Tuck the thinner rope under itself.
- Pull both ropes to tighten.
Uses: Extending guy lines, joining different rope types, and emergency repairs
Double Sheet Bend: Make an extra wrap for more security with very different rope sizes
9. Fisherman’s Knot (Angler’s Knot)
Creates an extremely strong join between two lines of similar diameter.
How to Tie:
- Lay the two rope ends parallel but pointing in opposite directions
- Tie an overhand knot with one end around the other rope.
- Tie an overhand knot with the second end around the first rope.
- Pull both standing lines to bring the knots together.
Uses: Joining paracord, creating longer guy lines, and emergency repairs
Double Fisherman’s: Use two wraps in each overhand knot for maximum security
10. Water Knot (Ring Bend)
Specifically designed for joining flat materials like webbing or tape.
How to Tie:
- Tie an overhand knot in one piece of webbing, leaving long tails
- Thread the second piece backward through the knot, following the same path.
- Pull both webbing pieces to tighten.
Uses: Joining webbing, creating slings, repairing straps
Stopper and Utility Knots
11. Figure 8 Knot
A superior stopper knot that’s easier to untie than an overhand knot after being loaded.
How to Tie:
- Form a loop in the rope
- Pass the working end around and back through the loop.
- Pull tight—it should look like the number 8
Uses: Preventing rope from running through pulleys, creating a stopper for prusik hitches
12. Overhand on a Bight
Creates a quick loop or stopper using a doubled rope section.
How to Tie:
- Double the rope to form a bight
- Tie an overhand knot with the bight.
- Tighten to form a loop.
Uses: Quick attachment points, temporary loops, preventing rope ends from slipping
Advanced Camping Knots
13. Prusik Knot
A friction hitch that grips a rope when loaded but can be slid when unloaded.
How to Tie:
- Form a loop with a smaller diameter cord
- Wrap this loop around the main rope 3-4 times.
- Pass the loop through itself.
- Dress and tighten
Uses: Adjustable tarp attachments, tensioning systems, and emergency ascending
Tip: Works best with a cord that’s significantly smaller than the main rope
14. Munter Hitch
Provides friction for belaying or lowering loads, useful in rescue situations.
How to Tie:
- Form two parallel loops in the rope
- Fold one loop over the other.
- Clip both loops to a carabiner.
- Pull the load end to apply friction.
Uses: Emergency belaying, controlled lowering, friction applications
15. Klemheist
Similar to prusik, but works better with modern ropes and webbing.
How to Tie:
- Wrap cord or webbing around the main rope 4-6 times
- Pass the working end through the starting loop.
- Pull tight in the direction of the intended load.
Uses: Backup belays, progress capture, mechanical advantage systems
For more advanced outdoor skills, check out our guide on how to use trekking poles for additional camp setup techniques.

Knot-Tying Tips and Best Practices
Practice Makes Perfect
Start with a thick rope (at least 10mm) to see the knot formation clearly. Practice the same knot repeatedly until muscle memory develops. Use different colored ropes to track the working end vs. the standing line.
Dress Your Knots
Always “dress” knots by arranging rope strands neatly and removing any twists or crossed lines. Properly dressed knots are stronger and easier to untie.
Test Under Load
Before trusting a knot in critical situations, test it under a load similar to what it will experience. Pull steadily and check for slipping or deformation.
Keep It Wet
Wet knots are stronger than dry ones in most cases. However, they’re also harder to untie, so plan accordingly.
Learn the Failures
Understand how and why knots fail. Common issues include:
- Insufficient wraps in friction knots
- Wrong knot for the application
- Damaged or inappropriate rope
- Improper tying technique
Troubleshooting Common Problems
Knot Won’t Hold: Check if you’re using the right knot for the load direction. Add more wraps in friction hitches or switch to a more secure knot.
Can’t Untie After Loading: Try the “rolling” technique—work the knot back and forth while applying pressure to different parts. A marlinspike or tent stake can help work tight knots loose.
Rope Keeps Slipping: Use a knot with more friction (like a round turn) or switch to a textured rope. Wet conditions often require different techniques.
Knot Looks Wrong: Compare with reference materials. Many knots have specific orientations that affect their strength and security.
Rope Selection for Camping
Paracord (550 cord): Versatile, strong (550 lb test), and compact. Great for guy lines and general camp use.
Climbing Rope: Expensive but incredibly strong. Overkill for most camping, but useful in rescue situations.
Utility Rope: Affordable nylon or polyester rope works well for tarps and non-critical applications.
Natural Fiber: Hemp or cotton rope grips well and is easy on hands, but lacks the strength and durability of synthetics.
For comprehensive camping preparation, see our camping checklist for essential gear, including rope and cordage.
Safety Considerations
Inspect Rope Regularly: Check for cuts, abrasion, UV damage, and worn areas. Replace damaged rope immediately.
Know Load Limits: Understand that knots reduce rope strength by 20-60% depending on the type. Factor this into safety margins.
Have Backup Systems: For critical applications like food hanging or shelter guy lines, use redundant attachment points.
Practice Rescue Knots: Know how to quickly tie and untie knots under stress. Fumbling with knots during emergencies can be dangerous.
The Outdoor Life knot guide provides additional context on choosing the right knots for specific outdoor situations.
Common Camping Knot Applications
Tent Setup: Taut line hitches for guy lines, bowlines for stake attachment
Tarp Rigging: Trucker’s hitch for ridgelines, clove hitches for quick tie-offs
Food Storage: Bowlines for bear bag hanging, prusiks for adjustable systems
Clothesline: Taut line hitches for adjustment, round turn, and two half hitches for anchors
Emergency Repairs: Sheet bends for extending ropes, fisherman’s knots for joining cordage
Remember: The best knot is the one you can tie correctly under pressure. Start with the basics, practice regularly, and gradually expand your repertoire as your confidence grows.
Proper knot knowledge transforms rope from simple cordage into a versatile tool system. Whether you’re battening down for a storm, creating a comfortable campsite, or dealing with an emergency, these 15 knots will handle virtually any situation you encounter in the outdoors.
For more outdoor skills and techniques, explore the REI knot-tying guide, which covers additional specialized knots for specific outdoor activities.
Frequently Asked Questions
What’s the most important camping knot to learn first?
Start with the bowline—it’s versatile, secure, and useful in many camping situations. Once you master the bowline, add the taut line hitch for adjustable guy lines and the clove hitch for quick attachments.
How many knots should a beginner camper know?
Focus on mastering 5-7 essential knots rather than trying to learn many poorly. The bowline, taut line hitch, clove hitch, sheet bend, and figure 8 will handle most camping situations you’ll encounter.
What’s the best rope for practicing knots?
Use 10-12mm nylon or polyester rope in bright colors. Avoid paracord initially—it’s too thin to see the technique clearly. Once comfortable, transition to the cord you’ll actually use camping.
How do I remember complex knots?
Use memory aids and practice regularly. The bowline’s “rabbit hole” story is famous for a reason. Create your own mnemonics for other knots, and practice the same knot multiple times in each session.
What should I do if a knot won’t untie?
Work the knot gradually, applying pressure to different parts while flexing the rope. A tent stake or marlinspike can help work tight knots loose. Prevention is better—use appropriate knots for the load and learn to dress them properly.