
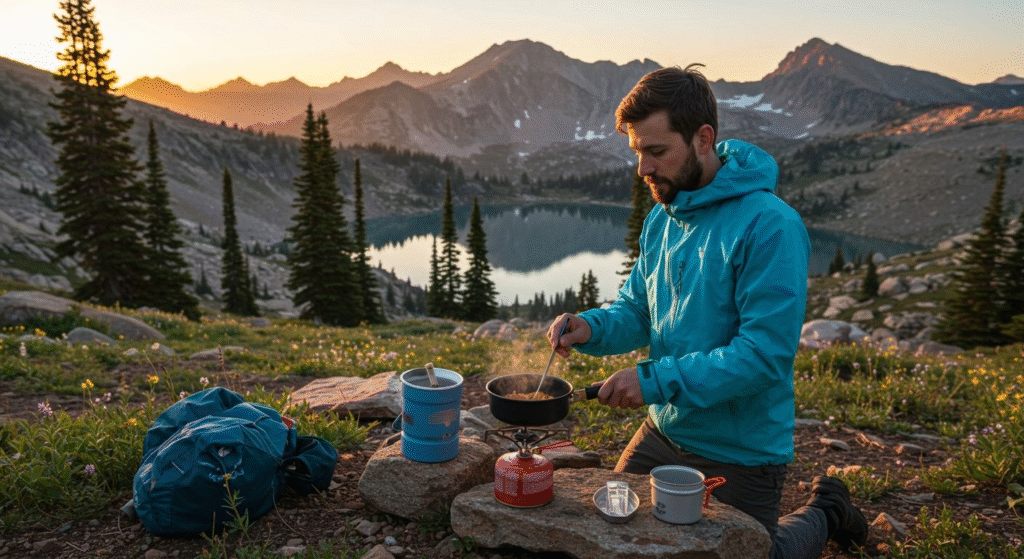
The sound of my tent zipper at 2 AM still makes me cringe. Five days into what should have been an epic section hike of the Colorado Trail, I was doubled over with stomach cramps from eating nothing but ramen noodles and granola bars. My “ultralight” food strategy had backfired spectacularly—I was starving, exhausted, and ready to quit by day three.
That miserable trip taught me something crucial: your backpacking meals can make or break your entire adventure. You don’t need to sacrifice nutrition or flavor just because you’re counting ounces. The right combination of lightweight, calorie-dense foods will fuel your miles and actually make you excited for mealtime.
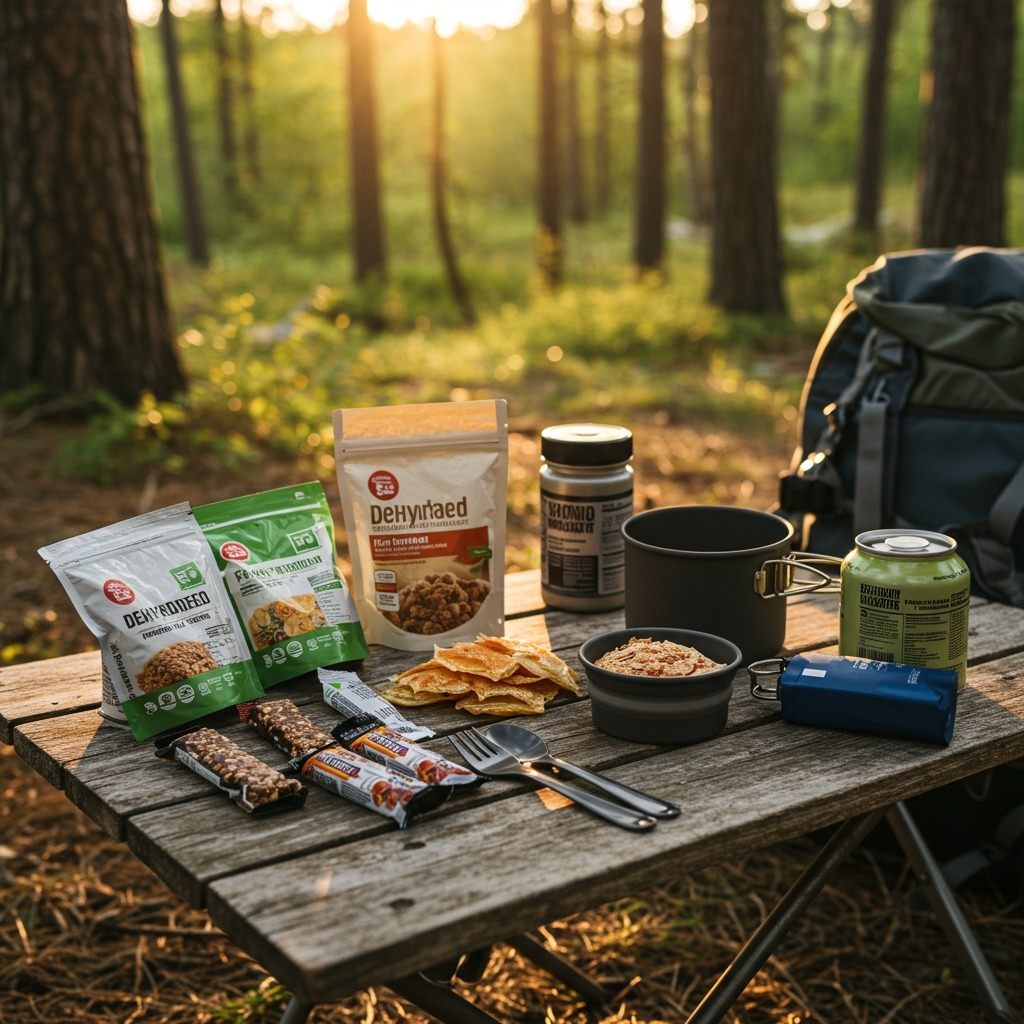
After hundreds of trail miles and countless food experiments (some more successful than others), I’ve compiled 49 backpacking meal ideas that deliver maximum nutrition with minimal pack weight. These aren’t just survival rations—they’re meals you’ll genuinely crave after a long day on the trail.
Lightweight Breakfast Ideas for the Trail
Starting your day right on the trail sets the tone for everything that follows. These breakfast options provide sustained energy without the bulk that’ll slow you down on steep climbs.
High-Protein Power Breakfasts
Granola with Powdered Milk and Protein Powder – Mix your favorite granola with powdered milk and add a scoop of unflavored protein powder. This combination delivers 25+ grams of protein and tastes surprisingly good. The key is using high-quality granola with nuts and dried fruit for texture variety.
Epic Meat Bars with Instant Coffee – These dense protein bars pack 15 grams of protein each and won’t crumble in your pack like traditional granola bars. Pair with instant coffee (Verve makes surprisingly good instant options) for a quick caffeine boost that requires zero cooking.
Powdered Scrambled Eggs with Cheese – Add hot water to powdered eggs, stir in some dried cheese and herbs, and you’ve got a protein-rich hot breakfast in under 5 minutes. The texture isn’t quite like fresh eggs, but the nutrition and satisfaction factor make it worthwhile.
No-Cook Morning Options
When you want to break camp quickly or the weather isn’t cooperating, these options require zero cooking time.
Overnight Oats Trail Style – Mix oats with powdered milk, chia seeds, and dried fruit in your bowl the night before. Add cold water in the morning and you’ve got creamy, filling oats ready to eat. The chia seeds add protein and omega-3s that keep you satisfied longer.
Nut Butter and Bagel Combo – Pack half bagels (they compress better than whole ones) and individual nut butter pouches. This classic combination provides complex carbs and healthy fats that release energy steadily throughout your morning miles.
Trail Lunch Ideas That Actually Fill You Up
Lunch on the trail needs to be quick, portable, and satisfying enough to fuel your afternoon adventures without weighing you down.
Protein-Packed Portable Options
Salami, Cheese, and Crackers – Hard salamis and aged cheeses stay good for days without refrigeration. Pack with sturdy crackers that won’t turn to crumbs in your pack. This combination provides protein, fat, and carbs in perfect trail proportions.
Tuna Packet Wraps – Foil pouches of tuna or chicken are lighter than cans and won’t puncture your pack. Mix with mayo packets, wrap in a tortilla, and add some dried vegetables for crunch. These wraps are filling and won’t spoil in the heat.
Hummus and Veggie Wraps – Powdered hummus is surprisingly good when mixed properly. Add to tortillas with dried tomatoes, cucumber slices (if hiking within 1-2 days), and cheese for a Mediterranean-inspired lunch that’s both satisfying and refreshing.
Quick-Cooking Midday Meals
Instant Rice with Flavor Packets – Bring instant rice and your favorite sauce packets (teriyaki, curry, etc.). Add a protein packet and you’ve got a hot, filling meal in 10 minutes. The key is finding rice that cooks completely with just boiling water.
Couscous Power Bowls – Couscous cooks faster than any other grain—just add boiling water and wait 5 minutes. Mix with dried vegetables, nuts, and protein for a complete meal. Near East makes excellent flavored varieties that include seasoning packets.
Looking for more trail meal inspiration? Check out our guide on hiking snacks for energy-boosting options that complement these meals perfectly.
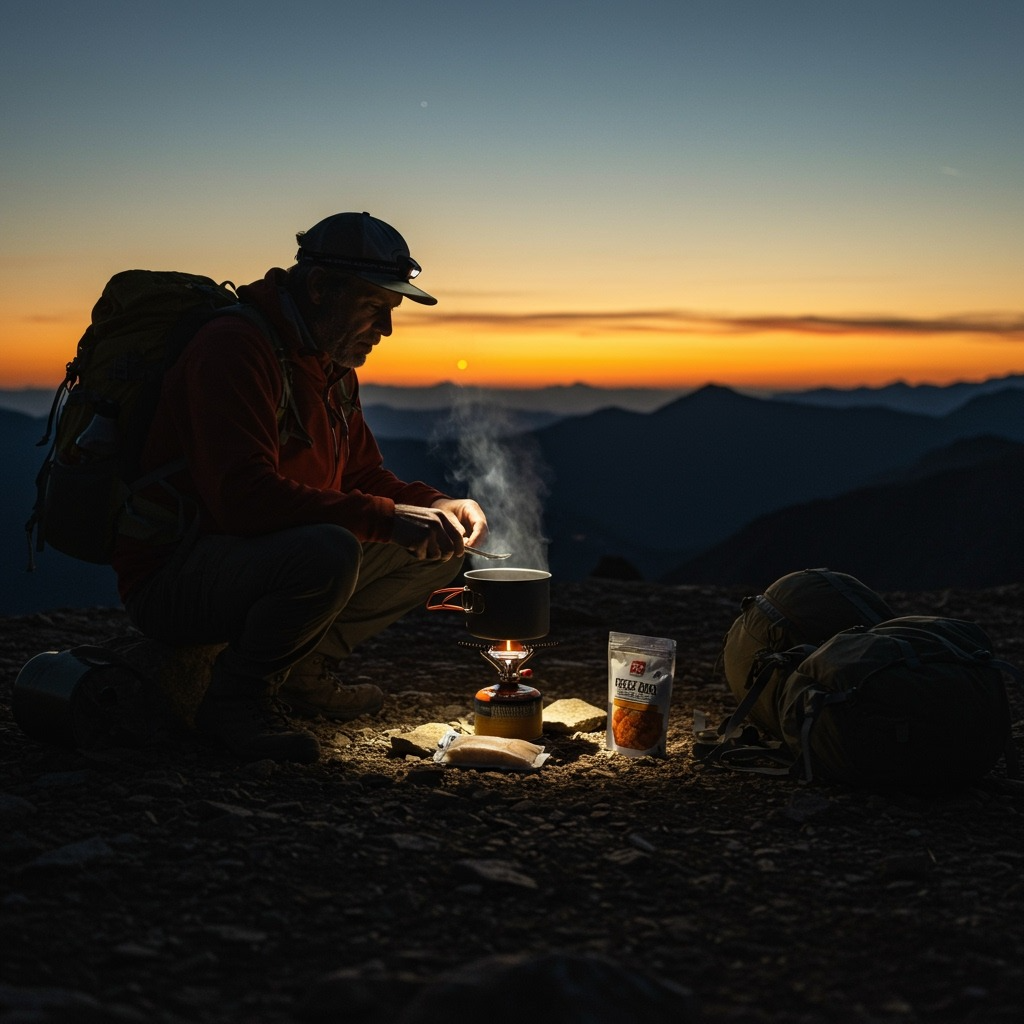
Backpacking Dinner Ideas Worth the Wait
After a full day of hiking, dinner becomes the highlight of your evening. These options range from simple one-pot meals to gourmet freeze-dried options that taste like restaurant food.
Top Freeze-Dried Meal Brands
Stowaway Gourmet – At $18 per pouch, these are expensive but worth every penny for special trips. Their La Pasta Nostra and Thai Curry with Shrimp have textures and flavors that rival fresh meals. The proteins stay tender and the spice blends are authentic.
Peak Refuel – The Sweet Pork and Rice is legendary among thru-hikers for good reason. At 750+ calories per serving, these meals are designed for serious calorie needs. Their Chicken Coconut Curry is another standout option.
Mountain House – The budget-friendly option that’s available everywhere. While not gourmet, their Lasagna with Meat Sauce and Chicken Teriyaki are reliable crowd-pleasers that won’t break the bank on longer trips.
DIY One-Pot Dinner Recipes
Monster Mac and Cheese – Cook a box of mac and cheese as directed, then stir in a foil pouch of tuna, dried cheese cubes, and seasonings. This 1,660-calorie monster meal will satisfy even the hungriest hiker and costs under $3 to make.
Bean and Rice Power Bowl – Combine instant refried beans with instant rice, taco seasoning, and cheese. Top with crushed Fritos for crunch. This vegetarian option packs 40+ grams of protein and tastes like comfort food.
Cheesy Bacon Mashed Potatoes – Use instant mashed potato packets (Idahoan Loaded Baked is perfect), add bacon bits and cheese cubes. At only 9.5 ounces dry weight, this delivers 1,250 calories of pure comfort food.
For those planning longer adventures, our backpacking vs hiking guide explains the key differences in meal planning strategies.
Smart Snacks for Sustained Energy
The right snacks keep your energy steady throughout long hiking days and prevent the dreaded “bonk” when blood sugar drops.
Trail Mix That Actually Works
Skip the generic mixes and build your own with specific ratios: 40% nuts (almonds, cashews), 30% dried fruit (mango, dates), 20% seeds (pumpkin, sunflower), and 10% dark chocolate. This combination provides immediate energy from fruit and sustained energy from fats and protein.
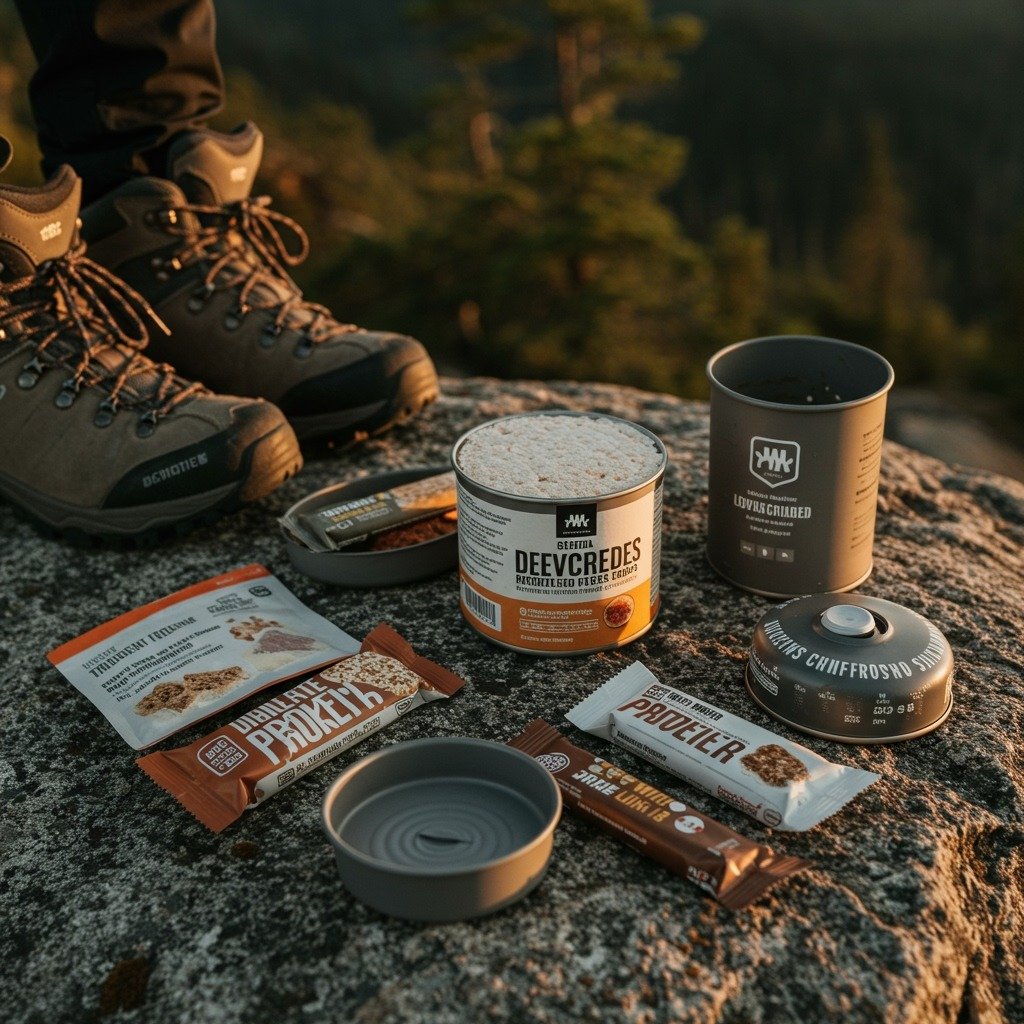
Energy-Dense Portable Options
Lil’ Landjaeger Meat Sticks – These dense, shelf-stable sausages pack serious protein in a small package. Unlike jerky, they won’t tear up your mouth and provide sustained energy for hours.
Dates Stuffed with Nut Butter – Remove pits from Medjool dates and stuff with almond or peanut butter. These natural energy bombs provide quick carbs plus healthy fats and taste like candy.
Energy Chews and Electrolytes – Stinger energy chews provide quick carbs when you need immediate fuel. Pair with electrolyte tablets to maintain proper hydration, especially at altitude, where you lose water faster through breathing.
Meal Planning Strategy for Multi-Day Trips
Successful backpacking nutrition starts with proper planning. Here’s how to calculate your needs and pack efficiently.
Calculating Food Needs by Trip Length
Plan for 2,500-3,500 calories per day depending on your size, pack weight, and terrain difficulty. A general rule: 2 pounds of food per person per day, but experienced backpackers can get this down to 1.5 pounds with careful selection of calorie-dense options.
Sample 4-Day Food Plan:
- Breakfast: 600-800 calories
- Lunch: 800-1,000 calories
- Dinner: 1,000-1,200 calories
- Snacks: 600-800 calories
Packing and Organization Tips
Use gallon zip-lock bags to organize by meal type rather than by day. This prevents “borrowing” from future days when hunger strikes. Keep all food in one stuff sack for easy bear-hanging at night.
Fresh vs. Shelf-Stable Timing – Eat fresh foods (apples, cheese, bread) on days 1-2, semi-perishables (hard cheese, cured meats) on days 3-4, and shelf-stable options for longer trips. This maximizes nutrition while minimizing spoilage risk.
Our camping for beginners guide covers additional meal planning strategies that apply to backpacking.
Expert Tips for Backpacking Nutrition
These advanced strategies will help you eat well while maintaining an efficient pack weight and staying safe on the trail.
Calorie and Weight Optimization
Target foods with 120+ calories per ounce for maximum efficiency. Nuts, nut butters, olive oil, and chocolate hit this target. Avoid heavy foods like canned goods or fresh vegetables except for the first day or two.
Add Olive Oil to Everything – A small bottle of olive oil adds 240 calories per ounce and makes everything taste better. Drizzle on pasta, rice, or vegetables for extra calories and flavor.
Food Safety on the Trail
Hard cheeses (parmesan, aged cheddar) and cured meats (salami, pepperoni) can safely last 3-4 days without refrigeration. When in doubt, smell test—your nose will tell you if something’s gone bad.
The REI meal planning guide provides additional safety guidelines for backcountry food storage.
Keep hot foods hot and cold foods room temperature. The danger zone (40-140°F) is where bacteria multiply rapidly, so don’t let cooked food sit around at warm temperatures.
Essential Gear for Trail Cooking
Lightweight Stove Options – Jetboil systems are efficient for boiling water quickly but limit cooking versatility. Alcohol stoves are ultralight but slow. Canister stoves offer the best balance of weight, speed, and versatility.
Must-Have Accessories – A lightweight spork, insulated mug, and small cutting tool cover 90% of trail food prep needs. Pack a small bottle of biodegradable soap for cleanup.
For comprehensive outdoor cooking techniques, explore our cowboy coffee brewing method that works perfectly with backpacking gear.
The Leave No Trace Center emphasizes proper waste disposal—pack out all food scraps and wash dishes 200 feet from water sources.
Remember, the best backpacking meal is one you’ll actually eat with enthusiasm after hiking 15+ miles. Don’t sacrifice taste entirely for weight savings—miserable meals make for miserable trips. Start with a few proven options, then experiment with new foods on shorter trips before committing to them for longer adventures.
The key to successful trail nutrition is finding the sweet spot between weight, nutrition, and taste that works for your specific needs and preferences. Some hikers thrive on cold foods and never want to cook, while others need a hot meal to feel satisfied. There’s no wrong approach as long as you’re getting adequate calories and enjoying your food.
Most importantly, test everything at home first. The trail is not the place to discover you hate the texture of rehydrated vegetables or that a particular energy bar gives you stomach issues. Build your backpacking menu gradually, keeping detailed notes about what works and what doesn’t for future trips.
Download the Infographics for this blog!
Frequently Asked Questions
How much food should I pack for backpacking?
Plan for 1.5-2 pounds of food per person per day, targeting 2,500-3,500 calories daily depending on your body size and hiking intensity. Experienced ultralight backpackers can get down to 1.25 pounds per day with very calorie-dense foods.
What are the best backpacking meals for beginners?
Start with reliable freeze-dried meals from Mountain House or Peak Refuel, instant oatmeal for breakfast, and simple combinations like tuna and crackers for lunch. These require minimal cooking skills and won’t spoil easily if you make mistakes.
How do you keep food fresh while backpacking?
Use hard cheeses and cured meats that don’t require refrigeration, eat fresh foods within the first 1-2 days, and store everything in sealed containers to prevent contamination. Keep food in the shade and avoid foods that spoil quickly in warm temperatures.
Can you bring fresh food on backpacking trips?
Yes, but eat it early in your trip. Apples, carrots, and hard vegetables can last 2-3 days. Avoid leafy greens, soft fruits, and anything that bruises easily unless you’re eating it the first day.
What’s the lightest way to get protein while backpacking?
Nuts, nut butters, protein powder, and dried meats offer the most protein per ounce. Foil pouches of tuna or chicken are also efficient. Aim for foods with at least 4 grams of protein per ounce for optimal pack weight efficiency.