
There’s nothing quite like waking up at 3 AM to the sound of rain dripping directly onto your face through a soaked tent ceiling. That was my introduction to backpacking on the Appalachian Trail—a soggy, miserable night that taught me everything about why a proper backpacking checklist matters.
I’d grabbed gear randomly, skipped the weather forecast, and figured “how hard could it be?” Three hours into that first trip, I was already learning harsh lessons about gear selection, weather preparation, and the critical difference between surviving and thriving in the backcountry.
That experience transformed how I approach every wilderness adventure. Whether you’re planning your first overnight trip or you’re a seasoned hiker who occasionally forgets the obvious essentials, this backpacking checklist will ensure you’re prepared for whatever the trail throws your way.
The Big Three: Pack, Shelter, Sleep System
Your backpacking checklist starts with what experienced hikers call the “Big Three”—the heaviest and most essential items that form your wilderness survival foundation.
Backpack Essentials:
- 40-65 liter backpack (sized for your torso length)
- Pack rain cover or pack liner
- Hip belt and shoulder strap adjustments properly fitted
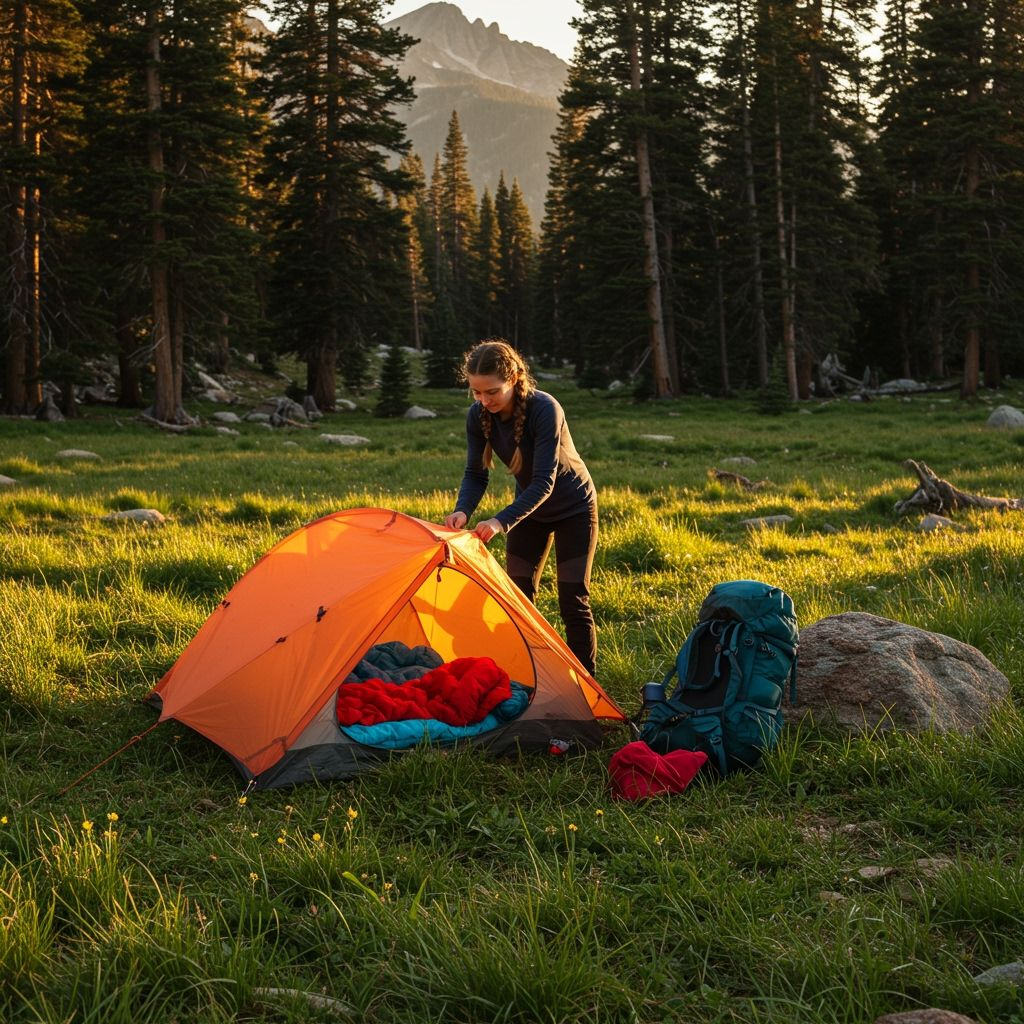
Shelter System:
- Lightweight tent (under 4 lbs for solo, under 6 lbs for two-person)
- Tent footprint for ground protection
- Extra tent stakes (rocky ground eats aluminum stakes)
- Duct tape wrapped around trekking poles for repairs
Sleep System:
- Sleeping bag rated 10-15 degrees below expected temps
- Sleeping pad with appropriate R-value for conditions
- Inflatable pillow or stuff sack pillow
- Sleep clothes (dedicated dry layer for warmth)
The mistake I made on that first trip? Trusting a tent that hadn’t been seam-sealed and a sleeping bag rated for summer when temperatures dropped into the 40s. Your sleep system is only as warm as its weakest component—never compromise on shelter when you’re miles from help.
Ultralight Kitchen & Food Strategy
A well-organized camp kitchen can make the difference between a memorable meal and a hungry, frustrating evening. After years of digging through gear looking for can openers and sporks, I’ve learned that kitchen efficiency directly impacts trip enjoyment.
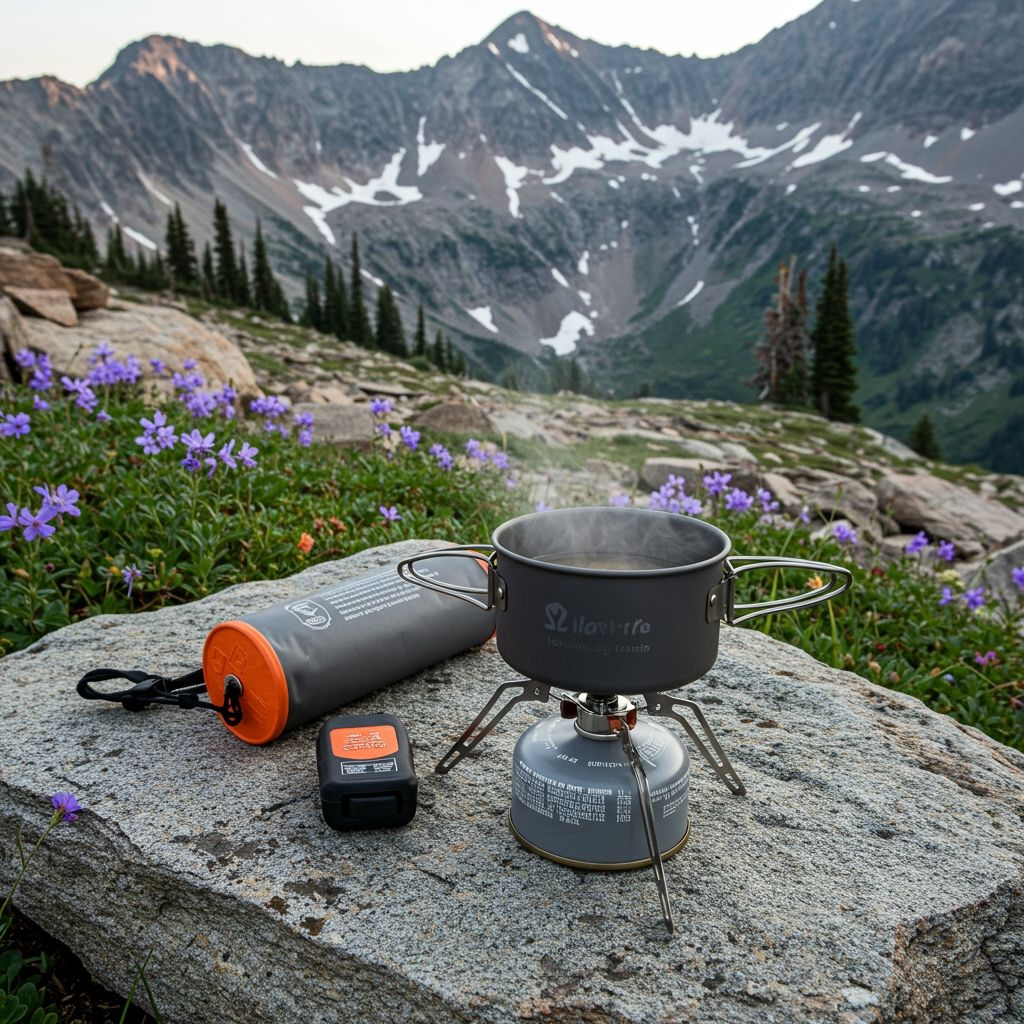
Cooking Essentials:
- Lightweight backpacking stove (canister or alcohol stove)
- Fuel canisters (calculate 1 canister per 4-5 days)
- Windscreen for stove efficiency
- Lightweight pot with lid (titanium or hard-anodized aluminum)
- Spork or lightweight utensils
- Small cutting tool or knife
Food Storage & Prep:
- Bear canister or rope for overnight food protection
- Lightweight bowl or eat from the bag
- Insulated mug for hot drinks
- Biodegradable soap and small sponge
- Quick-dry camp towel
- Collapsible water container for cooking water
Trail Food Strategy:
- Freeze-dried meals (lightweight, minimal cleanup)
- Instant oatmeal and coffee for morning fuel
- Energy bars, nuts, and dried fruit for daytime energy
- Electrolyte powder for hydration maintenance
Pro tip: Pre-portion your food into daily stuff sacks, including designated trash bags for packing out waste. This prevents the “dumping everything out” scenario when you’re looking for that one energy bar. The REI backpacking food guide provides excellent details on bear-safe practices and Leave No Trace principles.
Making quality cowboy coffee around the camp stove can transform your morning routine from rushed to relaxing.
The Layering System for Any Weather
Weather in the backcountry changes faster than weather apps can update, and proper clothing can mean the difference between comfort and emergency. I’ve experienced 50-degree temperature swings in a single day, teaching me that the right layering system isn’t luxury—it’s safety.
Base Layer System:
- Moisture-wicking underwear (synthetic or merino wool, never cotton)
- Long-sleeve base layer top for versatile temperature control
- Base layer bottom for cold weather or camp comfort
- Quick-dry hiking shorts and pants
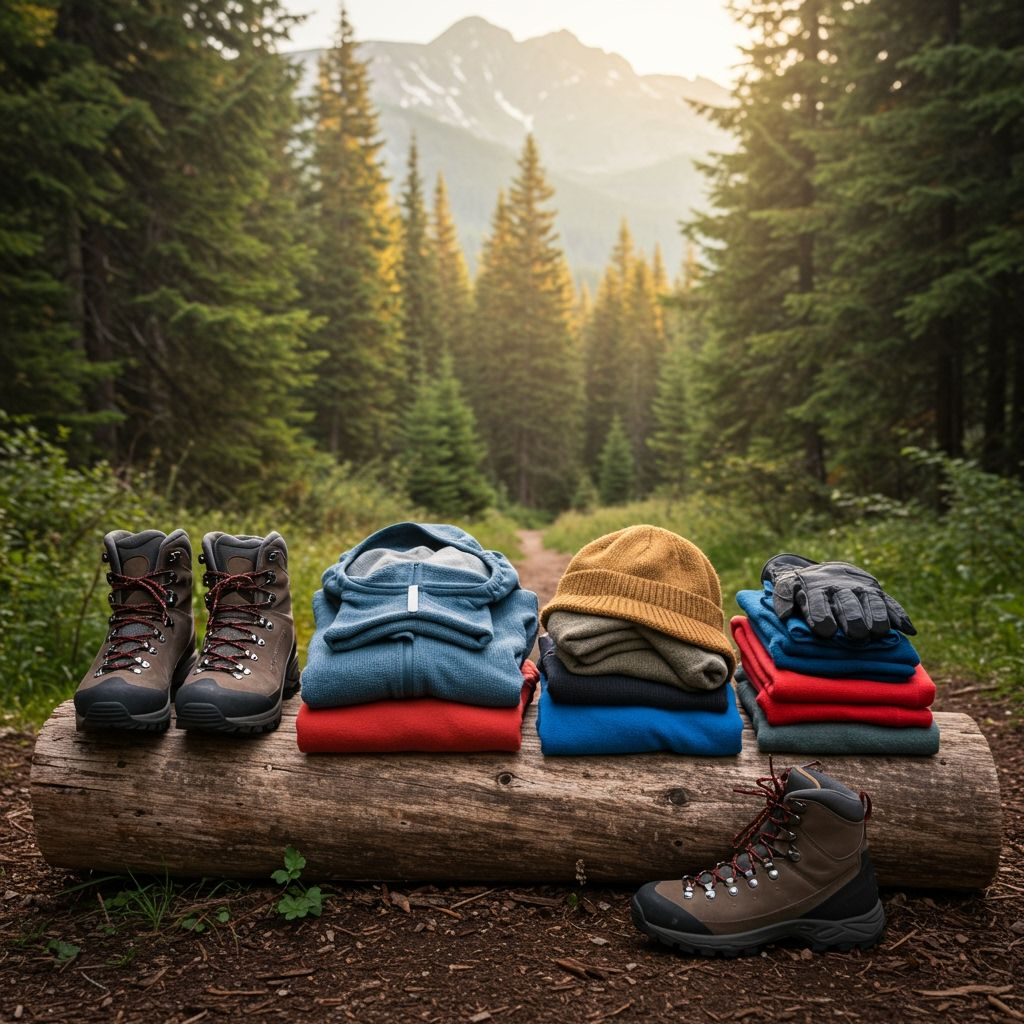
Insulation Layer:
- Lightweight fleece or down jacket for static warmth
- Insulated vest (optional, for core warmth without bulk)
- Lightweight pants for evening camp comfort
Shell Layer Protection:
- Waterproof rain jacket with full zip and hood
- Rain pants (critical for extended wet weather)
- Wind jacket (lighter alternative for dry conditions)
Extremities & Accessories:
- Warm beanie and sun hat
- Lightweight gloves or mittens
- Merino wool hiking socks (3+ pairs minimum)
- Camp sandals or shoes for stream crossings and foot relief
- Gaiters for muddy or snowy conditions
The layering principle saved me during an unexpected late-season snowstorm in Colorado. Instead of one heavy jacket, I could add and remove layers as conditions changed throughout the day. Understanding what to wear in different weather conditions helps you pack appropriately for changing mountain weather.
Safety, Navigation & Emergency Gear
The Ten Essentials aren’t suggestions—they’re your lifeline when things go wrong in the backcountry. Every item serves a critical purpose, whether for navigation, emergency shelter, or signaling for help.
Navigation Essentials:
- Topographic map in waterproof case
- Compass (know how to use it)
- GPS device or smartphone with offline maps
- Emergency whistle for signaling
- Personal locator beacon for remote areas
First Aid & Safety:
- Comprehensive first aid kit with blister treatment
- Emergency shelter (space blanket or bivy)
- Firestarter (waterproof matches and tinder)
- Headlamp with extra batteries
- Backup flashlight or light source
Multi-Purpose Tools:
- Quality knife or multitool
- Duct tape for gear repairs
- Paracord (50 feet for multiple uses)
- Safety pins and small repair items
I learned the importance of redundancy when my primary headlamp died during a pre-dawn bathroom trip. Now I carry a backup light source and always test batteries before departure. Even for day hikes that turn into overnighters, understanding how to read a topographic map can prevent getting lost when trails become unclear.
Personal Care & Leave No Trace Practices
Staying clean in the wilderness isn’t just about comfort—it’s about health, hygiene, and environmental responsibility. Leave No Trace principles guide how we handle personal care while protecting the places we love to explore.
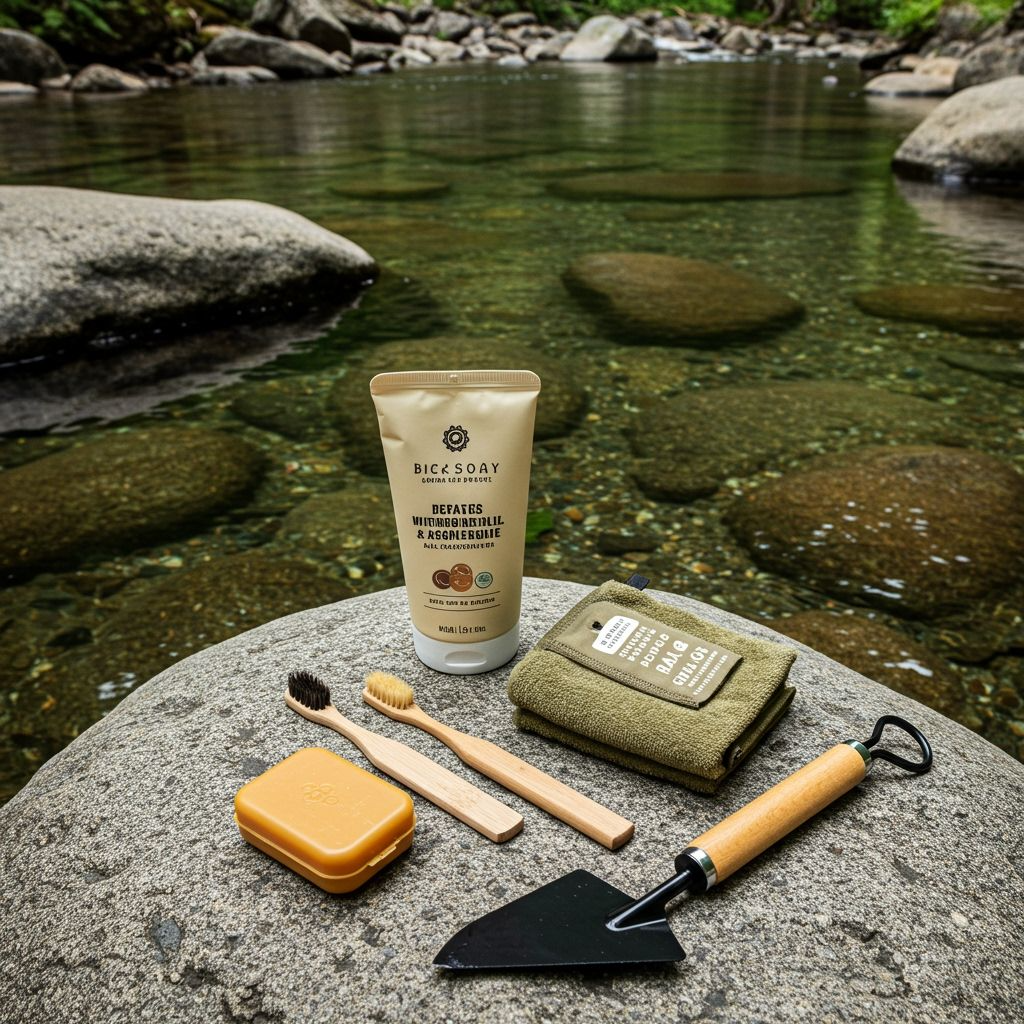
Hygiene Essentials:
- Biodegradable toothpaste and compact toothbrush
- Small bottle of biodegradable soap (multipurpose for body and dishes)
- Quick-dry camp towel
- Hand sanitizer
- Toilet paper in waterproof bag
- Lightweight trowel for waste disposal
Personal Medications:
- Prescription medications with extras
- Pain relievers (ibuprofen and acetaminophen)
- Antihistamine for allergic reactions
- Personal medical needs (inhaler, EpiPen, etc.)
- Moleskin for blister prevention and treatment
Sun and Bug Protection:
- Sunscreen (SPF 30+ and lip balm)
- Insect repellent with DEET or picaridin
- Bug net for face protection in high-bug areas
The golden rule: everything you pack in must be packed out, including used toilet paper and feminine hygiene products. Always bury human waste 6-8 inches deep and 200 feet from water sources, trails, and campsites. The Leave No Trace principles provide detailed guidance for minimal-impact wilderness travel.
Bonus Gear for Comfort & Morale
After covering the survival essentials, these comfort items can transform a challenging trip into an enjoyable adventure. They’re not necessary for survival, but they significantly improve quality of life on the trail.
Camp Comfort:
- Lightweight camp chair or sit pad
- Reading material (book or e-reader)
- Camera for documenting memories
- Small games or cards for group entertainment
- Journal and pen for trip notes
Technology & Communication:
- Smartphone with offline maps and camera
- Portable battery pack for device charging
- Charging cables in protective case
- Emergency communication device for remote areas
Weather-Specific Additions:
- Tarp or footprint for additional shelter or clean gathering space
- Insect head net during bug season
- Portable camp fan for hot, still nights
- Chemical hand warmers for unexpectedly cold conditions
The goal isn’t to bring everything from home, but to carefully select items that enhance your wilderness experience without excessive weight. Understanding the difference between backpacking vs hiking helps determine what level of comfort gear makes sense for different trip types.
Seasonal & Environmental Adjustments
Your backpacking checklist should adapt to seasons, elevation, and regional challenges. What works for summer trips in mild climates won’t suffice for shoulder season adventures or high-altitude destinations.
Summer Modifications:
- Extra water capacity and electrolyte supplements
- Lightweight rain gear for afternoon thunderstorms
- Additional sun protection and cooling strategies
- Bug protection and head nets for peak insect season
Cold Weather Additions:
- Four-season tent or enhanced winter protection
- Sleeping bag rated 20+ degrees below expected temps
- Insulated sleeping pad with higher R-value
- Thermos for hot drinks and soups
- Hand and foot warmers for extreme cold
High-Altitude Considerations:
- Extra insulation layers for temperature swings
- Higher SPF sunscreen and glacier glasses
- Altitude sickness medication if appropriate
- Additional emergency gear for harsh conditions
Regional Adaptations:
Desert backpacking requires different strategies than Pacific Northwest adventures. Research destination-specific challenges including wildlife, weather patterns, and local regulations before finalizing your gear list. For those planning what to pack for hiking in different environments, regional research is essential.
Your Pre-Trip Preparation Strategy
The best backpacking checklist only works if you use it systematically. Here’s my proven approach to preparation that eliminates those “oh no” moments when you’re miles from the trailhead.
One Week Before Departure:
- Check detailed weather forecast and adjust gear accordingly
- Confirm permits, reservations, and access road conditions
- Inspect all gear for damage, wear, or expired items
- Charge all electronic devices and test functionality
Three Days Before:
- Shop for perishable food and any missing gear
- Begin packing non-perishables and organizing gear
- Review trail conditions, closures, and recent trip reports
- Create detailed itinerary for emergency contacts
Day of Departure:
- Pack remaining items using your printed checklist
- Do final gear weight check and adjust load distribution
- Review Leave No Trace principles and local regulations
- Confirm transportation and parking arrangements
Remember: the goal isn’t to bring everything you own, but to bring everything you need. A systematic approach to your backpacking checklist eliminates decision fatigue and ensures you focus on what matters—safely enjoying your time in the wilderness.
Download Infographics for this blog
Frequently Asked Questions
Q: What are the absolute essentials that every backpacking checklist should include?
A: The core essentials include shelter (tent, sleeping bag, sleeping pad), navigation tools (map, compass), emergency gear (first aid, whistle, fire starter), clothing layers, cooking system, water treatment, and the Ten Essentials. These items keep you safe and comfortable regardless of conditions.
Q: How much should my loaded backpack weigh for multi-day trips?
A: Aim for 20-25% of your body weight including food and water. Experienced ultralight hikers may go lower, but beginners should prioritize safety and comfort over minimal weight. A 150-pound person should target 30-40 pounds maximum for 3-5 day trips.
Q: What’s the difference between a day hiking checklist and backpacking checklist?
A: Backpacking requires overnight survival gear: shelter system, sleeping equipment, stove and food for multiple days, extended clothing layers, and enhanced safety gear. Day hiking focuses on immediate needs like water, snacks, first aid, and weather protection.
Q: How do I adjust my backpacking checklist for different seasons?
A: Add insulation and four-season gear for cold weather, increase sun and bug protection for summer, and always adjust your sleep system temperature rating. Research seasonal challenges specific to your destination and pack accordingly.
Q: Should I test my gear before heading into the backcountry?
A: Absolutely. Set up your tent at home, test your stove and water filter, break in new boots, and ensure all gear functions properly. Practice using unfamiliar equipment and verify that everything fits properly in your pack before departure.